
Sc Decrease: How to Make a Single Crochet Decrease
Learn how to make an sc decrease with clear steps, stitch tips, troubleshooting advice, and practical ways to use single crochet decreases in patterns.

An sc decrease is one of the most useful shaping techniques in crochet, and once you understand the movement, it becomes much less intimidating. The abbreviation usually means single crochet decrease, often written as sc2tog, or “single crochet two together.” It combines two stitches into one so your fabric becomes narrower.
You’ll find an sc decrease in hats, amigurumi, sleeves, blankets, bags, and many other projects. It can shape a crown, taper a limb, close an opening, or create a slanted edge. In this guide, I’ll walk you through the basic motion, explain what your hook should be doing at each stage, and share practical tips for keeping the decrease neat and even.
If single crochet is still new to you, it may help to review this crochet guide for absolute beginners first. You don’t need complicated equipment for this technique—just your yarn, hook, and a little patience while your hands learn the sequence.
Table of Contents
What is an sc decrease?
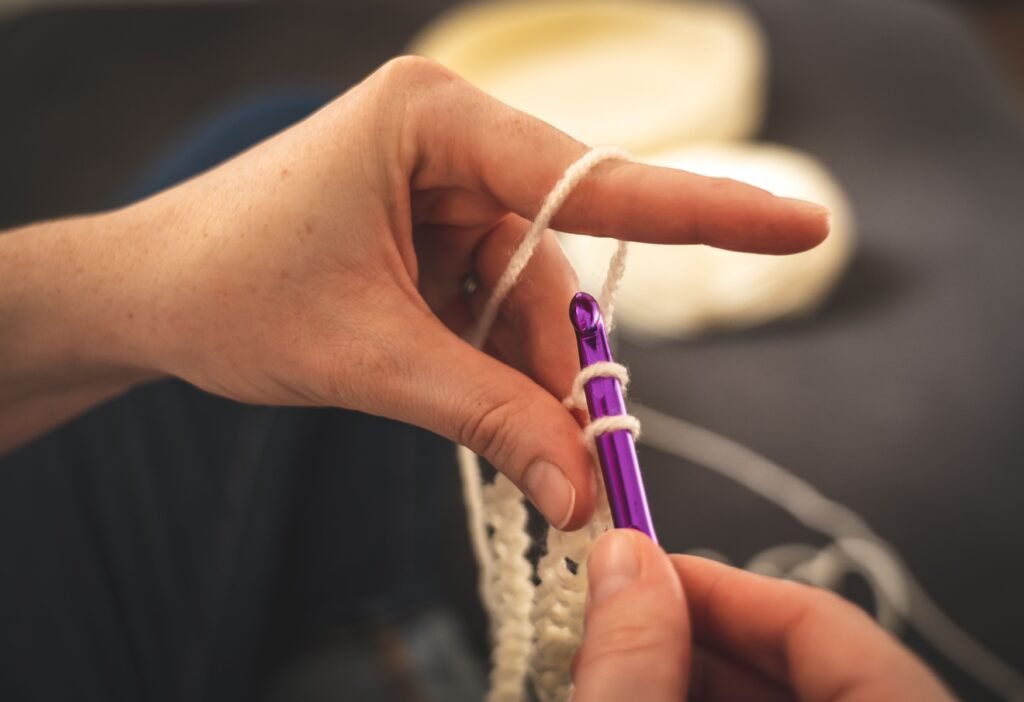
An sc decrease is a method of working two neighboring single crochet stitches together as one stitch. Instead of completing a single crochet in each stitch separately, you begin a single crochet in the first stitch, begin another in the next stitch, and finish both together.
The most common written abbreviation is sc2tog, meaning “single crochet two together.” A pattern might also say “sc decrease,” “dec,” or “single crochet decrease.” These terms can refer to the same basic action, but I always recommend checking the pattern’s abbreviation key because designers may use slightly different wording.
Before the decrease, two stitch spaces are available. After the decrease, those two spaces have become one completed stitch. That reduction changes the shape of your fabric without requiring you to skip a stitch. This is important: an sc decrease uses two stitches, while simply skipping a stitch leaves an unused space and creates a different result.
Decreases are the opposite of increases. An increase adds more than one stitch into a stitch space, making the fabric wider. A decrease removes a stitch from the total, making the fabric narrower. Together, these two shaping tools allow us to create curves, points, tapers, and three-dimensional forms.
You’ll see this kind of shaping in projects such as crochet stuffed animal patterns, where decreases help form heads, noses, bodies, and limbs. They also appear in hats, especially near the crown, and in garments where an edge needs to narrow gradually.
How do you make an sc decrease?
You make an sc decrease by beginning a single crochet in each of two adjacent stitches and completing them together. Here is the movement step by step:
- Insert the hook into the first stitch. Work into the stitch specified by your pattern, usually the next stitch in the row or round.
- Yarn over and pull up a loop. You now have two loops on your hook, just as you would at the halfway point of a regular single crochet.
- Insert the hook into the next stitch. Move into the stitch immediately after the first one.
- Yarn over and pull up another loop. You should now have three loops on your hook.
- Yarn over once more. Keep all three loops on the hook while you make the final movement.
- Pull through all three loops. This completes one sc decrease and leaves one loop on your hook, ready for the next stitch.
The easiest way to remember the motion is: insert, pull up; insert, pull up; yarn over, pull through three. You are starting two single crochets, but you’re sharing one final pull-through.
Try not to rush the first few decreases. It can feel natural to complete the first single crochet by pulling through two loops, but that would create a regular single crochet rather than a decrease. The first stitch must remain unfinished until you have also worked into the second stitch.
If you’re following a pattern written in rounds, place a stitch marker where the pattern indicates the beginning of the round. This makes it easier to identify the correct stitches and prevents the decrease sequence from drifting. Careful stitch placement matters even more when several decreases are worked around a small circle.
How can you keep a single crochet decrease neat?
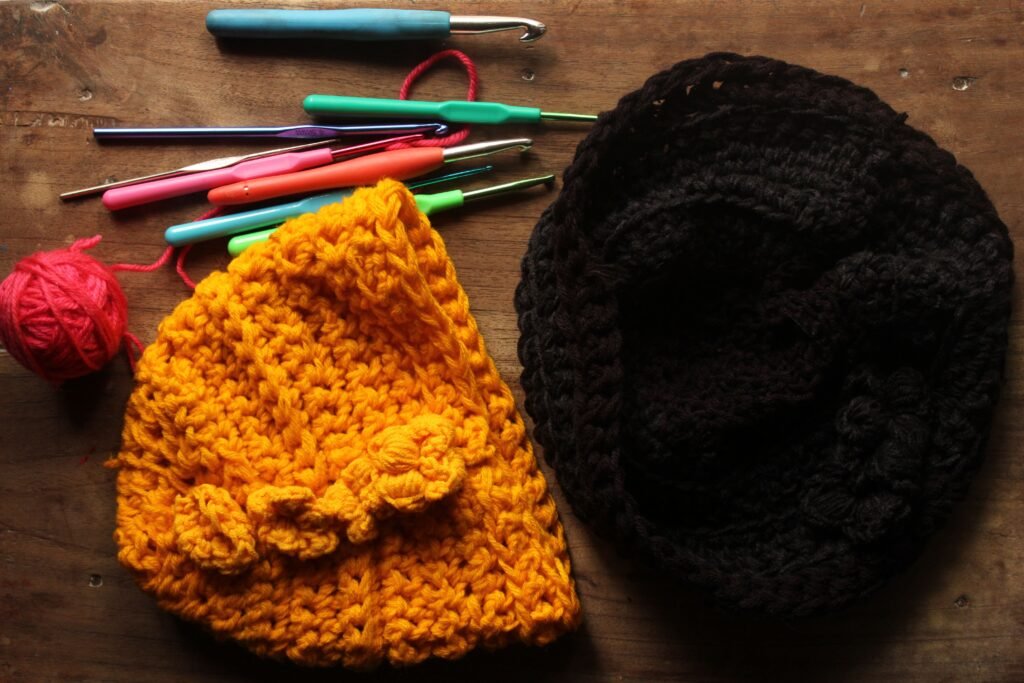
You can keep a single crochet decrease neat by maintaining even tension, inserting the hook under the correct loops, and avoiding an overly tight final pull-through. A tidy decrease should blend into the surrounding fabric instead of creating a bulky bump or a visible hole.
Find the complete stitch tops
When a pattern doesn’t specify otherwise, a normal single crochet is worked through the top loops of the stitch. Those loops form a small “V” at the top edge. Insert your hook under the loops required by the pattern, making sure you haven’t accidentally entered the space between stitches.
Small projects can make stitch tops difficult to see, especially when the yarn is dark, fuzzy, or highly textured. If you’re struggling, gently spread the fabric with your fingers and look for the next two V-shaped stitch tops. A stitch marker or contrasting scrap of yarn can also help you keep your place.
Keep the first loops relaxed
Pulling the loops up to the same height as the neighboring stitches helps maintain an even fabric. If the loops are too short, the decrease may tighten and pucker. If they are pulled much higher than the surrounding stitches, the decrease may look loose or elongated.
I like to pause after pulling up each loop and check that the hook can move comfortably. The yarn should not be so tight that the hook has to force its way into the next stitch. Relaxed hands generally make the sequence easier to repeat.
Don’t yank the final loop
After the third loop is on your hook, yarn over and pull through all three loops with a smooth motion. Avoid pulling the yarn sharply. A very tight final movement can make the decrease smaller than the surrounding stitches and may cause the fabric to draw inward.
At the same time, the decrease shouldn’t be left unusually loose. Aim for the same general tension you use for a standard single crochet. Consistency is more important than trying to make every decrease invisible.
Use an invisible decrease when the pattern calls for it
Some amigurumi patterns use an invisible single crochet decrease to reduce the appearance of bumps on the outside of the fabric. This version is usually worked through selected loops rather than the complete stitch tops, but the exact loop placement depends on the pattern instructions.
Don’t substitute an invisible decrease automatically. If the pattern says sc2tog through the regular stitch tops, follow that instruction. If it specifically asks for an invisible decrease, read the designer’s explanation carefully because the method may be described differently across patterns.
For more general shaping practice, you can also explore this decrease crochet tutorial and the crochet decrease stitch guide. They’re useful references when you’re comparing decreases used with different crochet stitches.
When do crochet patterns use an sc decrease?
Crochet patterns use an sc decrease whenever the fabric needs to become narrower or close gradually. The exact placement determines the shape, so it’s important to follow both the number of decreases and their location.
- Hat crowns: Decreases bring the upper part of a hat inward so the crown can close or taper.
- Amigurumi: Decreases shape rounded pieces and help close openings after stuffing.
- Animal features: A decrease can narrow a snout, ear, tail, paw, or other small component.
- Garment shaping: Decreases can form armholes, necklines, sleeves, waist shaping, or tapered edges.
- Blanket shapes: They can create diagonal edges, points, corners, and planned geometric changes.
- Bags and baskets: A project may use decreases to narrow the top or shape the base.
In a flat row, decreases can create a sloping edge. If you work one at the beginning of a row and another at the end, both sides may taper. If all the decreases occur on one side, the fabric can angle in a single direction. In rounds, evenly distributed decreases usually create a more symmetrical shape.
Read the full row or round before you begin. A line such as “sc in the next three stitches, sc2tog, repeat” has a different rhythm from “sc2tog, sc across.” Knowing where the decrease lands helps you avoid working it one stitch too early or too late.
When a pattern gives a stitch count after the row, use it as a quick check. If you began with two stitches and worked them together once, the finished row should contain one fewer stitch than it would without that decrease. Repeated decreases reduce the total further according to the pattern’s instructions.
That stitch-count habit is especially helpful for hats. If you’re learning shaping through a small wearable project, these beginner crochet hat patterns can provide inspiration for seeing how crown shaping fits into a larger project.
What mistakes happen with an sc decrease?
The most common sc decrease mistakes are working into the wrong stitches, completing the first single crochet too early, skipping a stitch after the decrease, and pulling the yarn too tightly. Each problem changes either the stitch count or the appearance of the fabric.
Completing the first single crochet
This is the mistake I see most often when people are learning the movement. If you insert the hook into the first stitch, yarn over, pull up a loop, and then yarn over and pull through two loops, you have completed a regular single crochet. For an sc decrease, stop after pulling up the first loop and move directly to the next stitch.
Using the same stitch twice
Both parts of the decrease should normally use separate neighboring stitches. If you accidentally insert into the first stitch again, you haven’t reduced across two stitch spaces. Spread the fabric open and identify the next stitch top before inserting your hook.
Skipping the stitch after the decrease
Because the decrease combines two stitches, it can be easy to lose track of where the next stitch begins. After completing the decrease, look for the next unused stitch top rather than automatically moving farther along the row. A row marker or a quick count can help.
Creating a hole
A hole may appear when the hook enters a space instead of the intended stitch, when the loops are pulled unevenly, or when the surrounding tension is much looser than the decrease. Check the stitch tops and compare the completed decrease with nearby single crochets.
Making the edge pucker
Some shaping naturally causes fabric to curve, but excessive puckering can come from pulling the decrease too tightly or working more decreases than the pattern requires. If the project should lie flat, review the stitch count and the distribution of the decreases before continuing.
If you spot an error a few stitches later, pause and inspect the earliest place where the count changed. Undoing one or two stitches is usually simpler than trying to disguise an incorrect decrease at the end of the row.
How can you practice the sc decrease?
You can practice the sc decrease by making a small swatch with single crochet rows and adding decreases at clearly marked positions. A simple sample lets you focus on hand movement without the pressure of fitting the shaping into a large pattern.
Begin with a row of single crochet and work several rows evenly. On a later row, make a decrease near the beginning, one near the center, and one near the end. Mark each location if needed. Then examine how the edge and center change as the stitch count becomes smaller.
Try working the decreases in a few different arrangements:
- Place decreases at both ends to create a gently tapered panel.
- Place several decreases across a round to practice symmetrical shaping.
- Work decreases on alternating rows to create a gradual slope.
- Work decreases in consecutive rows to create a sharper taper.
This kind of practice is useful because you can see the relationship between stitch placement and fabric shape. It also gives you a chance to adjust your tension before beginning a project where the finished outline matters.
If you’re still building basic crochet confidence, pair this practice with a small beginner project. The wider collection of crochet projects for beginners includes the kind of manageable makes that can help you repeat a new technique without committing to a large garment or blanket.
As you practice, count the stitches at the end of every row. Write down how many stitches you started with, how many decreases you made, and how many remain. This connects the physical movement to the written instructions, which makes pattern reading easier over time.
How do you use an sc decrease in larger projects?
You use an sc decrease in a larger project by treating it as one part of the overall shaping plan and checking measurements as the work develops. The decrease itself is small, but repeated reductions can dramatically change the silhouette.
In a hat, you might use decreases around the crown. In a sweater, the decreases may shape an armhole or neckline. In an afghan, they might create a pointed edge or diagonal section. The technique remains familiar, but the surrounding pattern tells you how often to repeat it and where to place it.
When working on an afghan or other wide project, lay the fabric flat at regular intervals. This helps you see whether the edge is forming the intended angle. The afghan crochet pattern guide offers broader inspiration for projects where shaping, stitch rhythm, and fabric growth work together.
Garments require an extra level of care because shaping affects fit. Mark the beginning and end of rows, record every decrease row, and compare the piece with the pattern’s measurements. If you’re exploring wearable crochet, a sweater crochet pattern guide can help you think about how shaping fits into panels, sleeves, necklines, and seams.
When using decreases in amigurumi, check the shape before closing the opening completely. Stuffing can reveal uneven tension or a misplaced decrease. Add stuffing gradually, then inspect the piece from several angles. If the pattern uses many decreases in a small space, stitch markers become especially valuable.
Remember that yarn, hook size, stitch tension, and pattern construction all influence the final appearance. I wouldn’t change the hook or yarn weight casually in a shaping section because even a small difference can affect the size and firmness of the project. Follow the pattern’s guidance and make a sample whenever the result needs to be predictable.
What should you remember about the sc decrease?
The key point to remember about the sc decrease is that two single crochet stitches are begun separately and completed together as one stitch. Insert into the first stitch, pull up a loop, insert into the next stitch, pull up another loop, then yarn over and pull through all three loops.
Keep the movement relaxed, work into the correct stitch tops, and count after shaping rows or rounds. If the decrease looks bulky or the fabric puckers, check your tension before assuming the technique is wrong. A little practice usually makes the sequence feel natural.
Once you’re comfortable with this basic decrease, you’ll recognize it throughout crochet patterns. You can use it to shape a hat crown, taper a stuffed animal, form garment edges, or create a pointed blanket section. Your next step is to make a small single crochet swatch, mark two neighboring stitches, and practice the motion slowly until the three-loop pull-through feels familiar.