Sweater Crochet Pattern: Easy Designs for Beginners
Learn how to choose and follow a sweater crochet pattern with beginner-friendly construction, yarn planning, sizing, shaping, seaming, and finishing tips.
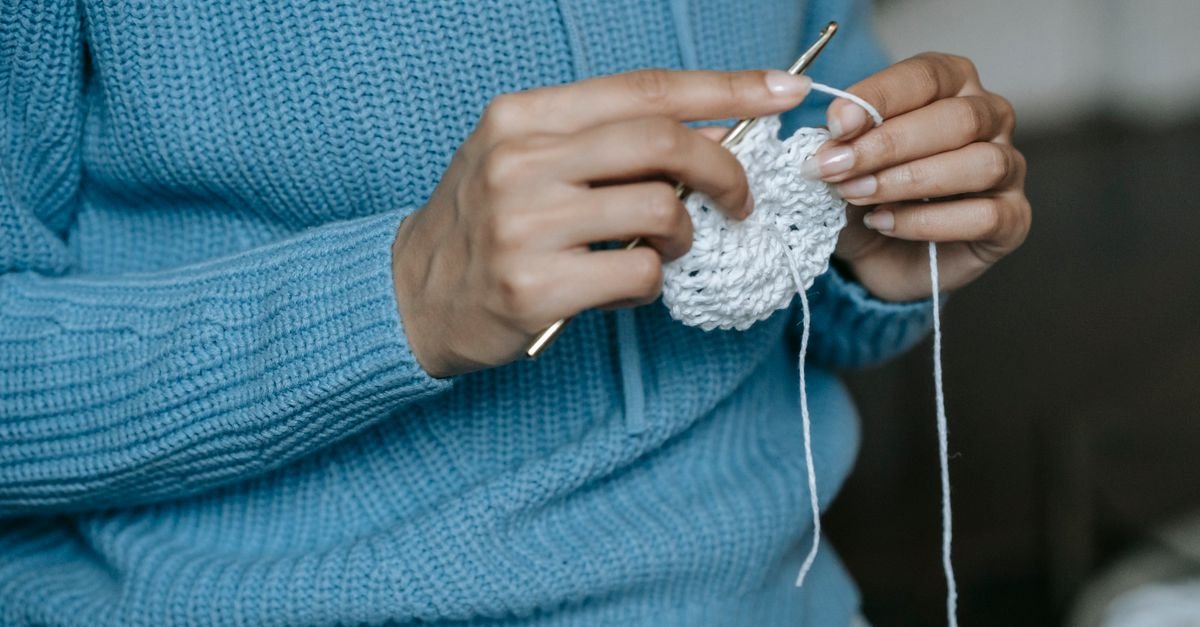
A sweater crochet pattern can be a wonderfully satisfying next step when you’re ready to move beyond small accessories. The idea of crocheting a full garment may feel intimidating at first, but an easy design with clear construction can make the process much more approachable. I like to think of a beginner sweater as a collection of manageable decisions: choose a shape, understand the pieces, check the fit, and work through the instructions one section at a time.
This guide will help you choose a suitable design, prepare your supplies, understand common sweater construction, and avoid the mistakes that can make a first garment frustrating. I’ll keep the advice flexible because the exact yarn, hook, measurements, stitch count, and gauge belong to the specific pattern you choose. Your best starting point is always the pattern’s own information, supported by a thoughtful swatch and accurate measurements.
Table of Contents
What makes a sweater crochet pattern beginner-friendly?

A beginner-friendly sweater crochet pattern uses clear construction, manageable shaping, and instructions that let you check your progress as you go. The easiest designs usually avoid too many complicated motifs or changes in stitch height, giving you time to become comfortable with garment sizing and assembly.
Before choosing a pattern, look at how the sweater is built. A simple design may use two flat panels joined at the shoulders and sides. Another may be worked from the top down, allowing you to try it on as the length develops. Some sweaters are made from separate rectangles, while others use sleeves, cuffs, neckbands, and shaped armholes. None of these methods is automatically better; the right one depends on how you prefer to read patterns and manage fit.
I recommend looking for instructions that clearly explain abbreviations, finished measurements, stitch multiples, and assembly. Helpful photographs or diagrams can also make a difference, especially when you’re learning where a sleeve attaches or how a neckline is formed. If the pattern gives several size options, highlight the numbers for your chosen size before beginning. This small preparation step can prevent you from accidentally switching between columns of instructions.
It’s also worth considering the amount of shaping. A relaxed pullover with straight or gently shaped sides is generally easier to understand than a fitted design with many darts, complex armholes, or intricate transitions. If you want a garment with strong visual interest, let the stitch texture or color do some of the work instead of choosing the most complicated construction available.
For more inspiration before settling on one design, browse these free crochet sweater patterns. Comparing several silhouettes can help you notice which neckline, sleeve style, and construction method feels realistic for your current skill level.
How do you choose yarn and supplies for a sweater?
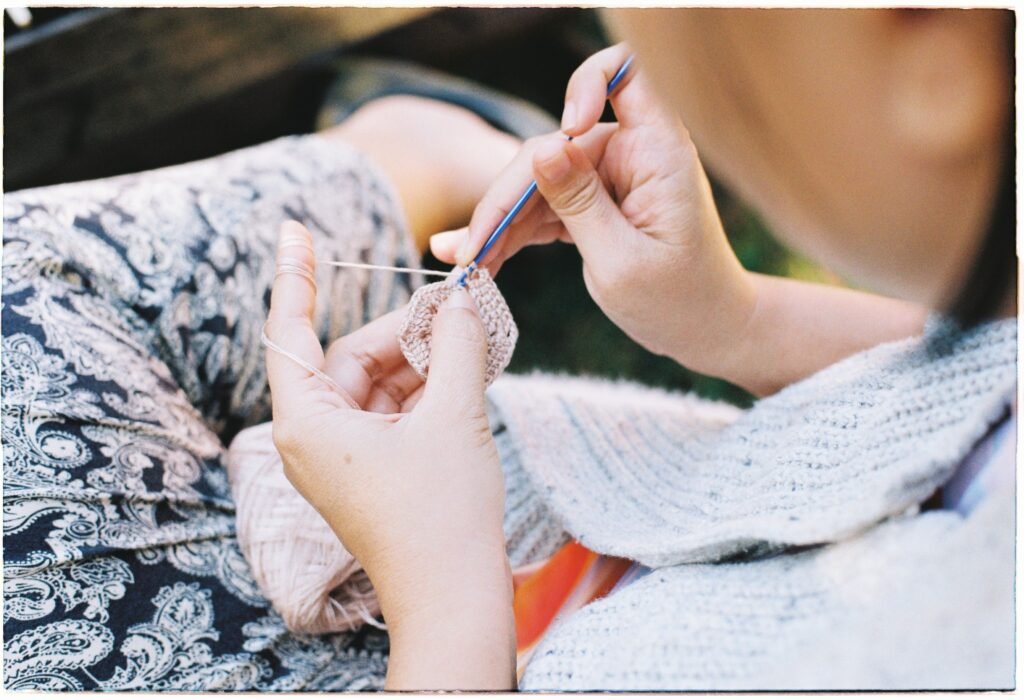
You choose yarn and supplies for a sweater by matching the pattern guidance, the desired fabric, and your own comfort with the materials. The yarn label and pattern notes should determine the specific fiber, yarn weight, hook size, quantity, and care instructions rather than guesswork.
- Yarn: Choose a yarn that makes the stitches easy to see and is comfortable against the skin if the sweater will be worn over a light top. Smooth yarn is often easier to count than highly textured yarn when you’re learning garment construction.
- Hook: Use the hook recommended by the pattern as your starting point, then compare your swatch with the stated gauge. You may need to adjust the hook to match your tension.
- Measuring tape: Keep one nearby for checking your body measurements, swatch, panel dimensions, and sleeve length.
- Stitch markers: Mark row beginnings, shaping points, sleeve joins, or pattern repeats so you don’t have to search for them repeatedly.
- Yarn needle and scissors: These are essential for sewing seams, weaving in ends, and finishing edges.
- Notes: A notebook or pattern sheet helps you record your size, swatch results, row counts, and any adjustments.
Color choice matters too. A solid or lightly heathered shade makes it easier to see construction while you’re learning. A multicolored or strongly variegated yarn can be attractive, but it may hide textured stitches and make matching sleeves or panels less predictable. If you’re unsure, make a small swatch before buying or committing to the full project.
Think about comfort as well as appearance. A sweater needs enough drape to move with the body, but the exact result depends on the yarn, stitch, hook, and tension working together. Don’t assume that a yarn that looks lovely in a ball will create the fabric you want. The swatch is where you discover that relationship.
Why is gauge and sizing important in a sweater crochet pattern?
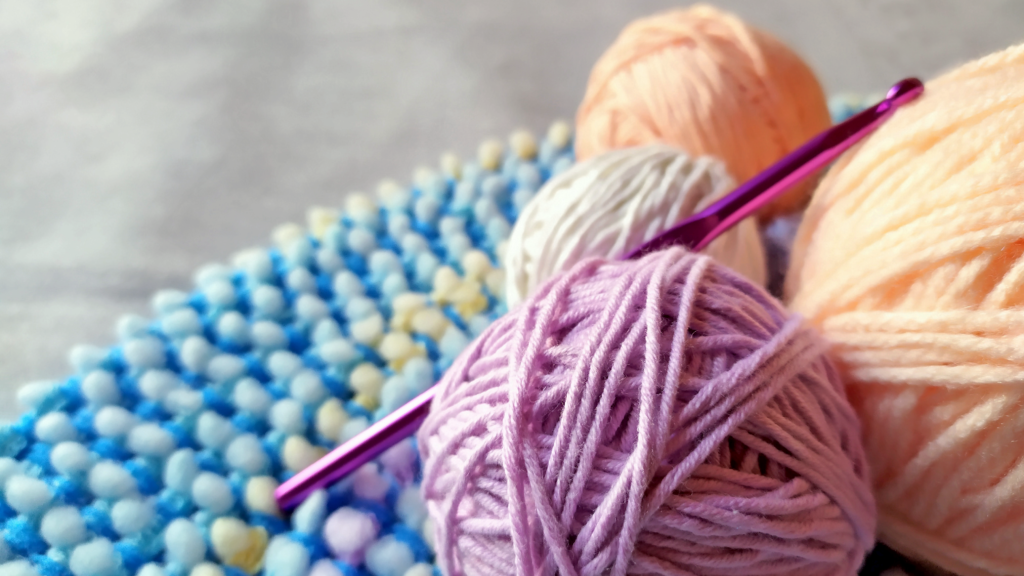
Gauge and sizing are important because a small difference in stitch tension can change the width and length of an entire sweater. Matching the pattern’s gauge gives you a much better chance of achieving the intended finished measurements.
Make the swatch in the main stitch pattern, not only in a simpler stitch that happens to use the same hook. The fabric may behave differently once texture, increases, decreases, or taller stitches are introduced. Make the sample large enough to measure away from the edges, then follow the pattern’s instructions for checking stitches and rows.
If your swatch has too many stitches across the measured area, your stitches are smaller than the pattern’s. If it has too few, your stitches are larger. Adjusting the hook can change the result, but remember that changing hook size can also affect the fabric’s drape. The goal is not simply to force a number; it’s to find a fabric that is both appropriately sized and pleasant to wear.
Take your body measurements while wearing the kind of clothing you expect to wear beneath the sweater. Measure the areas the pattern uses, such as chest or bust, upper arm, body length, and sleeve length. Compare those measurements with the finished garment measurements rather than choosing a size based only on a label like small, medium, or large.
Ease is the difference between your body measurement and the finished garment measurement. A close-fitting sweater will need less extra room than a relaxed pullover, but the amount that feels comfortable is personal. Read the pattern description carefully and consider how you want the sweater to sit at the shoulders, underarms, cuffs, and hem.
It’s completely reasonable to combine size information when the pattern allows it. You might follow one size for the body width and another for sleeve length, but make sure the stitch counts and shaping still connect logically. Write down every adjustment before you begin so you can repeat it on the second sleeve or matching panel.
Which construction is easiest for a first crochet sweater?
The easiest construction for a first crochet sweater is the one whose assembly and shaping you can understand before you start, often a simple panel-based or gently shaped design. The pattern’s clarity matters just as much as the construction itself.
Flat panels
Flat panels are familiar to many crocheters because they are worked back and forth in rows. A basic sweater may use a front panel, back panel, and sleeves, with seams joining the pieces later. This approach makes it easy to lay the pieces flat and compare their size, although sewing and matching the seams require care.
Top-down construction
Top-down sweaters are built from the neckline or shoulders toward the hem. Depending on the pattern, you may be able to try the garment on as you work. This can be helpful for checking length, but you still need to understand where increases occur and how the body and sleeves divide.
Motif-based construction
Motif-based sweaters use joined squares, hexagons, or other repeated units. They can be flexible and visually interesting, but joining many motifs takes time and consistent tension. If you enjoy working small pieces, this may be a comfortable route into garments. If joining is not your favorite task, a panel or top-down design may feel more straightforward.
When you’re curious about garment shaping beyond a standard sweater, a pattern poncho crochet guide can offer useful design inspiration. Ponchos often use simple geometric construction, so they’re a helpful way to think about how flat fabric can become wearable.
How do you read and organize the sweater instructions?
You read and organize sweater instructions by preparing the size information, learning the stitch abbreviations, and dividing the project into clear checkpoints. Avoid starting with the hook in hand before you understand how the pieces connect.
- Read the entire pattern: Look for the construction overview, finished measurements, gauge, stitch key, assembly directions, and finishing instructions.
- Highlight your size: Mark only the numbers that apply to you, especially when the pattern lists several sizes in one line.
- List the pieces: Write down the front, back, sleeves, cuffs, neckband, and any other sections required.
- Identify repeated rows: Circle row repeats, stitch repeats, or shaping intervals so you know when to pause and check your work.
- Record progress: Note the last completed row or round each time you put the project away.
Pay close attention to terms such as “at the same time,” “repeat across,” and “work evenly.” These phrases can change how you approach a row. When shaping is worked at both sides, read the complete instruction before beginning so you understand where the first and final decreases belong.
Use stitch markers as visual reminders rather than relying on memory. A marker can show the beginning of a round, the center of a sleeve, or the location where shaping starts. I find that written notes and markers work especially well together: the marker shows where to act, while the note tells you what should happen next.
Take photographs of pieces before assembly if you’re unsure which side is the front or which edge is the top. Lay the pieces together on a flat surface and compare their proportions. This makes it easier to catch a sleeve that is reversed or a panel that needs turning before you begin sewing.
How do you assemble and shape a beginner sweater?
You assemble and shape a beginner sweater by checking each piece against the pattern measurements, joining the main seams carefully, and attaching sleeves or bands in the order specified. Accurate assembly can make a simple design look polished.
Before sewing, block or arrange the pieces only according to the yarn’s care guidance and the pattern’s recommendations. The goal is to let the fabric settle into a consistent shape, not to stretch it beyond its intended size. Measure again after arranging the pieces so you know the panels still match the planned dimensions.
Place the front and back together with the correct sides facing as directed. Use removable markers or scraps of yarn to hold the shoulder and side seams at regular points. This prevents the edges from shifting while you sew. Work slowly, taking stitches through corresponding rows or stitch tops rather than pulling one side tighter than the other.
For sleeves, find the center of the sleeve cap or sleeve opening if the pattern identifies one. Match that point first, then secure the remaining sections. If the sleeve is worked as a tube, check the right side and wrong side before joining. A sleeve that is twisted during attachment can be difficult to correct later.
Necklines and cuffs deserve patience. A narrow band can draw the fabric inward if it is attached too tightly, while a loose band may not sit neatly. Follow the pattern’s stitch placement and check the garment on a flat surface before fastening off completely.
If you prefer to practice shaping on a smaller wearable item first, explore this crochet top pattern guide. A top can help you become familiar with body measurements, openings, straps, and finishing without the same amount of fabric as a full sweater.
What common mistakes should beginners avoid?
Beginners can avoid common sweater mistakes by checking gauge, counting consistently, measuring as they work, and refusing to rush the assembly stage. A few minutes of checking is usually easier than repairing a completed garment.
- Skipping the swatch: Without a swatch, you may not know whether your stitches match the pattern or whether the fabric feels comfortable.
- Choosing a size by habit: Always compare your measurements with the finished measurements provided by the pattern.
- Ignoring row gauge: You can match the width but still create a body or sleeve that is too long or too short.
- Forgetting the turning chain: Check whether it counts as a stitch and use the same method throughout.
- Working from memory: Keep the instructions nearby and mark each completed section.
- Sewing before comparing pieces: Lay the pieces together first to check that the edges and shaping correspond.
- Making both sleeves at once: Complete notes for the first sleeve before beginning the second so the pair matches.
If your sweater is developing uneven sides, stop and compare the stitch count with the previous row. Look for a missed first or last stitch, an accidental increase, or a decrease worked in the wrong location. If the problem began several rows earlier, unraveling may be the cleanest solution. It’s much easier to correct a small section than to hide an uneven shoulder or sleeve.
Loose ends are another practical consideration. Weaving them in as you complete sections can make the final finishing stage less overwhelming. Secure them on the wrong side and avoid trimming until you’re confident the seam or color change is stable.
How can you customize an easy sweater design?
You can customize an easy sweater design by changing color, length, sleeve style, neckline finishing, or stitch texture after understanding the original construction. Make one change at a time so you can predict how it will affect the fit.
Color is often the simplest adjustment. Stripes can highlight the shape of the sweater, while a single contrasting cuff or hem can add definition without requiring a new stitch pattern. Plan where color changes happen and consider how the front, back, and sleeves will align.
Length adjustments require more care than they first appear to. Adding rows to the body may change where the side seams, sleeves, or shaping meet. If you lengthen the sweater, record the extra rows and check the garment against your measurements before continuing. Sleeve length should be assessed with the sweater worn or laid against a garment with a similar fit.
Texture can also transform a simple design. You might use a subtle ribbed cuff, a raised stitch panel, or alternating rows, but check how the new texture affects gauge and drape. A stitch that looks compact in a swatch may create a heavier or less flexible fabric in a full garment.
For a smaller warm-weather project, a crochet tank top pattern guide can inspire adjustments to straps, armholes, and lightweight construction. The same planning habits apply: measure first, swatch the main stitch, and write down changes as you go.
What should you do after finishing your sweater?
After finishing your sweater, inspect the seams, secure the loose ends, follow the yarn’s care guidance, and try the garment on before making final adjustments. This final review helps you catch small issues while they are still easy to address.
Check the shoulder seams, side seams, sleeve joins, neckline, cuffs, and hem. Look for loose gaps, overly tight areas, or ends that need additional weaving. If the sweater feels different from what you expected, compare it with your notes and measurements rather than assuming the problem is impossible to fix.
Carefully arrange the sweater according to the yarn and pattern guidance. Avoid using heat, moisture, or stretching methods that are not appropriate for your chosen fiber. Let the garment settle fully before judging the final fit.
Keep a project record with the pattern name, size, yarn, hook, gauge, measurements, and alterations. This turns your finished sweater into a useful reference for future garments. You’ll know which adjustments worked, which areas took extra attention, and what you would change next time.
A sweater can teach you much more than a single new stitch. It introduces planning, proportion, shaping, fabric behavior, seaming, and the confidence to make decisions based on your own measurements. When you choose a manageable sweater crochet pattern, prepare carefully, and work in small checkpoints, the project becomes far less mysterious. Gather your supplies, make the swatch, and begin with the piece that feels clearest to you—your next garment can grow one thoughtful row at a time.