Crochet Top Pattern Free: Easy & Stylish Designs
Explore a crochet top pattern free guide with easy shapes, yarn tips, fit advice, stitch ideas, customization options, and polished finishing.
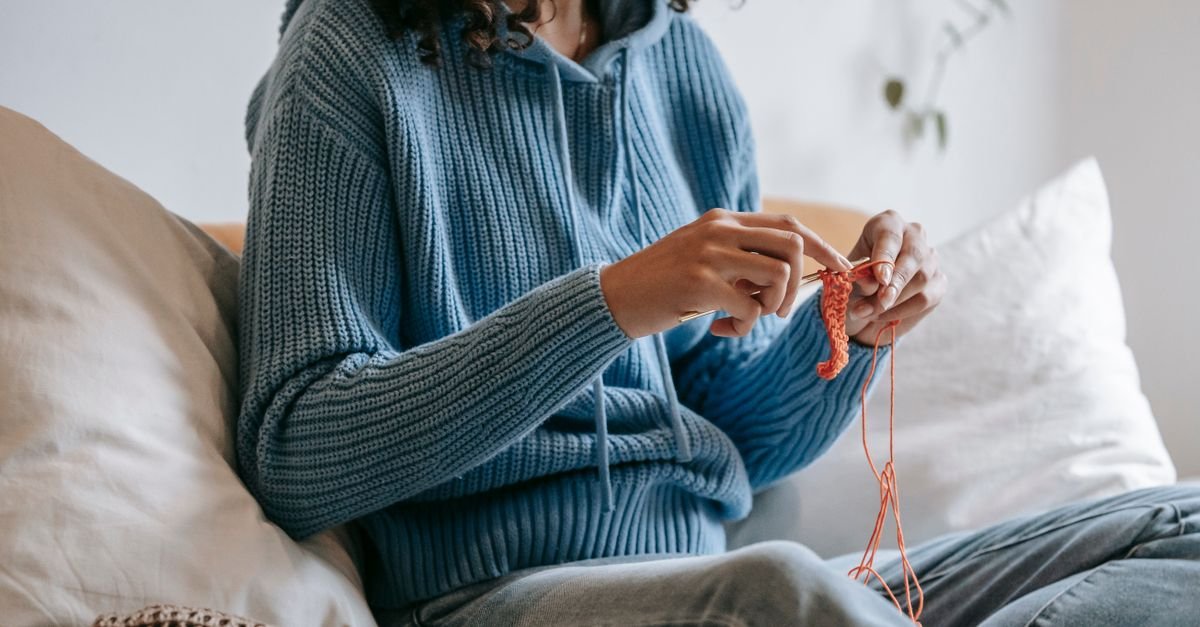
A crochet top pattern free search can lead to so many different styles, from breezy mesh layers and simple tank tops to textured summer shirts and relaxed pullovers. I love that crochet tops let us explore wearable design without always needing complicated shaping. With the right construction, a thoughtful yarn choice, and a little attention to fit, we can create something that feels personal and genuinely useful.
In this guide, I’ll help you choose an easy crochet top pattern, understand the main construction options, plan your size, select a suitable stitch and yarn, and add stylish details without making the project unnecessarily difficult. Whether you’re new to crochet garments or ready to experiment with your next handmade top, let’s explore the choices together.
Table of Contents
How do you choose a crochet top pattern free of unnecessary complications?
The best crochet top pattern free of unnecessary complications has a clear construction, finished measurements, manageable shaping, and instructions you can follow comfortably. A simple pattern can still create a polished garment; it just gives you more room to focus on fit, fabric, and finishing.
Before choosing a design, look at how the top is assembled. Some crochet tops use two flat panels joined at the shoulders and sides. Others are worked from the neckline down, from the hem upward, or in the round. Motif-based designs may use squares or other sections joined into a front and back. None of these methods is automatically better. The right choice depends on whether you prefer seaming, continuous crochet, color changes, or more control over the garment as it grows.
I also recommend checking the instructions for the following details:
- Finished measurements: These tell you how large the garment will be, which is more helpful than relying only on a size label.
- Construction notes: Make sure you understand whether the top is made in pieces, rounds, rows, or motifs.
- Stitch explanations: Look for familiar terminology or instructions for any new stitch pattern.
- Shaping information: Check where increases, decreases, armholes, and neckline changes occur.
- Finishing instructions: Seams, edging, ties, and neckline details can significantly affect the final appearance.
If you’re still becoming comfortable with chains, turning, and stitch placement, a crochet guide for absolute beginners can help you review the basic movements before beginning a wearable. A top may use simple stitches, but consistent edges and careful counting will make the whole project easier.
Try to choose a pattern that matches your current energy as well as your skill level. A garment with a straightforward stitch repeat may be the most enjoyable choice when you want relaxing rows. If you’re eager to learn, select one new technique rather than several at once. For example, you might try a new openwork stitch while keeping the construction simple.
Which construction works best for an easy crochet top?
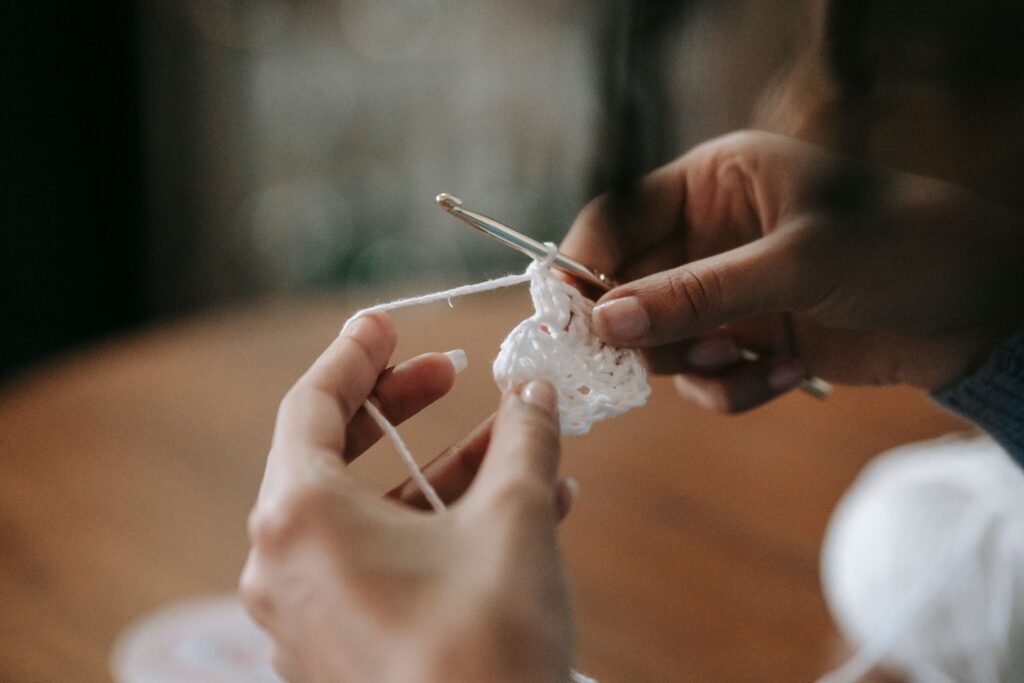
The best construction for an easy crochet top is the one that gives you clear checkpoints and lets you adjust the fit before the entire garment is finished. Simple panels, top-down designs, and motif-based tops each offer useful advantages.
Two-panel crochet tops
Two-panel tops are often approachable because the front and back can be crocheted as separate rectangles or gently shaped pieces. You can lay them flat, compare their sizes, and make adjustments before joining the shoulders and sides. This construction is especially useful when you want to see the garment’s proportions as you work.
The main details to watch are the neckline, arm openings, and side seams. Joining too much of the shoulder edge can make the neck opening smaller than expected, while joining the sides too high can restrict movement. Follow the pattern’s measurements, but also try placing the panels against a garment you already enjoy wearing.
Top-down and one-piece designs
A top-down design usually grows from the neckline toward the hem, while other one-piece tops may begin at the bottom and work upward. These methods can reduce seaming and allow you to check the fit as the fabric develops. They’re a nice option if you prefer keeping your hook moving rather than stopping to assemble separate pieces.
Markers are helpful here. Use them to identify the beginning of a round, raglan-style increase points, side seams, or other repeated sections. Pause regularly to check the neckline and upper body before working the full length. It’s much easier to correct the fit near the beginning than after many rows.
Motif and modular tops
Motif-based tops are a creative choice when you enjoy color changes and smaller sections. Squares, hexagons, lace panels, or strips can be arranged into a wearable shape. This approach makes the project portable, although joining and matching the pieces requires patience.
Motifs also give you an opportunity to test your color palette on a small scale. If you enjoy working with separate pieces, the ideas in these small crochet projects can inspire ways to use compact motifs, flowers, squares, and color experiments in a larger garment.
How should you choose yarn and stitches for a crochet top?
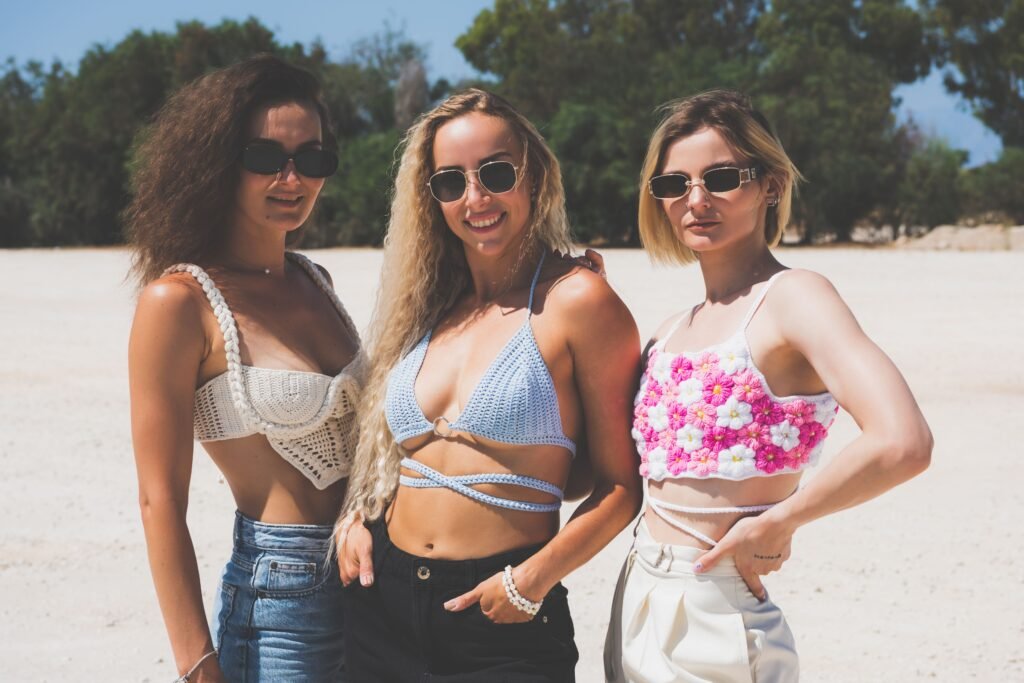
You should choose yarn and stitches for a crochet top by thinking about comfort, drape, breathability, stitch definition, and the way the finished fabric will be worn. A top is a larger piece of fabric that rests against the body, so a small swatch deserves careful attention.
Start by making a sample in the stitch pattern used by the design. Handle it rather than judging it only by sight. Fold it, let it hang, and gently stretch it. Does it feel flexible or stiff? Does the stitch remain visible? Does the fabric have the amount of openness and coverage you want?
Smooth yarn is often easier for a first garment because you can see the stitch tops and spaces clearly. Fuzzy or highly textured yarn may create an interesting surface, but it can hide missed stitches and make unraveling more difficult. A very busy color effect can also obscure an openwork pattern, so consider using a calmer shade when the stitch itself is the main feature.
Stitch choice changes the character of the top:
- Compact stitches can create a more structured fabric with clear rows and coverage.
- Taller stitches may grow more quickly and create a lighter fabric with visible spaces.
- Openwork stitches can make an airy layer, but you should check how much of the underlying clothing will show.
- Textured stitches add dimension, although they may create a denser or heavier fabric.
- Simple repeats are often easier to maintain across a large garment and can look polished with thoughtful finishing.
If you’re drawn to taller stitches, review the stitch sequence in this treble crochet guide before incorporating treble crochet into your swatch. A taller stitch can change row height and openness, so it’s worth seeing how the fabric behaves before committing to the full top.
When substituting yarn, treat your swatch as a fresh starting point. Similar-looking yarns can create very different fabrics depending on texture, twist, fiber, and tension. Rather than assuming the substitute will behave exactly like the original, compare the sample’s feel and measurements with the pattern instructions.
How do you get the right fit with a crochet top pattern free?
You get the right fit with a crochet top pattern free by comparing your measurements with the finished garment measurements and checking the fabric as you work. A size label is only a starting point; the actual dimensions and intended ease matter much more.
Useful measurements may include your upper bust or chest, desired garment length, shoulder width, armhole depth, and neckline opening. You can also measure a top that fits in a way you like. Lay it flat and compare its width and length with the pattern’s finished measurements.
Think about the amount of ease you want. A close-fitting top needs more careful measurement because small differences can affect comfort. A relaxed top gives you more room to move, but too much extra fabric can feel bulky or change the drape. The best fit is the one that suits both the design and the way you plan to wear it.
Length is another important choice. A cropped top may work well over a high-waisted skirt or trousers, while a longer design can function as an everyday shirt or layering piece. If the pattern allows it, you may be able to add or remove rows, but remember that changing length can affect stripes, stitch repeats, shaping, and yarn usage.
Check the project at natural stopping points. Compare front and back panels before seaming, measure the neckline after its first edging round, and try on a top-down design before continuing too far. If something feels wrong, pause and investigate rather than hoping the issue will disappear after finishing.
Shaping may be necessary around the armholes, waist, bust, or neckline. If you’re modifying a design, keep notes about every change. The crochet decrease guide can help you review how decreases shape fabric when you need to narrow a neckline, sleeve area, or garment panel.
How can you make a simple crochet top look stylish?
You can make a simple crochet top look stylish by giving attention to color, proportions, texture, edging, and small details. The design does not need to be complicated; one or two intentional features can create a strong finished look.
Use color as part of the construction
Color blocking can make a basic top feel modern and deliberate. Try a solid body with a contrasting neckline, broad stripes across the front and back, or a repeating sequence of related shades. If the top is made from motifs, choose a joining color that appears throughout the design to connect the separate pieces.
Before beginning, place the yarn colors beside one another in several possible orders. A palette may look balanced as separate balls but feel different when worked into wide stripes. If you’re using a variegated yarn, test it in the chosen stitch so you can see whether the color changes highlight or hide the pattern.
Let the neckline frame the design
The neckline is one of the first details people notice, and it also affects comfort. A simple round opening can create a clean everyday style, while a square, boat, or shallow V shape can give the top a more distinctive outline.
Neckline edging can be subtle or decorative. A few neat rounds in the main color can stabilize the opening, while a contrasting color can make it a focal point. Avoid pulling the edging too tightly, since that can draw the fabric inward and make the opening uncomfortable.
Try a focused texture
Texture works beautifully when it has room to be seen. Instead of covering the entire top in a complicated stitch, you could use texture along the hem, across a yoke, down the center, or around the sleeves. Keeping the main body simple makes the textured section easier to follow and gives it more visual importance.
Add a thoughtful border
A border can bring the hem, neckline, and sleeves into the same design language. Repeat one stitch around each edge, use a contrasting round, or add a small scalloped detail if it suits the fabric. Make a short sample when you’re unsure, particularly if the edge may add weight or change the way the garment hangs.
You can also take inspiration from other wearable constructions. These free crochet sweater patterns offer ideas for color placement, relaxed silhouettes, borders, sleeves, and other details that can be adapted to a lighter crochet top.
What common crochet top problems should you avoid?
The most common crochet top problems are inconsistent tension, an uncomfortable neckline, mismatched panels, unexpected stretching, and fabric that is too dense or too open. Regular checks help you catch these issues while they’re still manageable.
- The front and back are different sizes: Compare them while working and check the stitch count, row count, and tension.
- The neckline is too tight: Inspect the opening before adding more edging, since additional rounds may make it smaller.
- The armholes restrict movement: Recheck where the side seams or sleeve joins begin and compare the opening with a garment you can move comfortably in.
- The fabric stretches more than expected: Consider the weight of the completed piece and measure it after gently handling the swatch.
- The fabric feels stiff: Review the stitch, yarn, and tension before continuing with the whole garment.
- The edges wave or pull inward: Check stitch counts and make sure the edging is worked evenly without tight tension.
Avoid relying on memory when making matching pieces. Write down the row where shaping begins, the number of repeats, the color order, and any adjustments. This is especially helpful for sleeves, shoulder sections, and symmetrical front panels.
Don’t be afraid to unravel. Undoing a few rows may feel frustrating, but it is usually less troublesome than finishing a garment that doesn’t fit or hang as intended. If you’re unsure whether a change worked, lay the piece flat and compare it with your measurements before continuing.
How should you finish and style your handmade crochet top?
You should finish a handmade crochet top by securing the seams, refining the edges, checking the shape, and following the yarn’s care guidance. Good finishing gives a simple pattern a more polished appearance and helps the garment feel intentional.
Before weaving in every end, lay the top flat and inspect the shoulders, side seams, neckline, armholes, and hem. If the garment uses separate panels, align the rows carefully before sewing. Work a short section of the seam, turn the piece right side out, and check how it looks before completing the full join.
Weave in tails on the wrong side by moving through several directions of the fabric. Avoid pulling them so tightly that the stitches pucker. Color changes can leave several ends in one area, so distribute them where possible and pay extra attention to places that will receive movement.
If the pattern includes ties, buttons, or other closures, consider how they affect the garment’s weight and drape. A delicate openwork top may suit a light tie, while a firmer fabric may support a more substantial detail. Reinforce attachment points and test the placement before making everything permanent.
Styling can be simple. Wear an openwork top over a camisole, layer a solid crochet shirt beneath a jacket, or pair a cropped design with a high-waisted bottom. If the crochet has bold texture or color, keep the rest of the outfit quieter so the handmade fabric remains the focus.
For another relaxed garment idea, explore this pattern poncho crochet guide. Ponchos use a different silhouette, but the same planning principles apply: compare finished measurements, assess drape, choose a construction you understand, and use edging or color to personalize the result.
Follow the yarn label and pattern guidance when caring for the finished top. Support the fabric while handling it, and avoid stretching the neckline or hem beyond the shape you want to keep. If you’re uncertain about a finishing or reshaping method, test it on your swatch first.
What should you do before starting your crochet top?
Before starting your crochet top, choose a wearable silhouette, make a swatch, compare finished measurements, and read through the instructions from beginning to end. These steps create a practical plan while leaving plenty of room for creativity.
Begin by deciding what you want to explore. Maybe it’s an airy stitch, a new construction, a calm color palette, or a decorative neckline. Choose one main experiment and keep the other decisions familiar. That balance can make the project interesting without making it overwhelming.
Gather your hook, yarn, measuring tape, stitch markers, scissors, yarn needle, and a notebook for project notes. Record your swatch observations, especially how the fabric feels and whether it changes after handling. Measure the garment at useful checkpoints rather than waiting until the end.
If you’re working from a crochet top pattern free of cost, remember that “free” does not mean you have to rush through it or accept a fit that doesn’t suit you. Take the time to understand the instructions, make thoughtful adjustments, and choose details that reflect your style.
Once your swatch and plan feel right, begin with confidence and let the fabric guide you. A simple panel can become a polished everyday top; a few motifs can turn into a colorful statement piece; and a straightforward stitch can look entirely different when paired with a carefully chosen border. Choose the design that makes you want to pick up your hook, then enjoy discovering where your next handmade top leads.