
Crochet Decrease Stitch: Easy Step-by-Step Guide
Learn the crochet decrease stitch step by step, including single, half double, double, and treble crochet decreases, shaping tips, and common fixes.
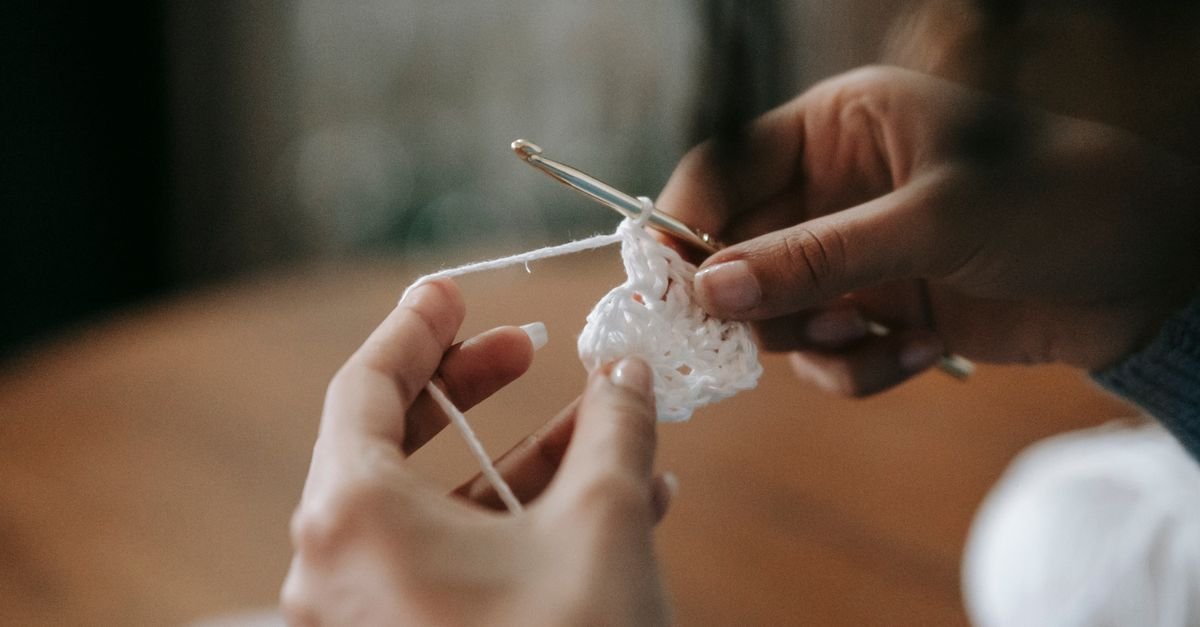
A crochet decrease stitch is one of the most useful techniques for shaping hats, sleeves, amigurumi, bags, necklines, and many other projects. The basic idea is simple: you work across two stitches but finish them together as one. That removes one stitch from your row or round and lets the fabric gradually become narrower.
If the words “decrease,” “reduce,” or “two together” make you pause, you’re in the right place. I’ll break the technique into small steps, explain what changes for different crochet stitches, and share the checks that help keep your shaping neat. Once we understand what the hook is doing, a crochet decrease stitch feels much more manageable.
Table of Contents
What is a crochet decrease stitch?
A crochet decrease stitch combines two or more unfinished stitches into one completed stitch. The most common version works across two neighboring stitches, reducing the total stitch count by one.
For example, if a row begins with twelve stitches and you work one decrease across the next two stitches, the completed row will contain eleven stitches, assuming you haven’t added any increases or made other changes. The decrease does not usually remove a row. Instead, it changes the width of the fabric.
Patterns may describe the technique in several ways:
- Decrease: A general instruction to make the fabric narrower.
- Reduce: Another way to describe decreasing.
- Two together: A reminder that two stitches are completed as one.
- sc2tog, hdc2tog, dc2tog, or tr2tog: Abbreviations naming the stitch being decreased.
The stitch height matters because a single crochet decrease uses a different sequence from a double crochet or treble crochet decrease. However, the underlying principle stays the same: begin one stitch, leave it unfinished, begin the next stitch, and complete the stitches together.
Decreases can appear at the beginning or end of a flat row, at regular intervals across a row, in the center of a design, or evenly around a round. Their placement controls the outline. A decrease at each edge can create a sloping side, while evenly spaced decreases around a round can close the crown of a hat or shape a rounded piece.
How do you work a crochet decrease stitch neatly?
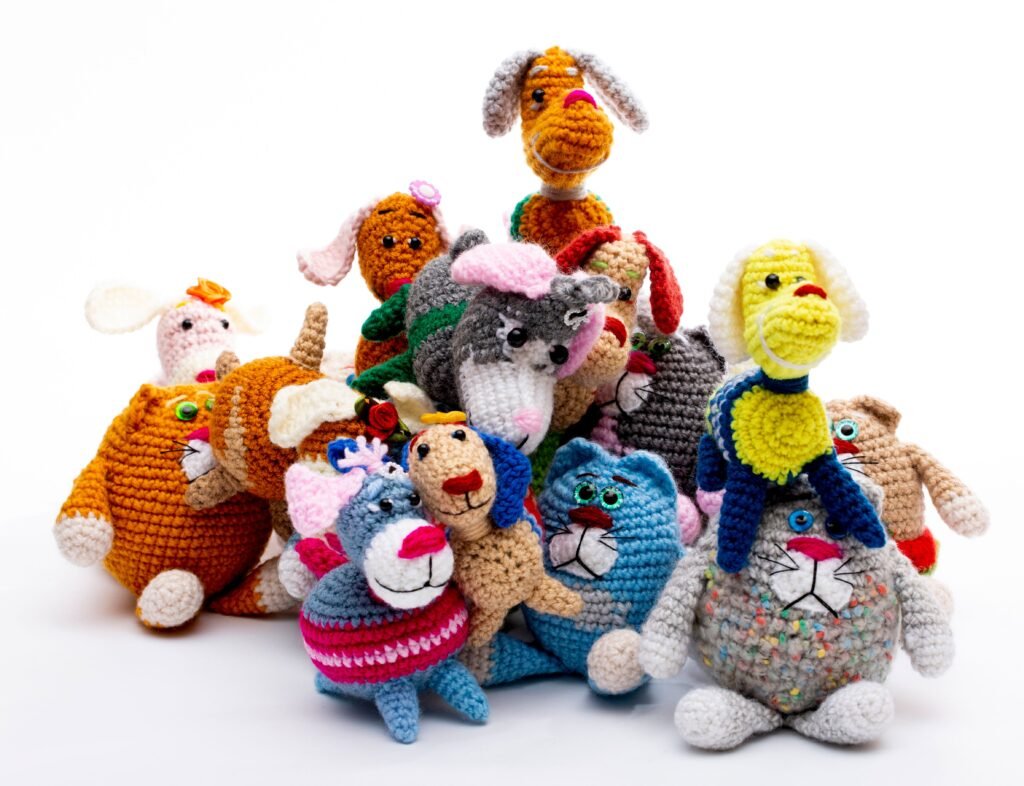
You work a crochet decrease stitch neatly by identifying the correct stitches, leaving each partial stitch unfinished, and maintaining the same relaxed tension as the surrounding fabric. A little care at the beginning prevents loose loops, gaps, and uneven shaping later.
- Read the entire shaping instruction before starting.
- Find the stitch tops where the decrease belongs.
- Begin the first stitch but stop before its final completion.
- Begin the next stitch in the correct location and leave it unfinished too.
- Complete the combined stitch with the final yarn over and pull-through.
- Count the stitches after the decrease row or round.
When locating the stitches, insert the hook into the stitch tops rather than a gap between stitches. The completed decrease may look a little wider or lower than a regular stitch, so it can help to place a marker at the beginning or end of the shaping section.
Keep the loops on your hook at a comfortable height. Pulling them too tightly can make the decrease pucker, while leaving them very loose can create a hole. Try to match the tension of the regular stitches around it.
If the pattern creates a symmetrical shape, pay close attention to the spacing. The first decrease may be worked near the beginning of a row and the second near the end, or the instructions may tell you to leave a specific number of stitches between them. Don’t move a decrease simply because another position looks easier; even a small change can alter the slope.
For a helpful review of chains, turning, stitch placement, and reading the fabric before practicing shaping, visit this crochet guide for absolute beginners. A small practice rectangle is a useful place to learn because you can concentrate on the hand movement without worrying about the final size of a larger project.
How do you make a single crochet decrease?
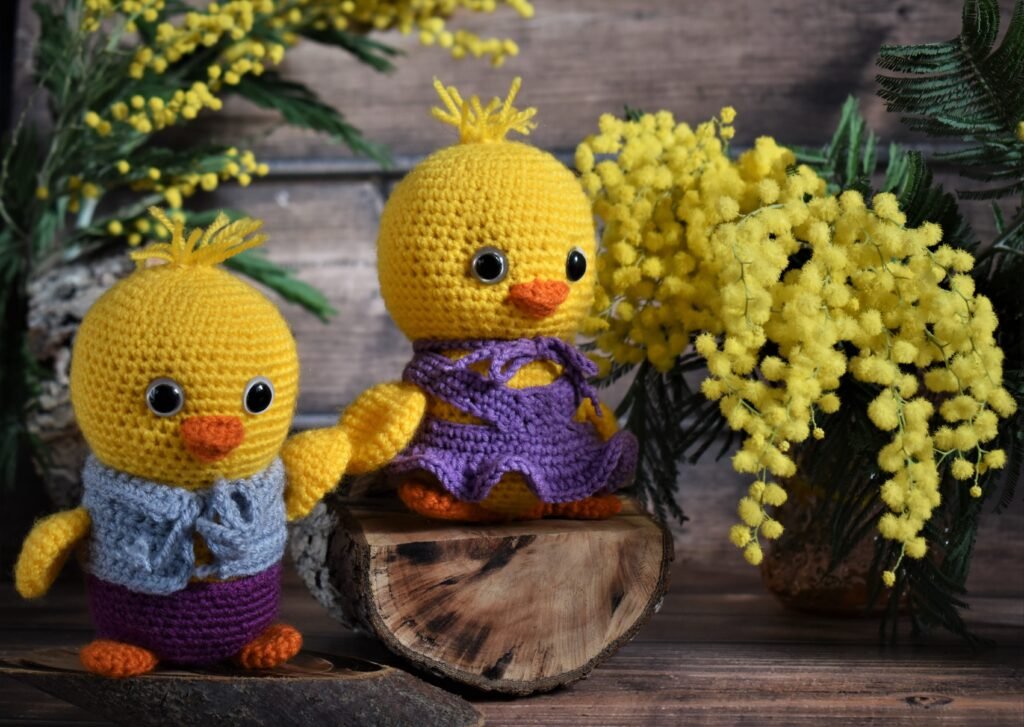
To make a single crochet decrease, often written sc2tog, begin a single crochet in the first stitch, begin another single crochet in the next stitch, and pull through all the loops together at the end.
- Insert the hook into the first stitch.
- Yarn over and pull up a loop. There are now two loops on the hook.
- Insert the hook into the next stitch.
- Yarn over and pull up a loop. There are now three loops on the hook.
- Yarn over and pull through all three loops.
The two stitches underneath have become one single crochet. Look at the top of the fabric and identify the new stitch. It should have a recognizable stitch top, although it may look slightly more compact than the single crochets beside it.
How can you make a single crochet decrease less visible?
You can make a single crochet decrease less visible by keeping the tension even and using an invisible decrease when the pattern calls for one. A standard sc2tog is suitable for many flat pieces, edges, and shaped sections, while an invisible decrease is often chosen when the outside surface of a project needs a smoother appearance.
For an invisible single crochet decrease, the hook is commonly inserted through the front loops of the two stitches being combined before the decrease is completed. Follow the method given by the pattern because terminology and exact instructions can vary.
Whether you use a regular or invisible decrease, avoid pulling the final yarn over too tightly. A neat decrease should narrow the fabric without creating a hard bump or a visible hole beside it.
How do you decrease half double crochet, double crochet, and treble crochet?
You decrease taller crochet stitches by starting each stitch separately, leaving the final step unfinished, and then completing the group with one final pull-through. The number of yarn overs and partial pull-throughs changes with the stitch height.
Half double crochet decrease
A half double crochet decrease, usually written hdc2tog, combines two half double crochet stitches into one.
- Yarn over and insert the hook into the first stitch.
- Yarn over and pull up a loop.
- Yarn over and insert the hook into the next stitch.
- Yarn over and pull up a loop.
- Yarn over and pull through all loops on the hook.
Because the last pull-through completes both half double crochets, the decrease can feel fuller than a single crochet decrease. Keep the loops from becoming either too tight or unusually tall so the shaping blends into the row.
Double crochet decrease
A double crochet decrease, or dc2tog, starts one double crochet, stops before the final pull-through, starts another double crochet in the next stitch, and then finishes both together.
- Yarn over and insert the hook into the first stitch.
- Yarn over and pull up a loop.
- Yarn over and pull through two loops, leaving the stitch unfinished.
- Yarn over and insert the hook into the next stitch.
- Yarn over and pull up a loop.
- Yarn over and pull through two loops.
- Yarn over and pull through the remaining loops on the hook.
A double crochet decrease can change the outline more noticeably than a single crochet decrease because double crochet creates a taller fabric. Check the pattern’s placement carefully when shaping sleeves, necklines, triangular panels, or other pieces where the angle matters.
Treble crochet decrease
A treble crochet decrease, often written tr2tog, follows the same unfinished-stitch principle while using the extra yarn overs required for treble crochet. Work the first treble crochet until its final step, begin the second treble crochet in the next stitch, and finish both stitches together.
It helps to practice a complete treble crochet before attempting the decrease. If the taller stitch sequence is unfamiliar, this treble crochet guide can help you review the movement first. Taller decreases may be more visible when tension changes, so consistency matters.
Where should you place crochet decreases?
You should place crochet decreases exactly where the pattern indicates because the position determines the shape of the fabric. The same number of decreases can create a sharp angle, a gradual slope, or a centered point depending on where they are worked.
- At the row edges: This is common for armholes, necklines, triangular pieces, and angled panels.
- Evenly across a row: This gradually narrows a wide section.
- At the center: Centered decreases can form a point, dart, or decorative shaping line.
- Around a round: Spaced decreases can close a hat crown, taper a tube, or shape a stuffed piece.
In flat crochet, note whether decreases happen on every row, every other row, or according to a repeating sequence. Decreasing on consecutive rows usually creates a faster change in width than alternating decrease rows with plain rows.
In round crochet, stitch markers can identify the round beginning and repeated decrease points. Count after each decrease round until the rhythm is familiar. If the decrease positions drift, the fabric may twist or develop an uneven outline.
Shaping is especially important in garments. The construction ideas in these free crochet sweater patterns can help you recognize how decreases may be used around armholes, necklines, sleeves, cuffs, and other fitted sections. Always compare the growing piece with the pattern measurements instead of relying only on a size label.
What projects use a crochet decrease stitch?
A crochet decrease stitch is useful in any project that needs to become narrower, taper toward an end, or develop a curved outline. The best decrease depends on the stitch pattern, the location of the shaping, and how visible you want the reduction to be.
Hats and beanies
Hat crowns often use evenly spaced decreases to close the top after the sides reach the intended height. The decrease rounds should gradually pull the opening inward without creating sudden folds. Check the crown as you go; if it puckers sharply, the shaping or tension may be too tight, while excess ruffling suggests that the fabric has not narrowed enough for the current round.
These free crochet hat patterns for beginners offer more inspiration for working in rounds, checking fit, and thinking about crown shaping.
Garments and sleeves
Decreases can shape an armhole, neckline, waist, sleeve, or cuff. When making matching pieces, write down the row where every decrease occurs. Comparing the front and back or the two sleeves while they grow is much easier than trying to reconstruct the shaping later.
Remember that a correct decrease sequence can still produce unexpected dimensions if your tension differs from the pattern. Measure the fabric and compare it with the finished measurements as you work.
Bags and baskets
In bags and baskets, decreases can taper the opening, form a flap, or create angled sides. Single crochet decreases can support a firm outline, while taller stitches can create a more open fabric. A swatch helps you see whether the fabric has the structure and appearance you want.
Motifs, blankets, and decorative pieces
Decreases can form triangles, diamonds, chevrons, points, and shaped motifs. If you design your own project, record the exact placement of every decrease and keep a sample nearby. These crochet blanket patterns can inspire ways to combine shaping with stripes, motifs, borders, and textured sections.
Amigurumi and stuffed crochet
In amigurumi, decreases often shape heads, bodies, ears, muzzles, limbs, and other rounded parts. Since the outside of the fabric is usually visible, steady tension is important. An invisible decrease may be useful when the pattern specifically requests a smooth surface.
How do you fix common crochet decrease mistakes?
You can fix common crochet decrease mistakes by stopping early, checking the stitch count and insertion points, and undoing only the affected section when possible. Most shaping problems become harder to hide after several more rows, so a quick inspection is worthwhile.
- A hole appears beside the decrease: Check that the hook entered both intended stitches and that the unfinished loops were not left too loose.
- The fabric puckers: Relax your tension and avoid pulling the final loop too tightly.
- The slope is uneven: Compare the decrease positions on both sides of the row or round.
- The stitch count is incorrect: Count the stitches below the decrease and check whether the turning chain counts as a stitch in the pattern.
- The shaping is too sharp: Look at how frequently the pattern places decreases and whether plain rows should separate them.
- The decrease seems missing: Check whether the combined stitch was counted as one and whether you accidentally worked into a nearby space.
When you unravel, go slowly and identify the two stitches that should be combined before trying again. It can help to place a marker in the correct stitch or make a small note beside the pattern.
If you’re working a shaped garment, you can also review this crochet decrease guide for additional reminders about single, half double, double, and treble crochet decreases. The most important habit is to count after the shaping row and compare the fabric with the intended outline.
How can you practice the crochet decrease stitch?
You can practice the crochet decrease stitch on a small swatch using a familiar yarn and one stitch height at a time. Start with a rectangle of single crochet, work several regular rows, and then place decreases at the edges or across the center. This lets you see how stitch placement changes the slope.
After single crochet, try the same exercise with half double crochet, double crochet, and treble crochet. Notice how the taller stitches affect the height and appearance of the shaping. Keep your tension relaxed and count the stitches after every decrease row.
It’s also useful to practice the difference between a regular decrease and an invisible decrease when your pattern includes both options. Compare the fabric from the front and back, then decide which finish suits the project.
Once the movement feels familiar, look for a small project that uses one clear shaping technique. A hat crown, simple pouch flap, triangular motif, or small stuffed piece can give you practical experience without requiring a large commitment.
When a pattern says to decrease, remember the simple picture: begin one stitch, begin the next stitch, and complete them together. Read the placement carefully, keep the loops even, and count the result. With those habits in place, shaping becomes another creative tool we can use to turn flat rows and rounds into projects with structure, curves, and personality.