Free Crochet Hat Patterns: Easy Designs for Beginners
Explore free crochet hat patterns with beginner-friendly designs, yarn advice, shaping tips, fit guidance, and creative ways to customize every hat.
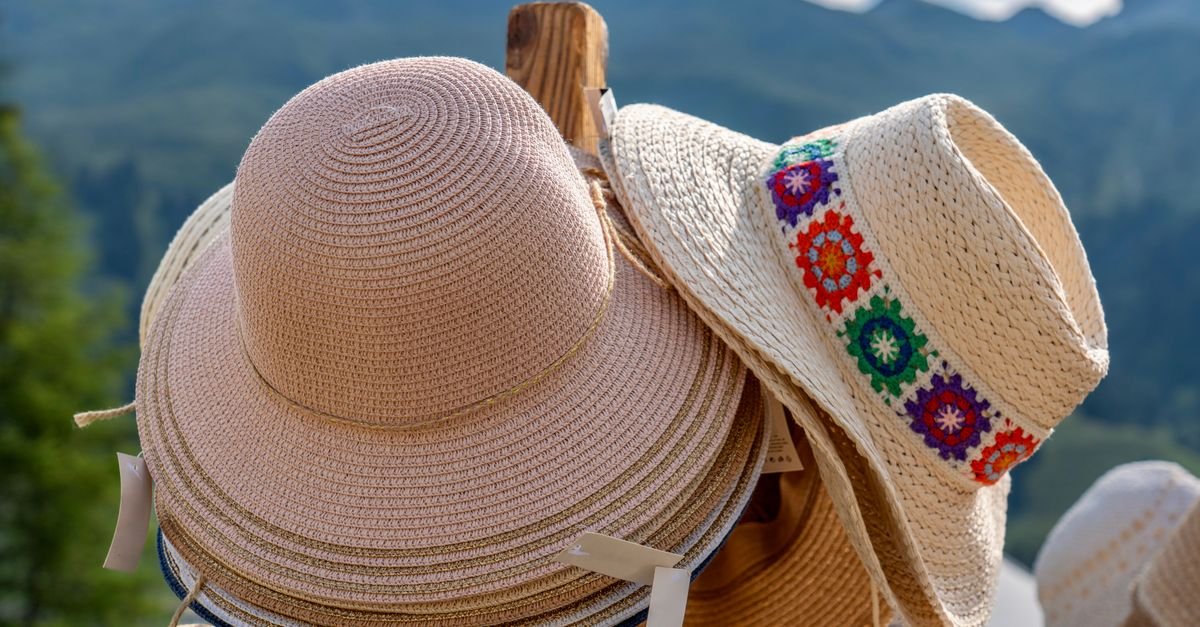
Free crochet hat patterns are a wonderful place to begin when you want a useful project that teaches several important skills without requiring a huge time commitment. Hats introduce us to working in rounds, shaping with increases and decreases, checking measurements, managing tension, and adding neat finishing details. They’re also small enough to encourage experimentation with color, texture, and fit.
In this guide, I’ll walk through the choices that make an easy crochet hat more approachable. We’ll look at beginner-friendly construction, yarn and hook decisions, crown shaping, brims, sizing, common problems, and design ideas you can use to make a hat feel personal. You won’t need to copy one exact style. Once the basic structure makes sense, you can explore many variations with confidence.
Table of Contents
Why are free crochet hat patterns a good beginner project?
Free crochet hat patterns are a good beginner project because they let you practice essential techniques in a manageable shape. A hat usually develops through a few clear stages: a crown that grows outward, sides that continue downward, and a lower edge or brim that completes the fit.
This structure gives you useful checkpoints as you work. You can examine the crown before committing to the sides, try the hat on before adding the brim, and change the length without redesigning an entire garment. That flexibility is especially helpful when you’re still learning how your tension affects the fabric.
A hat can also introduce you to crochet in the round. You may work joined rounds, closing each round with a slip stitch, or continuous rounds, moving from one round into the next without a visible join. Neither method is automatically better. Joined rounds can make the structure easier to count, while continuous rounds may reduce the appearance of a seam. For a first project, choose the method that the instructions explain clearly.
If you’re still becoming comfortable with chain stitches, turning, and stitch placement, review the crochet guide for absolute beginners before starting. A few minutes spent refreshing the basics can make the hat-building process feel much less mysterious.
Hats are also excellent practice for reading the fabric instead of blindly following numbers. If a crown curls, ruffles, or leans, the shape is giving you information. Learning to pause and respond to that information is one of the most useful habits you can develop as a crocheter.
What supplies do you need for an easy crochet hat?
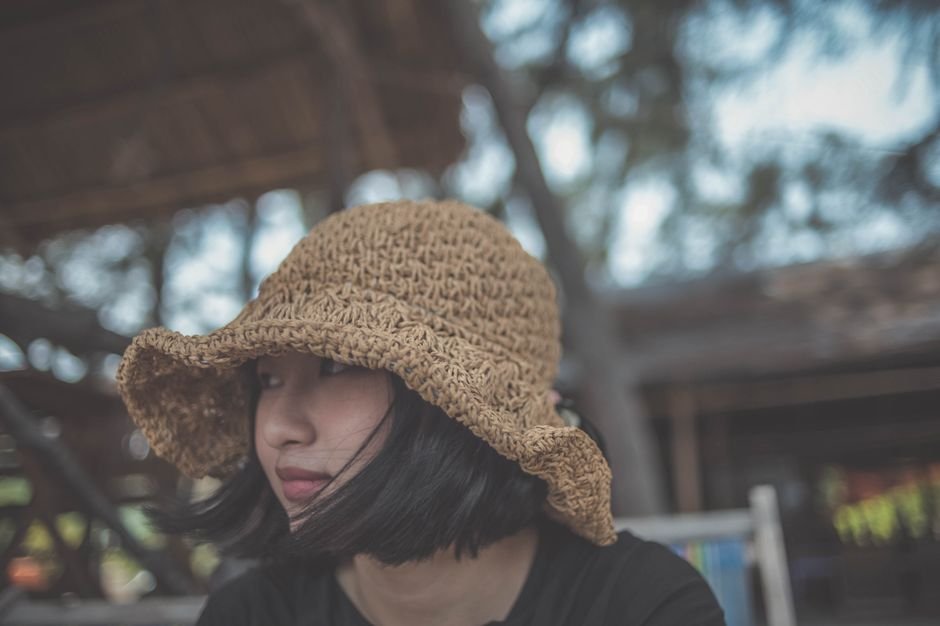
You need yarn, a suitable crochet hook, scissors, a yarn needle, and a way to mark the beginning of rounds for an easy crochet hat. A measuring tape is helpful, but you can also compare the hat with the intended head measurement as it develops.
- Yarn: Choose a yarn that feels comfortable against the head and creates a fabric with the stretch and structure you want.
- Crochet hook: Start with the hook suggested by the yarn label or pattern, then adjust after making a small sample.
- Stitch marker: A marker helps you identify the beginning of a round, especially when working continuously.
- Yarn needle: Use it to secure the final tail and any color-change ends.
- Scissors: Keep them nearby for clean color changes and finishing.
- Measuring tape: This makes it easier to compare the crown and finished circumference with the intended fit.
Smooth, clearly colored yarn is often easier to work with while learning because you can see the top loops and stitch placement. Very fuzzy or dark yarn may hide the structure, making it harder to count and correct mistakes. That doesn’t mean textured yarn is unsuitable; it simply asks you to pay closer attention and may be better once the construction feels familiar.
Make a small swatch in the stitch you plan to use. The swatch lets you check whether the fabric feels soft, firm, flexible, open, or dense. It also gives you a chance to decide whether your hook produces the kind of stretch a hat needs. If the fabric feels rigid, try a larger hook. If it looks too loose for the style you want, test a smaller hook.
Do not assume that changing yarn or hook size will preserve the same fit automatically. Even a small change can affect the crown, circumference, height, and stretch. If you substitute materials, treat the swatch as a fresh starting point and measure the fabric as you work.
How do you shape the crown of a crochet hat?

free crochet hat patterns
You shape the crown of a crochet hat by beginning at the center and distributing increases around each round until the crown reaches the width needed for the intended fit. The exact increase routine depends on the stitch, yarn, hook, and tension, so the fabric should guide your adjustments.
Begin with either a magic ring or a short chain joined into a ring. A magic ring can close the center neatly, while a chain ring may feel simpler if you’re new to adjustable loops. Work the first round of stitches into the ring, then mark the beginning of the next round.
As you add increases, watch the crown carefully:
- If the crown curves upward like a bowl, it likely needs more width. Add increases in the next round or check whether your tension is too tight.
- If the crown becomes wavy or ruffled, it may have too many increases. Space them farther apart or work fewer increases.
- If one section looks fuller than another, check that the increases are distributed evenly.
- If the crown lies mostly flat and grows in a balanced circle, continue checking the size before moving to the sides.
Beginners often worry about making every increase line up perfectly. Consistency matters, but you can stagger increases to reduce strong visible lines. The important part is keeping the overall shape balanced. Count stitches regularly, particularly after rounds with several increases, and use a marker so the beginning of each round remains clear.
Stop increasing when the crown is wide enough for the hat style and head size you’re making. Don’t continue adding increases simply because the pattern has not yet begun the sides. Once you move into even rounds, the crown will curve downward and the project will gain circumference through its existing width.
For a more detailed approach to working a hat from the top down, see these free crochet hat directions. They offer a flexible way to think about the crown, sides, and brim while encouraging you to check the fit as you go.
Which stitches and constructions work well for beginners?
The best beginner stitches and constructions are the ones you can recognize, count, and repeat without losing track of the hat’s shape. A simple stitch can create a polished result when the crown, sides, and finishing edge are worked evenly.
Single crochet hats
Single crochet creates a compact fabric with clear stitch definition. It can be a useful choice when you want a firm hat with a sturdy surface, although tight tension may make the fabric less flexible. Check the stretch before working the entire project.
Half double crochet hats
Half double crochet offers a comfortable middle ground between shorter and taller stitches. It gives the hat visible rows while allowing it to grow at a moderate pace. Because the stitch can have a slightly different appearance on the first and last loops, count carefully around the crown and sides.
Double crochet hats
Double crochet grows more quickly and can create a lighter fabric with visible spaces between stitches. It works well for relaxed designs, but you should consider how open the fabric feels and whether it provides the coverage you want.
Ribbed and textured hats
Ribbing often comes from working through one loop of the previous stitch, creating horizontal ridges and extra flexibility. Post stitches, alternating loop stitches, clusters, and simple color changes can also add interest. I recommend keeping the crown fairly straightforward when experimenting with texture, because raised stitches can alter the width and make shaping harder to predict.
Construction matters as much as stitch choice. A top-down hat is easy to understand because it grows from the center outward. A bottom-up hat begins with the lower edge and works toward the crown, which can be useful when you want to emphasize a ribbed brim. A flat rectangle sewn into a tube is another beginner-friendly option, particularly for a simple ribbed beanie, although the seam becomes part of the design.
Try not to combine a new stitch, unfamiliar construction, complex colorwork, and custom sizing in the same first project. Choose one area for exploration and keep the other decisions simple. That approach gives you room to learn without making every part of the hat feel uncertain.
How do you check the fit and add a comfortable brim?
You check the fit by measuring the crown, trying on the sides before finishing, and adding a brim that feels secure without pinching. A hat should sit comfortably on the head while retaining enough structure to avoid slipping or losing its shape.
Once the crown is wide enough, work even rounds without additional increases. The hat should begin curving downward. Continue until the sides reach the length you want for the style. A close-fitting beanie may have a shorter body, while a slouchier design needs more length. If you’re making ear flaps, finish the main body first and add them afterward.
Try the hat on gently as it grows. Avoid pulling it forcefully over the head, especially if the fabric is still being shaped. Look at the lower edge as well as the crown. If the hat fits around the head but sits too high, add more even rounds. If it is already long enough but loose, adjust the brim rather than continuing downward.
A brim can use the same stitch as the body, a contrasting color, or a ribbed texture. Work the first brim round evenly, then continue for as many rounds as suit the intended style. Keep your tension relaxed enough that the edge doesn’t draw the hat inward unexpectedly.
- Simple brim: Continue the main stitch for a clean, understated finish.
- Ribbed brim: Work through one loop to create ridges and added flexibility.
- Folded brim: Add extra rounds, fold the edge upward, and secure it if you want a more structured look.
- Contrast brim: Change color at the lower edge for a clear design detail.
Before weaving in the final end, try the hat on once more. If the brim is too tight, you may need to remove a round, loosen your tension, or remake the edge with a different hook. If it is too loose, a firmer stitch or a more structured edging may help. Make the correction while the project is still manageable rather than hoping the fit will change after finishing.
How can you customize free crochet hat patterns?
You can customize free crochet hat patterns by changing color, texture, length, brim style, and small decorative details while keeping the basic crown and side construction intact. Start with one change at a time so you can see how it affects the finished shape.
Use color with a simple stitch
Stripes are one of the easiest ways to transform a plain hat. Try narrow alternating rounds, broad color bands, a contrasting crown, or a bright brim against a neutral body. Write down your color order as you work, especially if you plan to make a matching set later.
When changing colors, finish the final pull-through of the previous stitch with the new color if the pattern recommends that method. Secure the unused ends as you go or plan a finishing session so the inside of the hat remains neat.
Add a small motif
A flower, star, initial, or geometric shape can turn a basic hat into a more personal accessory. Attach the motif near the brim, at one side, or on a folded cuff. The layered shaping in this crochet poppy flower guide can inspire a floral decoration, whether you use a similar flower or adapt the idea into a smaller appliqué.
Explore a shaped embellishment
Three-dimensional crochet details can add character, but keep them lightweight so the hat remains comfortable. The petal construction discussed in this crochet calla lily pattern guide may inspire a sculptural flower, curved accent, or detachable decoration. You don’t need to reproduce the entire project to borrow an idea about shaping.
Make a matching accessory set
A hat can become part of a coordinated set with a scarf, cowl, mittens, or sweater. Keep the same main color and repeat one texture, such as ribbing or alternating stripes. If you’re planning a larger handmade wardrobe, the construction and fit ideas in these crochet sweater patterns can help you think about color placement and wearable proportions.
For a larger gift set, you might also coordinate the hat with a blanket or lap throw. The color-planning ideas used in crocheted afghans can translate nicely into stripes, motif colors, and a shared border shade, even though a hat requires different shaping.
What common crochet hat problems should you fix?
The most common crochet hat problems involve crown shape, stitch count, tension, and length. The sooner you identify the cause, the easier the correction will be.
The crown curls upward
A crown that curls upward usually needs more width or a little more flexibility. Check whether the fabric is too tight, then consider adding increases in the next round. If the stitch is naturally dense, a larger hook may create a more comfortable fabric.
The crown ruffles
Ruffles usually mean that too many increases have been added for the yarn, stitch, and tension combination. Work an even round, reduce the next increase sequence, or space the increases farther apart. Mild waviness may settle as the hat curves, but pronounced rippling generally deserves correction.
The hat leans
A leaning hat may have uneven increases, missed stitches, or a beginning-of-round seam that gradually shifts. Count several rounds and compare the stitch distribution. If you’re working continuous rounds, move the marker carefully. If you’re working joined rounds, check the turning chain and slip-stitch placement.
The hat is too tight or too loose
First determine whether the problem comes from the crown circumference, the side length, or only the brim. If the whole hat is too tight, you may need a larger hook, more crown width, or a different stitch. If only the brim is tight, adjust the brim rather than remaking the entire hat. If the hat is too loose, check whether the crown was increased for too many rounds or whether the fabric is stretching more than expected.
The sides are too short
Work additional even rounds before adding the brim. This is one of the easiest adjustments because it changes the height without altering the crown. Measure the hat while it is relaxed and compare it with how you want it to sit on the head.
Keep notes about every correction: yarn, hook, stitch, crown stopping point, number of side rounds, and brim style. Those notes are especially useful if you want to recreate a comfortable fit or make several hats for different people.
What should you do before starting your first hat?
Before starting your first hat, choose a simple construction, make a small swatch, decide how you’ll check the fit, and read the instructions all the way through. These steps take little time and can prevent many frustrating surprises.
Begin with a yarn that lets you see the stitches clearly. Mark the beginning of each round, count often during the crown, and pause whenever the fabric looks different from what you expect. A mistake found near the beginning is usually much easier to fix than one discovered after the brim is complete.
Choose one design feature to explore. You might try stripes, a ribbed brim, a flower, a folded cuff, or a slightly slouchier shape. Keeping the rest of the project simple allows you to notice how that one choice changes the texture and fit.
Most importantly, give yourself permission to make adjustments. Crochet tension varies, and a hat is a practical project for learning how your own hands shape the fabric. Once you finish one simple version, record what worked and what you would change. Then use those notes to start your next hat with a clearer plan and a little more confidence.
Gather your yarn, make the starting ring, and focus on the first round rather than the whole project at once. From there, the crown, sides, brim, and finishing details will give you a clear path toward a handmade hat that reflects your choices.