
Beginner Crochet Hat Patterns Free: Easy Designs
Explore beginner crochet hat patterns free with easy construction tips, yarn guidance, decrease help, sizing advice, and creative ways to personalize each hat.
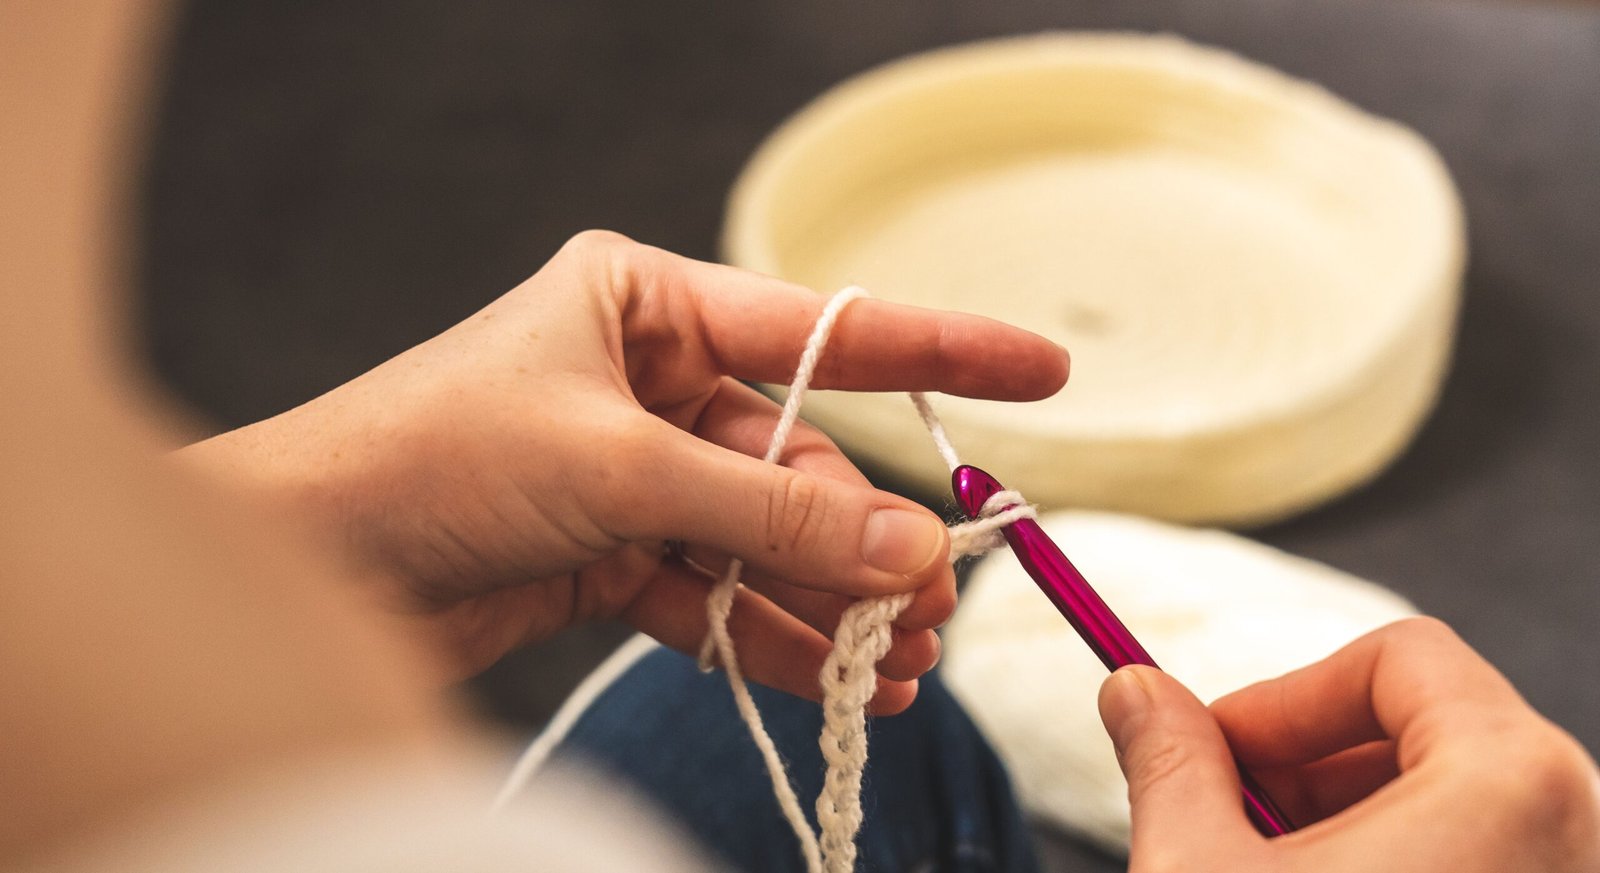
When I’m looking for a satisfying project that teaches useful skills without taking over my whole craft basket, I often come back to hats. These beginner crochet hat patterns free ideas are a practical starting point for learning to crochet in rounds, recognize stitch placement, shape the crown, and create something you can actually wear or give away. The best part is that a hat is small enough to finish while still offering plenty of room for color, texture, and personal style.
This guide focuses on how to choose an easy design and work through the parts that tend to confuse newer crocheters. I’ll cover supplies, construction, sizing, decreases, finishing, troubleshooting, and simple variations. I’m keeping the advice flexible because the exact yarn, hook, stitch count, gauge, and finished measurements belong to the individual pattern you choose. If the fundamentals are still new, the crochet guide for absolute beginners is a useful place to review chains, turning, and basic stitch placement first.
Table of Contents
Why beginner crochet hat patterns free are such useful projects
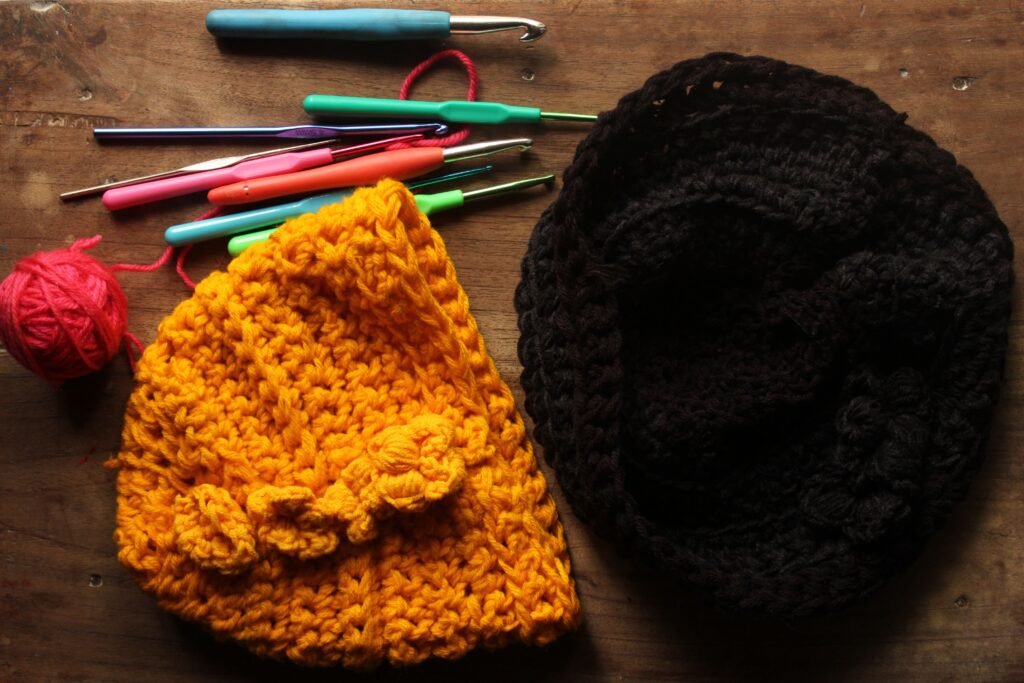
Beginner crochet hat patterns free designs are useful because they let you practice several important techniques in one manageable project. Most hats use a repeating stitch pattern, a simple tube or rounded shape, and some form of crown shaping. That gives you a chance to learn without having to maintain the wide rows of a blanket or the many measurements of a garment.
A hat can also show you how crochet behaves in the round. You’ll notice where each round begins, how a turning chain affects the edge, and how increases or decreases change the shape. Those observations transfer beautifully to bags, baskets, slippers, amigurumi, and fitted clothing.
There are a few common construction styles to explore:
- Top-down hats: These begin at the crown and grow outward. You can often check the fit as the hat develops.
- Bottom-up hats: These begin with the band and continue toward the crown. The band may be worked in rows and joined before the body is added.
- Flat-panel hats: These are made as a rectangle or shaped panel that is seamed afterward. They can be approachable if working in rounds feels unfamiliar.
- Beanie-style hats: These usually rely on a close-fitting shape, while slouchier designs allow more room through the body.
For a wider collection of small, approachable projects, browse these crochet projects for beginners. A hat is one of the nicest next steps when you’re ready to move from flat practice swatches into three-dimensional crochet.
What supplies do you need for an easy crochet hat?
You need yarn, the hook recommended by your chosen pattern, scissors, a yarn needle, stitch markers, and a measuring tape for an easy crochet hat. The pattern and yarn label should guide the specific fiber, yarn weight, hook size, quantity, gauge, and care instructions, so I wouldn’t guess those details.
- Yarn: Choose a yarn that makes the stitches easy to see while you’re learning. Very fuzzy or highly textured yarn can hide stitch tops and make counting more difficult.
- Hook: Use the pattern’s recommendation as your starting point, then make a small gauge swatch if the fit matters. Your personal tension can change the finished size.
- Stitch markers: Keep one or two nearby to mark the beginning of a round, a repeated increase, or a crown section.
- Measuring tape: This helps you compare the hat with the intended measurements instead of relying only on appearance.
- Yarn needle: You’ll need it to weave in the starting and finishing tails and, for some designs, to gather the crown.
Smooth yarn in a clearly visible color is often easier for a first hat than a very dark shade or a yarn with a busy halo. That doesn’t mean you have to stay with plain yarn forever. I simply like to make the first sample easy to read, then experiment with texture once the construction feels familiar.
If you want to compare hat-specific construction ideas, the site’s free crochet hat directions and beginner-friendly crochet hat patterns are natural places to continue exploring.
How do you choose the right beginner hat design?
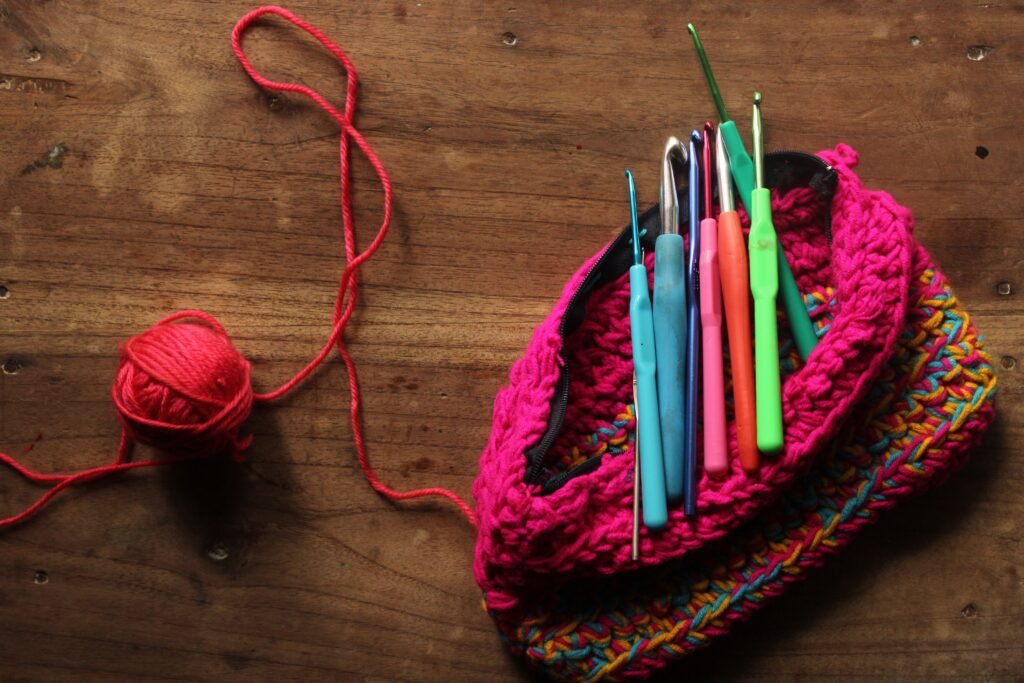
You choose the right beginner hat design by matching the construction and stitch difficulty to the skills you already have. I recommend looking for a pattern that explains its abbreviations, identifies whether it is worked in rows or rounds, and gives clear information about gauge and finished measurements.
A very simple first project may use one basic stitch throughout. That can feel repetitive, but it gives you the clearest opportunity to focus on tension and shaping. A design with ribbing, a textured band, or a color change can be your next experiment once you’re comfortable locating the first stitch of every round.
Pay attention to the type of shaping involved. Some hats use increases to grow from a small crown, then work even rounds before finishing with decreases. Others use a long rectangle and seam it into a tube. Neither construction is automatically easier for every crocheter. Choose the one whose instructions feel most readable to you.
It’s also helpful to consider how much checking you want to do while working. A top-down hat can allow you to compare the developing circumference with the intended fit. A flat panel may make stitch counting simpler because you’re working back and forth. If you prefer not to sew, look for a seamless construction, but remember that a small seam can also be a useful beginner skill.
For related inspiration, the collection of crochet blanket patterns shows how stitch simplicity, color, and texture can work together. The scale is different, but the same habit applies: start with a clear structure and add decoration after you understand the fabric.
How do you understand the basic hat construction?
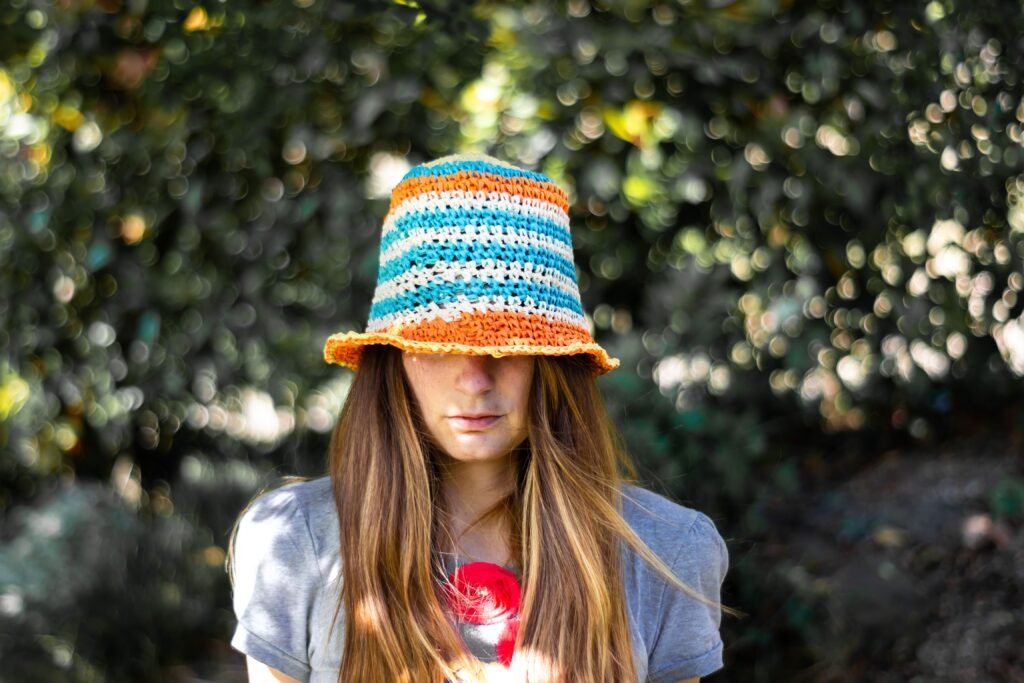
You understand basic hat construction by identifying the crown, body, band, and finishing method before you begin. Reading the whole pattern first can make the project feel much less mysterious.
The crown
The crown is the top portion of the hat. In a top-down design, it is often the first part you make. Increases allow the small starting area to expand outward. The pattern may use a magic ring, a chain ring, or another starting method, so follow its instructions rather than substituting automatically.
The body
The body is the section between the crown and the lower edge. Once the crown reaches the needed width, the pattern may ask you to work several rounds without increasing. This is where you can check whether the hat is developing the intended depth.
The band
The band sits around the lower edge and can be made as part of the body or added afterward. It may be plain, ribbed, folded, or decorated with a contrasting color. Keep the band relaxed enough to stretch over the intended wearer without becoming uncomfortable.
The finish
Finishing may involve weaving in the end, gathering the crown, sewing a seam, adding a pom-pom, or working a final edging. Read this section before you start because it can affect how you leave the last round.
If you are curious about how shaping changes a project, these guides to the decrease crochet technique and crochet decrease stitch explain the general movement of working stitches together. You may not need decreases until the crown, but understanding them early makes the instructions easier to follow.
How do you get the fit right?
You get the fit right by checking the pattern’s measurements, making a gauge swatch when requested, and comparing the developing hat with the intended head measurement. A hat can look lovely and still be too tight or too loose if tension changes significantly from the pattern.
Measure the intended wearer around the area where the hat will sit, following the pattern’s sizing instructions. Don’t assume that age labels alone will give you the right fit; head shapes and preferences vary, and some people like a close beanie while others prefer extra room.
A swatch helps you see how many stitches and rows your tension produces in the chosen stitch. It also lets you decide whether the fabric feels comfortable. If the fabric is much tighter than intended, the hat may become stiff or smaller. If it is much looser, the hat may have more drape and a larger fit. Use the pattern’s gauge information to decide whether an adjustment is needed.
Check the hat at several stages. Early in the project, inspect the crown for puckering or excessive rippling. Later, measure the circumference and depth. If the crown is cupping sharply when it should lie flatter, or if the fabric is waving, review the increase instructions before continuing.
For larger wearable projects, the shaping ideas in these free crochet sweater patterns, poncho crochet designs, and crochet pullover ideas offer useful inspiration. Hats are smaller, but the principle is the same: measurements guide the fabric.
How do you work increases and decreases in a hat?
You work increases and decreases by following the pattern’s placement carefully and counting the stitches at the end of the round. An increase adds stitches so the crown can expand, while a decrease combines stitch positions so the fabric can narrow toward the top.
An increase may involve working two stitches into one stitch or using another method named by the pattern. Keep the increases evenly distributed when the instructions call for a circular crown. If they cluster accidentally in one area, the crown may develop a point or a lopsided shape.
A decrease usually begins one stitch and the next stitch before completing them together. For a single crochet two together, the common movement is to insert the hook into the first stitch, pull up a loop, insert the hook into the next stitch, pull up another loop, then complete the stitch through the loops on the hook. Taller stitches use a different sequence, so follow the pattern’s abbreviation and instructions.
Don’t pull decrease stitches tighter than the rest of the hat. Uneven tension can create puckering or visible gaps. Place a marker at the beginning of each round and count regularly, especially when the pattern changes from increasing to working even or begins crown decreases.
If you want to practice shaping away from a wearable project, the easy decrease crochet blanket pattern, decrease crochet blanket pattern, and step-by-step decrease tutorial offer broader examples of how repeated reductions affect fabric.
What beginner mistakes should you watch for?
You can avoid many beginner mistakes by marking the round start, counting before moving on, and correcting a problem when you first notice it. Small errors are much easier to fix near the crown than after the entire hat is finished.
- The hat is growing too quickly: Check whether an extra increase was worked or whether the turning chain was counted differently from the pattern.
- The crown is cupping: Compare the increase frequency with the instructions and check whether your tension is unusually tight.
- The crown is ruffling: There may be too many stitches for the fabric to lie flat, or your tension may be looser than expected.
- The seam spirals: Confirm whether the pattern is worked in joined rounds or continuous rounds. These constructions use different ways to move from one round to the next.
- The hat is too short: Check the body depth before finishing the band. Adding a few rounds may be possible, depending on the design.
- The hat is too tight: Review your gauge and compare the circumference with the pattern’s measurements before undoing the whole project.
When I’m following a new pattern, I like to keep a simple row checklist nearby. Mark each completed round, note where the increases or decreases occur, and write down any deliberate change. This is especially helpful if you pause the project and return to it later.
Don’t be afraid to unravel. Crochet is wonderfully forgiving, and undoing a few rounds is usually easier than trying to hide an incorrect crown beneath a decorative finish.
How can you personalize easy crochet hats?
You can personalize easy crochet hats by changing the color, band, texture, silhouette, or finishing details after you understand the basic construction. I recommend making one straightforward version first, then adapting one feature at a time.
Color is the simplest variation. Try a solid shade for a calm look, stripes for clear visual rhythm, or a contrasting band to frame the face. If you’re changing colors in rounds, plan where the joins will sit and secure the ends as you work so finishing doesn’t become overwhelming.
Texture can come from ribbing, post stitches, simple raised patterns, or alternating rows. Keep in mind that texture can affect stretch and gauge. A swatch is useful whenever you change the stitch because it shows how the fabric behaves before you commit to the whole hat.
You can also adjust the silhouette. A closer beanie, a folded brim, or a relaxed slouchy shape will each require different measurements. Use the original pattern as your structural guide and make notes if you alter the depth or band.
Smaller shaped projects can help you build confidence with decorative details. Explore the crochet square inspiration for motif ideas, or practice pointed shaping with the crochet poppy flower guide and crochet calla lily pattern. The decreases used in petals are different from hat shaping, but the habit of watching stitch placement is wonderfully similar.
If wearable crochet interests you, these guides to a crochet top and crochet tank top can spark ideas for coordinating colors and textures across a handmade wardrobe.
How do you finish and care for a crochet hat?
You finish a crochet hat by securing the final yarn, weaving in the ends, checking the edge, and following the care guidance for the yarn you selected. Finish carefully even if the project is small, because a tidy final join helps the hat keep its shape.
Before weaving in the ends, try the hat on or compare it with the intended measurements. Inspect the crown and band for loose loops, missed stitches, or an uncomfortable edge. If the design includes a pom-pom, button, flower, or other embellishment, attach it securely and consider how it will affect washing and everyday use.
Arrange the hat gently rather than stretching it aggressively. Whether blocking is suitable depends on the yarn and pattern, so use the care information available for your materials. Store the hat in a way that doesn’t permanently flatten the crown or distort the band.
Keep your project notes too. Record the yarn, hook, size, gauge, stitch pattern, and any changes. Those details make it easier to repeat a successful hat or adjust the fit next time.
If you enjoy exploring how crochet techniques have developed, the history of crochet techniques offers a wider look at stitches, tools, lace, motifs, and the ways crocheters continue to adapt the craft.
Your next step is simple: choose one clear hat construction, gather the recommended supplies, and make a small swatch before beginning. Mark every round, check the fit as you go, and treat mistakes as useful information rather than failure. With one finished hat, you’ll have more than a new accessory—you’ll have a practical foundation for exploring many more crochet designs.