
Decrease Decrease Crochet Blanket Pattern | Easy Step-by-Step Tutorial
Learn the Decrease Decrease crochet blanket pattern with clear row guidance, shaping tips, edging ideas, and practical fixes for beginners.
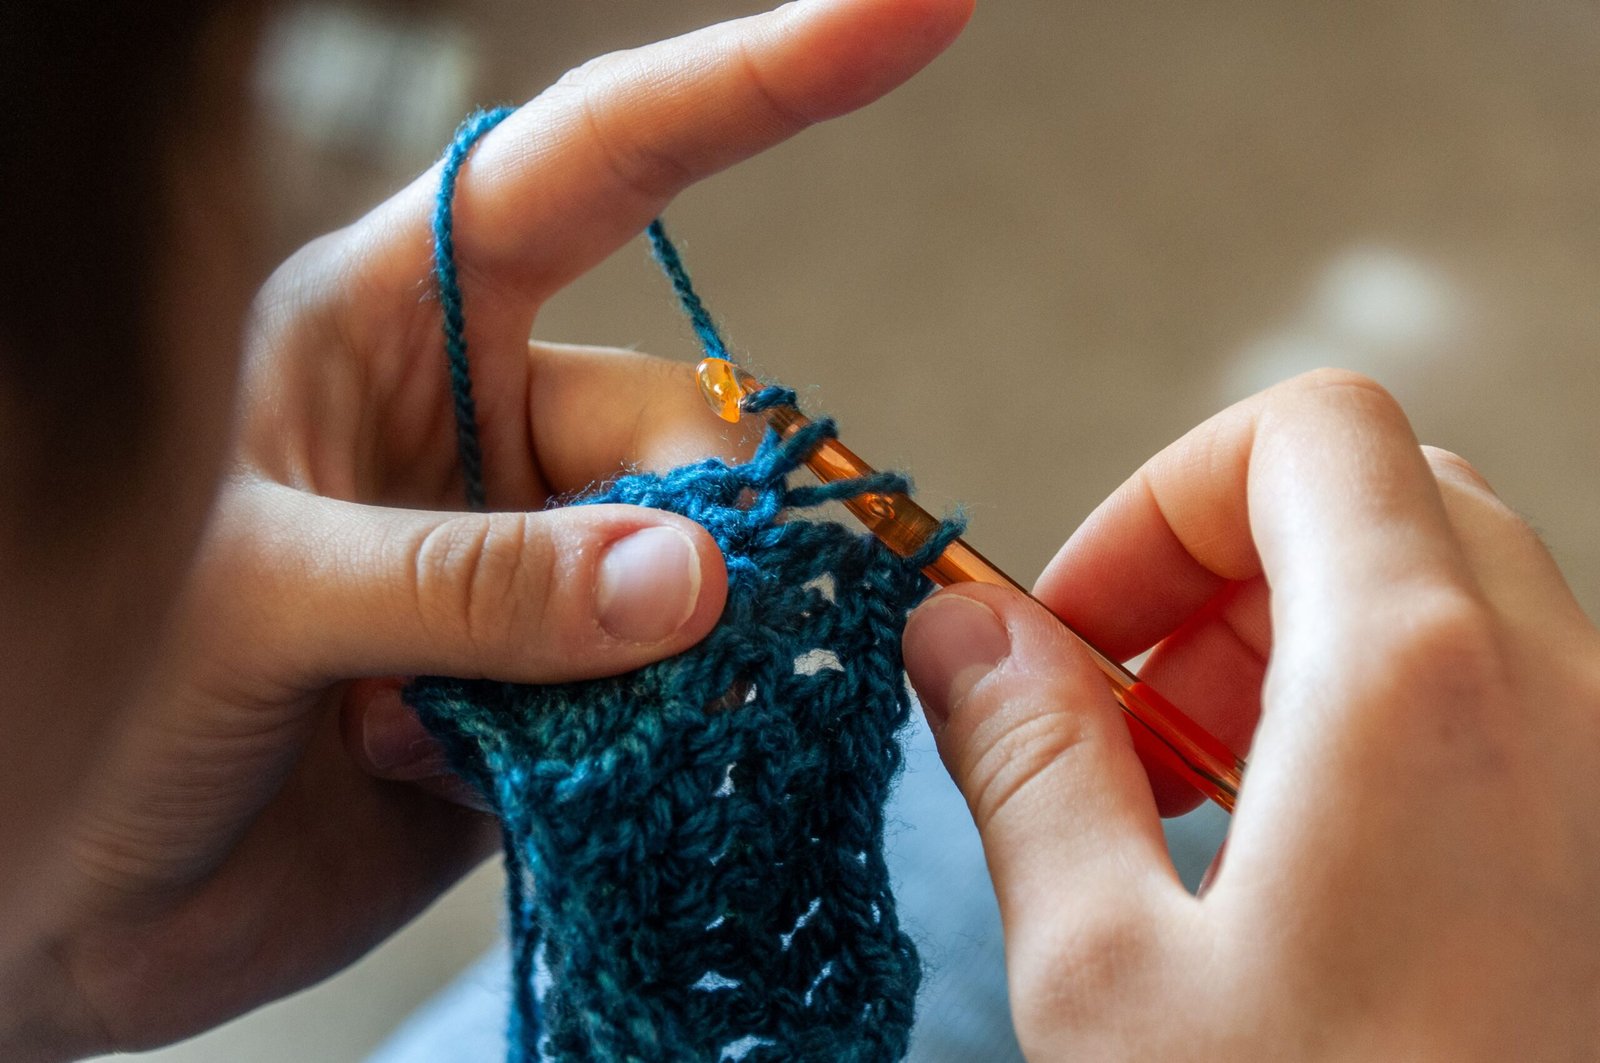
The d e c r e a s e d crochet blanket pattern is a wonderfully simple way to explore shaping while creating a cozy, graphic project. Instead of crocheting a plain rectangle from one edge to the other, we build the fabric around planned decreases so the blanket develops an interesting angled outline. It’s a useful project for practicing stitch counts, reading rows, and understanding how small changes can transform an entire piece.
In this tutorial, I’ll explain how to plan the blanket, work the decrease sections, keep the edges tidy, and finish the piece with a border that complements the shape. I’ll keep the instructions flexible because this design works with different yarns, colors, and stitch heights. Before beginning, check your chosen yarn label and pattern notes for the hook, gauge, and finished measurements that suit your version.
Table of Contents
What makes the Decrease Decrease crochet blanket pattern interesting?

The Decrease Decrease crochet blanket pattern is interesting because it uses repeated stitch reductions to create movement instead of relying only on color changes or texture. A decrease combines neighboring stitches into one, so the fabric becomes narrower wherever the shaping is placed. Repeating that idea can form a diagonal edge, a centered point, a stepped outline, or a gently tapered panel.
The name may sound repetitive, but that repetition is helpful: the design depends on noticing when the fabric decreases and how those decreases are arranged. A single decrease changes the stitch count by one. Several decreases, spaced consistently, can change the direction of an entire row.
This makes the blanket a good choice for crocheters who want something more engaging than endless straight rows but who aren’t ready for complicated motifs. You can work with a familiar basic stitch and concentrate on the shaping. If you’re still learning the fundamentals, the crochet guide for absolute beginners can help you review chains, turning, stitch placement, and row structure before starting.
I also like the creative freedom this type of project offers. The same shaping idea can look modern in solid neutrals, playful in bright stripes, or soft and subtle when worked in neighboring shades. A blanket can be a practice project, but it can also become a thoughtful way to explore proportion and color.
What supplies and planning does this crochet blanket need?
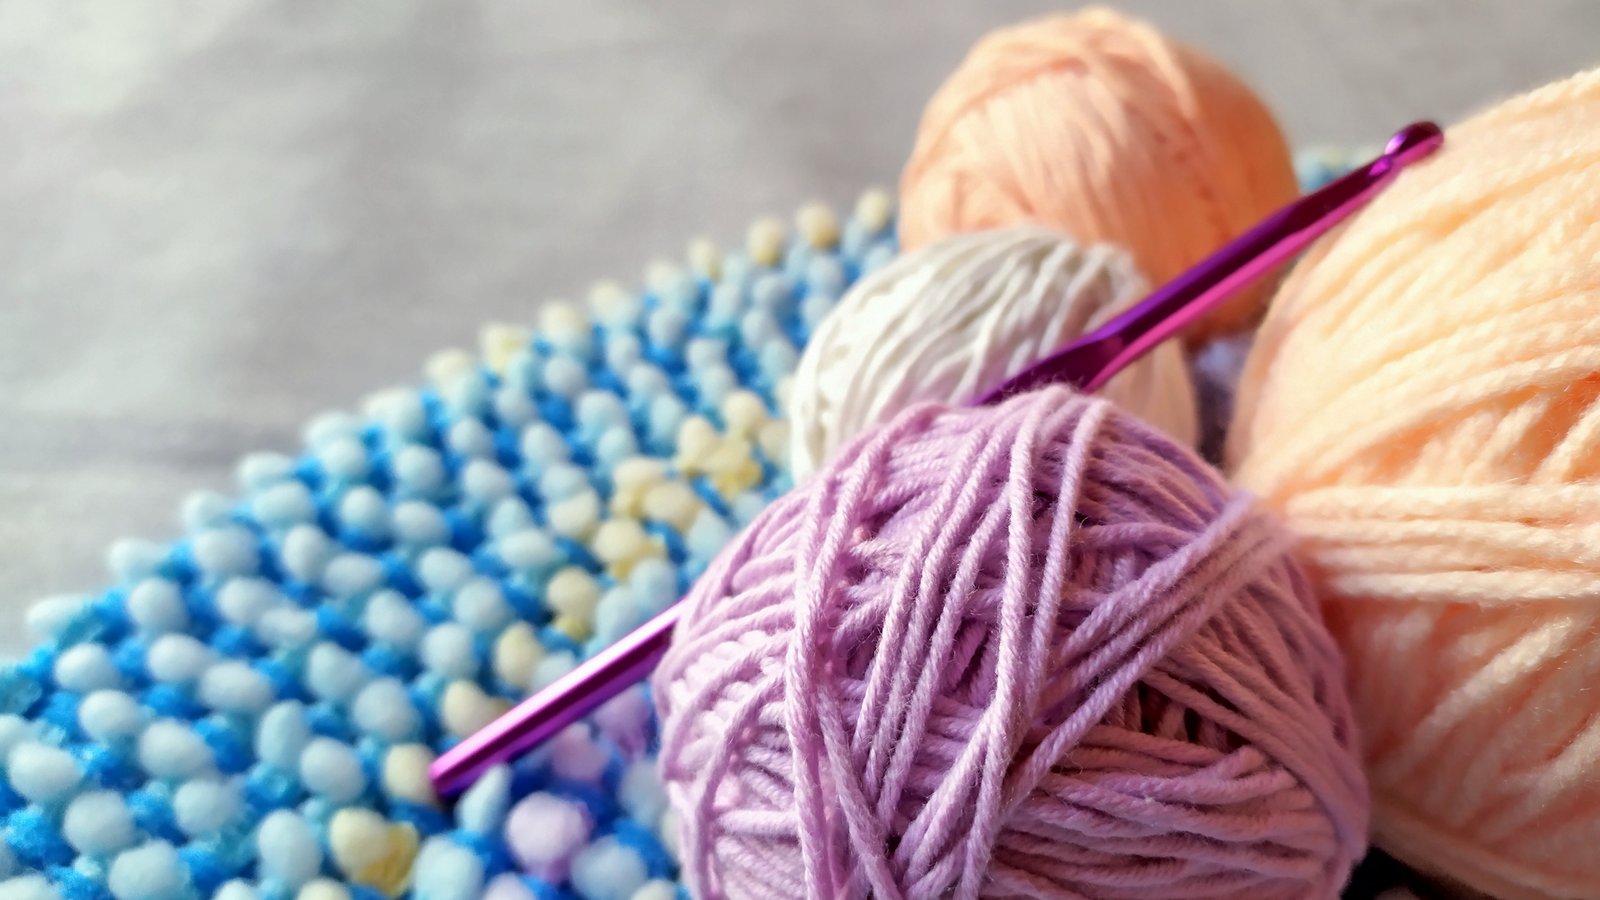
This crochet blanket needs yarn, a compatible crochet hook, scissors, a yarn needle, stitch markers, and a measuring tape. The exact yarn amount, fiber, weight, hook size, and finished dimensions should come from your selected pattern version or yarn label rather than being guessed.
- Yarn: Choose a yarn that makes the stitch definition easy to see. Smooth yarn is generally simpler to count than highly textured yarn, especially while you’re learning the decrease placement.
- Hook: Use the size recommended by your pattern or yarn guidance, then make a small sample if drape and fabric density matter to your finished blanket.
- Stitch markers: Mark the center, a repeated decrease location, or the first stitch of a row when the edge becomes difficult to read.
- Measuring tape: Check the width and length as you work instead of waiting until the end to discover that your tension has changed.
- Yarn needle and scissors: These are needed for weaving in ends and completing the border neatly.
Before making the foundation chain, decide whether your blanket will be worked as one shaped piece or as sections joined later. One continuous piece keeps the decrease rhythm visible, while separate panels can make a large blanket easier to handle. Neither approach is automatically better; the best choice depends on the look you want and how comfortable you are managing a growing project.
Make a small swatch in the stitch you plan to use. This lets you see whether the fabric lies flat, whether the decreases are easy to identify, and whether the color changes look the way you imagined. It also gives you a chance to practice before committing to a large foundation row.
How do you begin the Decrease Decrease crochet blanket?
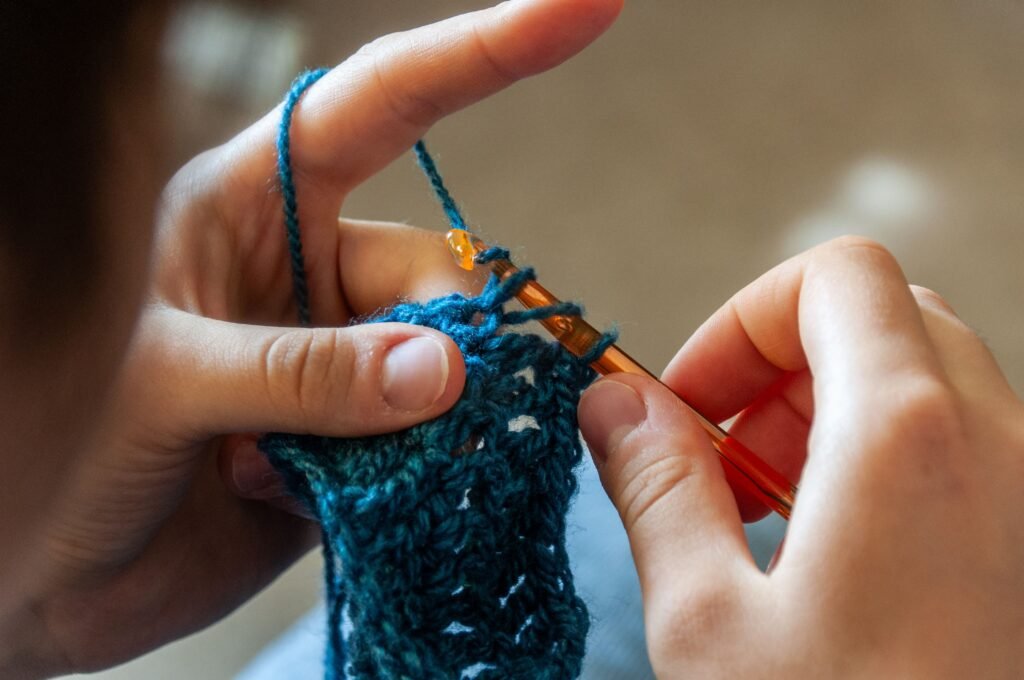
You begin the Decrease Decrease crochet blanket by making the foundation chain required for your chosen width and working the first rows evenly before introducing the shaping. Starting with a stable section makes it easier to recognize the decrease pattern when it begins.
- Read through the complete pattern instructions before crocheting. Note whether the turning chain counts as a stitch and whether the first row is worked into the chain spaces or chain loops specified by the pattern.
- Make the foundation chain using a relaxed grip. A tight chain can pull the lower edge inward and make the first row difficult to work.
- Work the first row in the instructed stitch, placing each stitch carefully. Count the completed stitches before turning.
- Work the next even row or rows as directed. These rows establish the fabric and give you a clear edge to compare with the shaping later.
- Place a marker at the center or at the location where the first decrease section will begin if the pattern uses a central design.
At this stage, don’t worry if the fabric looks ordinary. Shaping often becomes easier to understand after several rows because you can compare the new edge with the earlier straight section. Keep the project on a flat surface occasionally and look at the outline rather than focusing only on the active row.
Count at the end of every important row. A decrease works across more than one stitch but produces fewer completed stitches, so a missed decrease can change the angle quickly. If your count is wrong, correct it before working several more rows.
How do you work the repeated decreases?
You work the repeated decreases by beginning the specified stitch in one position, beginning the next stitch in the following position, and completing both together. The exact movement depends on whether your blanket uses single crochet, half double crochet, double crochet, or another stitch.
For a single crochet two together, commonly written sc2tog, use this sequence:
- Insert the hook into the first stitch.
- Yarn over and pull up a loop.
- Insert the hook into the next stitch.
- Yarn over and pull up a loop.
- Yarn over and pull through all loops on the hook.
Those two stitch positions now share one completed stitch. For a taller stitch, begin each stitch and stop before its final completion, then finish the group together. The principle is unchanged even though the yarn overs and partial pull-throughs differ.
Follow the pattern’s placement carefully. A decrease near the beginning of a row creates a different edge from a decrease at the center. If the instructions call for decreases on both sides, make sure the two sides mirror one another. If they call for a central line, keep that line in the same position from row to row.
Use markers when the design repeats. For example, you might mark the center stitch, the first decrease, or the point where a color change begins. Markers are especially useful once the blanket becomes wide enough that counting from the edge is inconvenient.
Keep your tension consistent with the surrounding stitches. Pulling the decrease tightly can make a puckered spot, while loose unfinished loops can leave a gap. If the decrease looks dramatically different from the stitches beside it, pause and check whether the loops are sitting at the same height.
For another clear explanation of working stitches together, visit the site’s decrease crochet tutorial. It covers the general idea of reductions and shows how the technique changes between stitch heights.
How can you keep the blanket edges even?
You can keep the blanket edges even by counting consistently, identifying the first and last stitch of each row, and placing decreases exactly where the instructions indicate. Neat shaping begins with accurate row structure.
Count the first and last stitches
Edges are easy to lose in a blanket, particularly when the turning chain resembles a stitch. Decide whether the turning chain counts according to your pattern and follow that decision throughout. At the end of each row, count the expected number of stitches and look for the final stitch top before turning.
Check the outline regularly
Lay the blanket flat after several rows. A small irregularity is much easier to spot from the outline than while the project is bunched in your hands. Look for a smooth diagonal, centered point, or repeated step—whatever shape your design is meant to create.
Watch for accidental increases
An accidental increase often happens when two stitches are worked into one space or when the first stitch after a turning chain is missed and then replaced incorrectly. If one edge grows unexpectedly, compare the row count with the previous row and inspect the stitch tops.
Keep matching sections symmetrical
If the blanket has left and right shaping, record the row and decrease position as you work. Written notes are particularly useful if you pause for several days or make a second matching panel. A simple row checklist can prevent one side from developing a different slope.
The crochet decrease stitch step-by-step guide is also useful when you want to compare regular decreases, taller-stitch decreases, and ways to identify common shaping mistakes.
How do you add color and texture to the blanket?
You add color and texture to the blanket by changing one design element at a time and keeping the decrease structure consistent. This lets the shape remain clear instead of becoming hidden beneath too many competing details.
Simple stripes are an approachable option. Change color at a planned row, carry out the decrease sequence as usual, and weave in the ends as you go if the number of color changes becomes substantial. Wider color bands emphasize the overall shape, while narrow stripes can make the diagonal edge feel more energetic.
A limited palette can also highlight the construction. Try one main shade with a contrasting border, two neighboring shades for a quiet effect, or several colors that repeat in a predictable order. If you’re unsure, make a small swatch with the intended sequence before starting the blanket.
Texture can come from alternating familiar stitches rather than adding complicated motifs. A compact stitch may make decreases easy to see, while a taller stitch can create more open spaces and a different drape. When changing stitch height, check the pattern instructions carefully because the decrease sequence will change too.
For wider project inspiration, explore these crochet projects for beginners. The same practical approach—starting with a manageable structure, counting carefully, and adding one new skill at a time—works well for a shaped blanket.
What border works with a decreased crochet blanket?
The best border for a decreased crochet blanket is one that follows the finished outline without pulling, ruffling, or hiding the shaping. A simple edging is often a strong choice because it frames the unusual silhouette instead of competing with it.
Before adding the border, weave in the main loose ends and gently arrange the blanket flat. Do not stretch the piece aggressively to force an uneven edge into place. If the outline is not as expected, inspect the shaping first; a border can soften a small irregularity but cannot reliably correct a missing or misplaced decrease.
- Simple single crochet edging: This creates a clear, compact frame and can help define an angled edge.
- Slip-stitch edging: This offers a subtle finish when you want the blanket’s main fabric to remain the focus.
- Textured border: A more decorative edge can work when the blanket body is relatively simple and the corners are easy to identify.
- Contrasting-color border: A new shade can emphasize the outline and make the final shape more intentional.
Work corners carefully. If the border pulls inward, it may need more stitches around that corner or point. If it ruffles, there may be too many stitches for the edge. The correct adjustment depends on the shape and the stitch used, so test a short section before completing the entire border.
Fasten off securely and weave the end through the wrong side of the fabric. Avoid cutting ends until you’re satisfied with the border placement and the blanket lies as intended.
How do you fix common mistakes in this blanket pattern?
You fix common mistakes in this blanket pattern by stopping as soon as the stitch count or outline looks wrong and checking the previous row. Most shaping problems are easier to repair close to where they happen.
- The blanket is getting wider: Look for an accidental increase, a missed decrease, or an extra stitch worked near a turning chain.
- The blanket narrows too quickly: Check whether a decrease was worked twice or placed in addition to the decrease already listed in the pattern.
- A hole appears beside a decrease: Make sure the hook entered both intended stitch tops and that the unfinished loops were not pulled too loosely.
- The edge puckers: Relax your tension and check whether the border or decrease is tighter than the main fabric.
- The two sides do not match: Compare the row numbers and decrease positions, then undo the shorter section until the shaping lines up.
- The blanket twists: Confirm that you are turning in the correct direction and that the decrease points have not drifted across the rows.
When you need to unravel, remove only the rows necessary to reach the error. Place a marker in the corrected stitch before continuing. I also recommend writing a short note beside the pattern whenever you alter a row; that note can save a lot of uncertainty later.
Don’t judge the blanket while it is curled around the hook. Lay it flat occasionally and inspect it from a short distance. The overall outline often tells you more than one individual stitch.
What should you do next with the finished blanket?
When the blanket is finished, block or arrange it only according to the care guidance for the yarn you selected, then check the border, weave in any remaining ends, and photograph the final shape for your project notes. Keeping those notes makes it easier to repeat the design or adapt it into a smaller throw, baby blanket, scarf, or shawl-like piece.
Notice which part of the process you enjoyed most. Maybe the repeated decreases helped you understand shaping, or perhaps the color planning became the most satisfying part. You can carry that skill into garments, hats, bags, motifs, and other projects that need a gradual change in width.
The history of crochet is full of makers adapting simple loops into new forms. If you enjoy learning how techniques develop and change, the site’s history of crochet guide offers a broader look at tools, stitches, lace traditions, and the evolution of the craft.
For your next step, choose one small variation: change the stripe sequence, try a different border, adjust the placement of the decrease line, or make a sample in another stitch. Keep the shaping notes beside you and let the fabric guide your decisions. A decrease may be a small technical movement, but repeated with care, it can turn ordinary rows into a blanket with direction, character, and a shape all its own.