
Crochet Stuffed Animal Patterns: Cute & Easy Ideas
Explore crochet stuffed animal patterns with beginner-friendly ideas, yarn tips, shaping guidance, safety notes, assembly advice, and creative ways to personalize amigurumi.
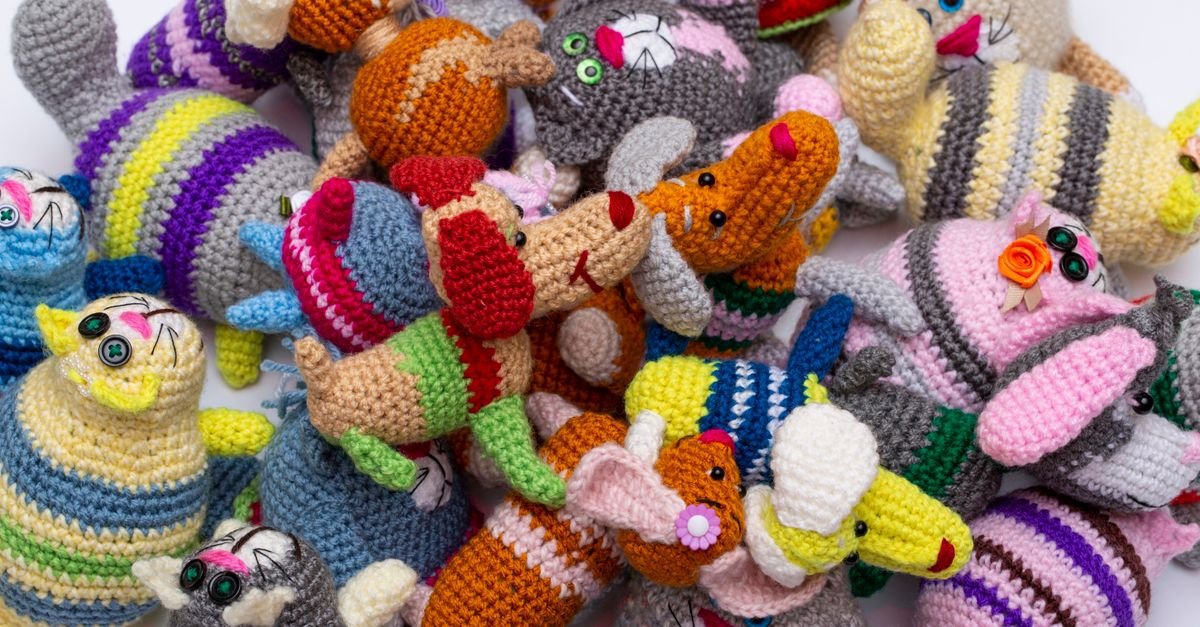
There’s something wonderfully inviting about crochet stuffed animal patterns. A small crocheted creature can become a thoughtful gift, a cheerful shelf companion, or a satisfying way to practice shaping, color changes, and embroidery. Whether you’re looking for a first amigurumi project or fresh inspiration for your next handmade animal, I’ll help you choose an idea that suits your skills and the kind of finished piece you want to make.
Stuffed animals are also a lovely way to explore crochet beyond flat fabric. We work in rounds, build three-dimensional shapes, add small details, and make design decisions that give each animal its personality. The process can feel like a little creative adventure, especially when you allow yourself to experiment with colors, ears, tails, faces, and accessories.
Table of Contents
What makes crochet stuffed animal patterns so enjoyable?
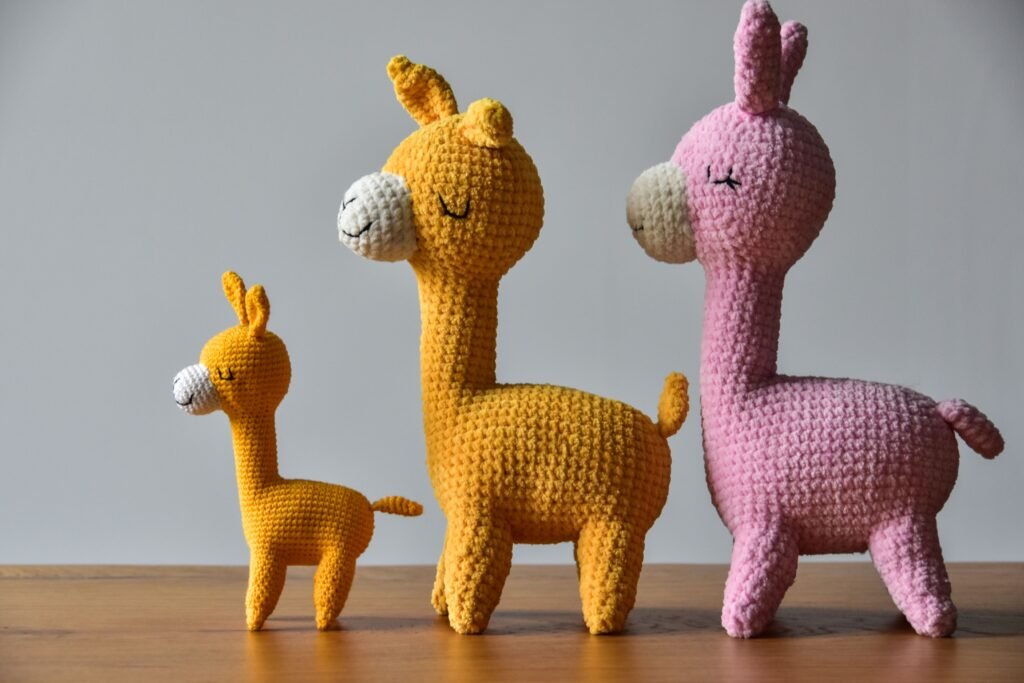
Crochet stuffed animal patterns are enjoyable because they combine familiar stitches with shaping, assembly, and plenty of room for personality. A simple sphere can become a head, a tube can become a leg, and a few carefully placed details can turn basic crochet into a recognizable animal.
Many designs are built from accessible techniques such as single crochet, increases, decreases, working in the round, and sewing pieces together. That doesn’t mean every pattern is equally easy. Tiny parts can be fiddly, stuffing can affect the shape, and keeping track of rounds takes concentration. Still, the projects are often made in manageable sections, so you can pause after a head, body, or limb instead of committing to one very large piece.
If you’re completely new to crochet, I recommend reviewing the crochet guide for absolute beginners before choosing a detailed animal. You’ll feel more confident if chains, single crochet, slip stitches, and working into stitch tops already feel familiar.
Amigurumi can also teach us to look closely at structure. A tiny increase changes the curve of a body, while a decrease creates a taper. The same shaping ideas appear in larger projects, including crochet blanket patterns and crocheted afghan ideas, although stuffed animals make those changes especially visible.
How do you choose a beginner-friendly stuffed animal?
You can choose a beginner-friendly stuffed animal by looking for a pattern with a small number of pieces, clear shaping instructions, and details you can comfortably sew or embroider. The cutest idea isn’t always the best first project if it includes many tiny limbs, complicated colorwork, or an elaborate facial design.
For a first animal, I’d look for a compact design with a rounded body, simple ears, and an uncomplicated face. A whale, bear, chick, cat, bunny, or basic dinosaur can be adapted in many ways without requiring an overwhelming number of parts. Choose an animal whose silhouette you can recognize from simple shapes.
- Check the construction: Find out whether the animal is crocheted in one piece or assembled from separate components.
- Read the skill notes: Make sure the listed techniques match what you already know or are willing to learn.
- Look at the face: Embroidered features may be more approachable than a design requiring several tiny crocheted details.
- Consider the size: A very small animal may use fewer stitches but can be harder to hold and stuff neatly.
- Notice the shaping: If the pattern uses frequent increases and decreases, mark rounds carefully from the beginning.
Small crochet projects can be a useful confidence builder too. If you want to compare other approachable makes before settling on an animal, browse these crochet projects for beginners. The same habit of learning one technique at a time works beautifully for stuffed toys.
What supplies help you make a neat crocheted animal?
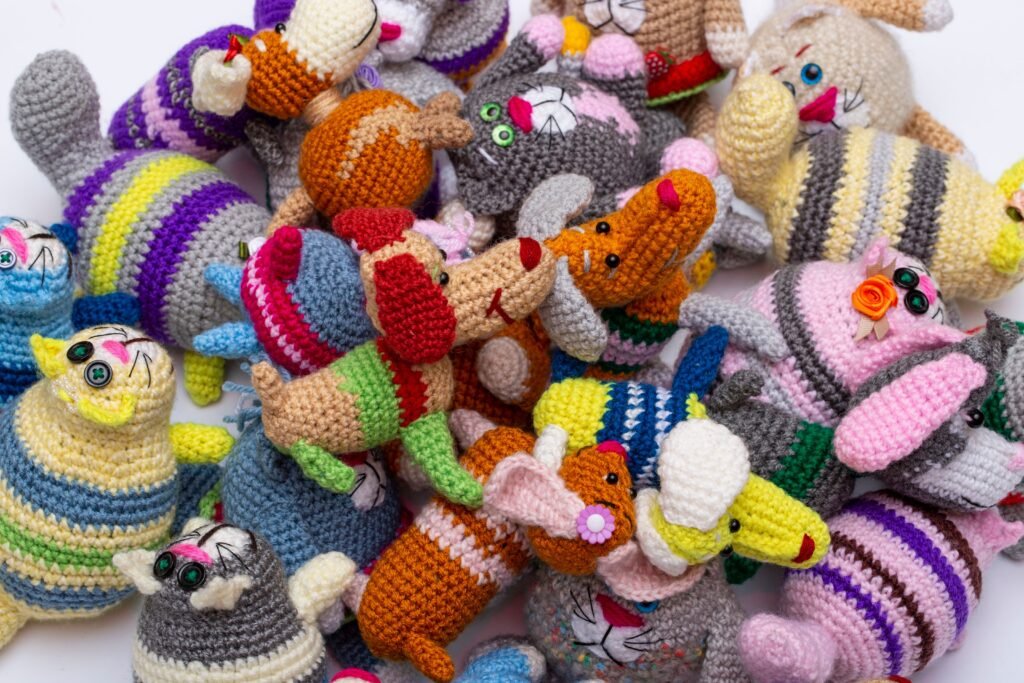
The basic supplies for a crocheted animal are yarn, a compatible hook, stuffing, a yarn needle, scissors, stitch markers, and a way to add the face. Your specific pattern should always determine the yarn details, hook guidance, and finished size rather than relying on a general list.
- Yarn: Smooth yarn makes stitch tops and shaping easier to see. Texture can be fun, but it may hide increases, decreases, or small gaps.
- Hook: Use the hook recommended by your chosen pattern or yarn guidance. The fabric should be firm enough that stuffing does not show through.
- Stuffing: Add it gradually so you can shape the body without creating hard lumps or overfilling one section.
- Stitch markers: A marker helps identify the beginning of a round, especially when working continuous rounds.
- Yarn needle: Choose one that can pass through the fabric and carry yarn for sewing parts together.
- Embroidery supplies: Embroidered eyes, noses, mouths, whiskers, and decorative details allow you to customize the expression.
Always keep the pattern’s intended use in mind when selecting finishing materials. For an item that may be handled by a young child, carefully consider how every attached detail is secured and whether embroidered features are the better choice. Follow the instructions and safety guidance associated with the specific pattern and materials you use rather than assuming that every construction is suitable for every recipient.
It’s worth making a small tension sample if the pattern depends on a firm fabric. The sample can show whether your stitches are easy to read and whether the stuffing might be visible through the fabric. You can also use it to test a color combination before committing to a complete animal.
How do increases and decreases shape stuffed animals?
Increases and decreases shape stuffed animals by changing the number of stitches from round to round. Increases widen a section, while decreases narrow it, allowing a flat sequence of stitches to form a head, snout, belly, tail, paw, or other three-dimensional part.
Most rounded pieces begin with a small center and expand through planned increases. After the widest section, the pattern may work even rounds before decreasing toward an opening. This creates a shape that can be stuffed and closed. The exact order varies, so follow the pattern’s round instructions carefully rather than guessing where the shaping belongs.
Use a stitch marker at the start of each round and count regularly. If a round has one extra stitch, the difference can affect the curve several rounds later. When the shape looks wrong, check the earliest round where the stitch count changed instead of trying to repair the final outline.
Decreases can be especially important around a face or narrow limb. A neat decrease keeps the fabric firm and helps avoid large gaps. If you want to review the general technique, the decrease crochet tutorial, crochet decrease stitch guide, and easy crochet decrease guide provide useful shaping references.
Some designs use taller stitches or decorative shaping. If a pattern includes treble crochet, review the treble crochet guide before beginning that section. The most important habit is to work slowly enough that each stitch has a clear place in the structure.
How can you assemble and stuff a crocheted animal?
You can assemble and stuff a crocheted animal neatly by preparing each piece, adding stuffing gradually, and sewing components in place only after checking their position. Assembly is where an animal’s personality really begins to appear, so it deserves as much patience as the crocheting.
Prepare the pieces first
Before sewing, lay out the head, body, ears, limbs, tail, and any other parts. Compare the pieces with the pattern illustration or written placement notes. This helps you notice whether a limb needs to be rotated or whether two ears should be positioned symmetrically.
Stuff in small amounts
Add stuffing a little at a time, pushing it into the curves and corners with the blunt end of a tool or the back of your hook. Avoid using a sharp object that might pierce the yarn. Turn the piece as you work so the stuffing is distributed rather than packed into one side.
The finished shape should be supported without becoming so firm that the stitches stretch apart. If you can see stuffing through the fabric, remove some, check your tension, or revisit the pattern’s construction. A smaller amount of stuffing can sometimes produce a softer, more natural shape.
Pin before sewing
Use removable markers or pins to hold parts temporarily while you inspect the animal from several angles. Check the front, back, and sides before fastening anything permanently. A small change in the angle of a tail or ear can make the whole design feel different.
When sewing, pass the needle through sturdy portions of the fabric and secure the ends carefully. Try to make the stitches blend with the surrounding yarn. If a part needs to be repositioned, it’s better to undo a few stitches than to accept an attachment that feels crooked.
How do you create expressive faces and animal details?
You create expressive faces by treating eye placement, muzzle shape, ears, and small embroidered marks as part of the overall design rather than as last-minute decoration. The face doesn’t need many details; spacing and placement often matter more than complexity.
Before attaching eyes or embroidering a nose, mark possible positions with scraps of yarn or removable markers. Look at the face straight on and from the side. A pair of eyes placed slightly higher or lower can change the expression from curious to sleepy, surprised, or serious.
Embroidered features give you flexibility. You can adjust the length of a mouth, add eyebrows, create tiny freckles, or simplify the face for a clean look. For animals with a muzzle, work the shape first and add the nose afterward so you can judge the proportions together.
Accessories can make a familiar animal feel personal. A scarf, flower, bow, tiny bag, or removable hat can introduce color without changing the body pattern. If you enjoy adding wearable details, explore free crochet hat directions and beginner-friendly crochet hat patterns for ideas you can adapt to a small toy.
Floral details can also be charming on a stuffed animal. A small crochet poppy flower or crochet calla lily could become a decoration, accessory, or color inspiration, provided the finished attachment suits the intended use of the toy.
What creative variations can you try?
You can create variations by changing the palette, proportions, surface details, or accessories while keeping the basic construction intact. I find this approach less intimidating than trying to redesign an entire animal at once.
Start with color. A bear can become a woodland brown, soft gray, cream, or a playful fantasy shade. A whale can use a solid body with a contrasting belly, while a bird can combine several colors in small, planned sections. Make a color swatch when the arrangement is important, because a tiny toy shows color changes very clearly.
Next, experiment with proportions. Longer ears can make a rabbit feel more distinctive. A wider head can create a younger-looking character, while a longer body may suit a cat, dachshund, or crocodile. Change one measurement or shaping section at a time and keep written notes so you can repeat a successful variation.
Motifs and squares can become part of a larger stuffed design too. The site’s crochet square inspiration may help if you’re imagining a patchwork animal, a blanket for a toy, or a flat accessory to sew onto a body.
Clothing-inspired ideas can be adapted into toy accessories as well. Browse free crochet sweater patterns, the crochet pullover sweater guide, or this pattern poncho crochet guide for inspiration about stripes, borders, and simple garment shapes. A tiny poncho or sweater can turn one animal into a character with a whole new story.
You can also explore wearable color and shaping ideas through a crochet top pattern guide or crochet tank top patterns. The finished projects are different, but the design lesson is the same: small changes in proportion and color can make a handmade piece feel intentional.
How do you troubleshoot common stuffed animal problems?
You can troubleshoot common stuffed animal problems by checking stitch counts, tension, stuffing distribution, and piece placement in that order. Most issues become easier to solve when you identify the first point where the project changed from the pattern.
- The piece is curling unexpectedly: Check whether the round count, stitch count, or increase sequence matches the instructions.
- Gaps appear after stuffing: Use a firmer fabric, reduce the stuffing slightly, or check whether your hook is too large for the pattern’s intended construction.
- The head looks lopsided: Check the stuffing distribution and inspect the placement of the muzzle, ears, and eyes before changing the crocheted shape.
- A limb points in the wrong direction: Pin it in several positions and look at the animal from different angles before sewing.
- The face seems expressionless: Try temporary markers for different eye and mouth positions. A small adjustment may be all that’s needed.
- The pieces don’t match: Compare round counts and tension. Making notes as you complete the first piece can help you reproduce the second.
Don’t be afraid to unravel a short section. In three-dimensional crochet, a small error can become more obvious when stuffing is added, so correcting it early is usually less frustrating than trying to hide it later. Keep your hook, needle, and markers nearby while assembling, and take breaks when tiny details begin to blur together.
What should you explore after making a crochet animal?
After making a crochet animal, explore another project that uses one skill you enjoyed and one skill you haven’t tried yet. You might move from a simple rounded animal to a creature with colorwork, a jointed limb, a removable outfit, or a more sculpted face.
Keep a small project record with the yarn, hook, color changes, round adjustments, and notes about assembly. These details are especially useful if you want to make a family of animals with matching proportions. A record also helps you remember which details were easy, which needed patience, and what you’d change next time.
If you’re curious about how crochet techniques have developed and how makers continue to adapt stitches and construction, the history of crochet techniques is an interesting place to continue exploring. Understanding the wider craft can spark ideas even when you’re simply making a tiny toy.
Your next step can be simple: choose one animal with a clear silhouette, gather supplies that let you see your stitches, and read the complete pattern before beginning. Mark the rounds, stuff gradually, and place the face temporarily before sewing it down. With that steady approach, crochet stuffed animal patterns become more than instructions—they become a starting point for characters, gifts, and playful designs that are unmistakably your own.