
Sweater Crochet Pattern Free: Easy Beginner Designs
Find a sweater crochet pattern free for beginners with practical advice on construction, yarn, sizing, gauge, stitches, finishing, and easy design ideas.
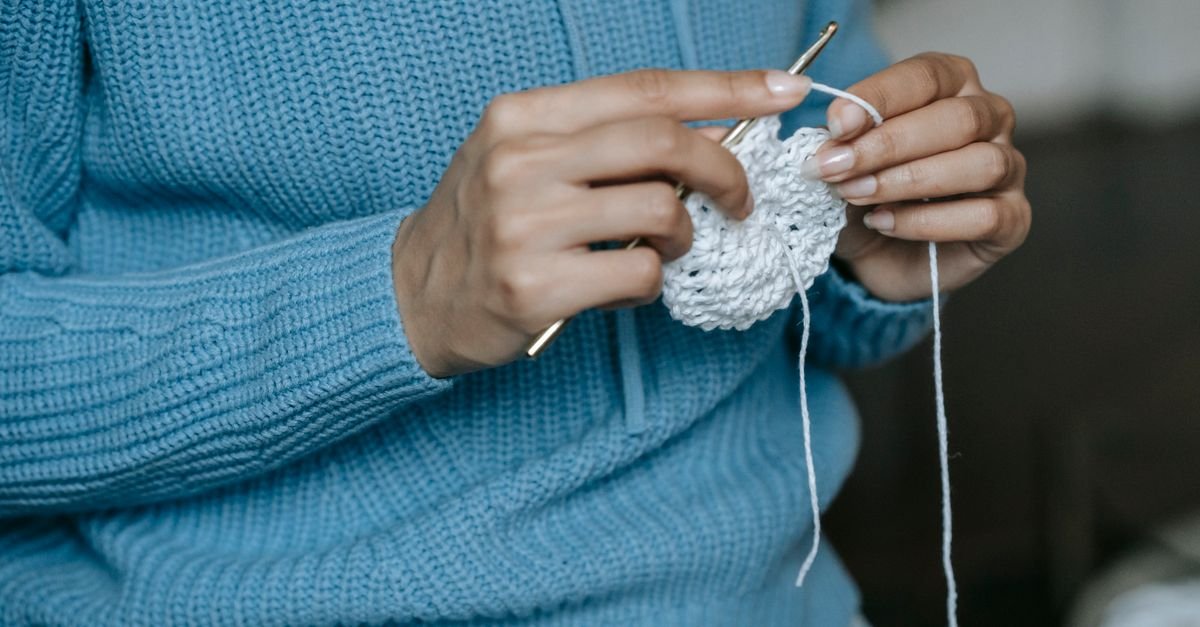
Searching for a sweater crochet pattern free can feel exciting and slightly overwhelming at the same time. There are so many silhouettes, stitches, yarn choices, and construction methods to consider. If this is your first crochet garment, the best design isn’t necessarily the one with the most eye-catching details. It’s the one that explains the process clearly and gives you room to learn.
In this guide, I’ll help you explore easy beginner sweater designs without pretending that every pattern will suit every crocheter. We’ll look at simple constructions, yarn and gauge, sizing, stitch choices, practical preparation, and finishing. I’ll also share ways to make a free pattern search more useful, so you can choose a project based on its instructions and measurements rather than a photograph alone.
Table of Contents
How to Choose a Sweater Crochet Pattern Free for Beginners
The best beginner sweater crochet pattern free choice has clear instructions, a manageable construction, familiar stitches, and finished measurements you can understand.
Before downloading or saving a pattern, read through the project information. A beginner-friendly design should tell you what materials are needed, which crochet terminology is used, how the garment is assembled, and how the sizes are organized. If you can’t tell where the body ends, where the sleeves begin, or how the pieces are joined, the project may be better saved for later.
I also recommend looking for a sweater with a straightforward silhouette. A roomy pullover made from simple panels can be less intimidating than a fitted garment with extensive shaping, even if both use basic stitches. A top-down design may be helpful when you want to check the fit as you go, but it can still include increases and careful counting around the yoke.
- Simple panels: Front and back pieces are often easy to inspect before assembly.
- Relaxed shapes: A loose silhouette can give you a little more flexibility while learning garment construction.
- Limited shaping: Fewer neckline, waist, and sleeve adjustments usually mean fewer places to lose count.
- Clear size information: Finished measurements are more useful than labels such as small, medium, or large.
- Helpful finishing notes: Look for guidance on joining, borders, weaving in ends, and optional blocking.
Free patterns vary in how much support they provide. Some are beautifully written with detailed explanations, while others assume you already understand garment abbreviations and construction. Keep a crochet abbreviations guide nearby, but always give the individual pattern’s stitch key priority if its terminology differs.
If you want to compare the structure of a sweater with another wearable project, browse these easy pattern sweater ideas. They can help you notice differences between panel construction, top-down shaping, relaxed fits, and decorative details.
Which Beginner Sweater Constructions Are Easiest?
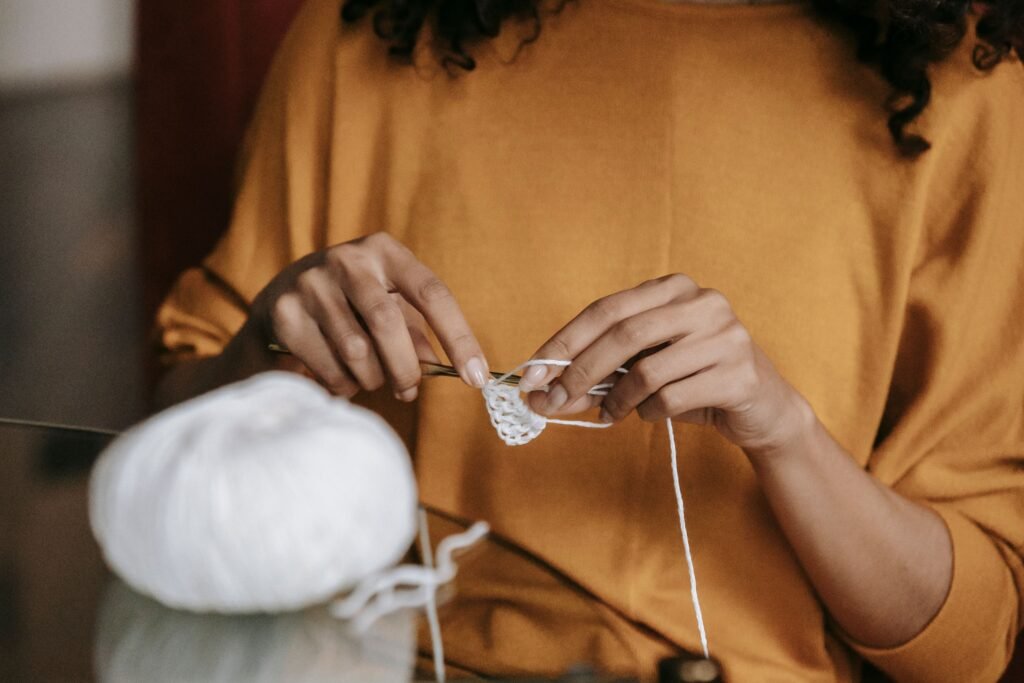
The easiest beginner sweater constructions are simple rectangles or panels, relaxed drop-shoulder garments, and carefully explained top-down designs.
Two-panel sweaters
A two-panel sweater usually involves making a front and back, joining them at the shoulders and sides, and then adding sleeves or sleeve edging. This approach is appealing because most of the crocheting happens in rows, and you can lay each piece flat to check its width and length before joining.
The main challenge is consistency. If the front and back are different sizes, the shoulder seam and side seam may not line up neatly. Count rows as you work, measure both pieces, and compare them before sewing. Don’t wait until the final seam to discover that one panel has grown longer.
Drop-shoulder sweaters
A drop-shoulder sweater usually has a broad, uncomplicated body shape with sleeves attached below the shoulder line. This can make the construction easier to visualize because the body and sleeve openings are clearly separated.
Even a relaxed design needs thoughtful measurements. Check the finished chest, body length, shoulder width, and sleeve length before choosing a size. A roomy shape should look intentional rather than accidentally oversized.
Top-down sweaters
A top-down sweater grows from the neckline toward the hem. Depending on the pattern, increases may form a yoke or raglan-style shape. One advantage is that you may be able to try on the garment during construction, but you’ll need to pay close attention to increase points and stitch counts.
Mark the beginning of each round and any important increase locations. If the pattern is worked in rows, mark the right side and wrong side so you don’t accidentally reverse the shaping. A few markers and notes can make a complicated-looking yoke much easier to follow.
For a smaller confidence-building project before a full sweater, you could explore these free crochet hat patterns for beginners. Hats let you practice working in rounds, checking size, and finishing a wearable item without committing to a whole garment.
How Should You Choose Yarn and Check Gauge?
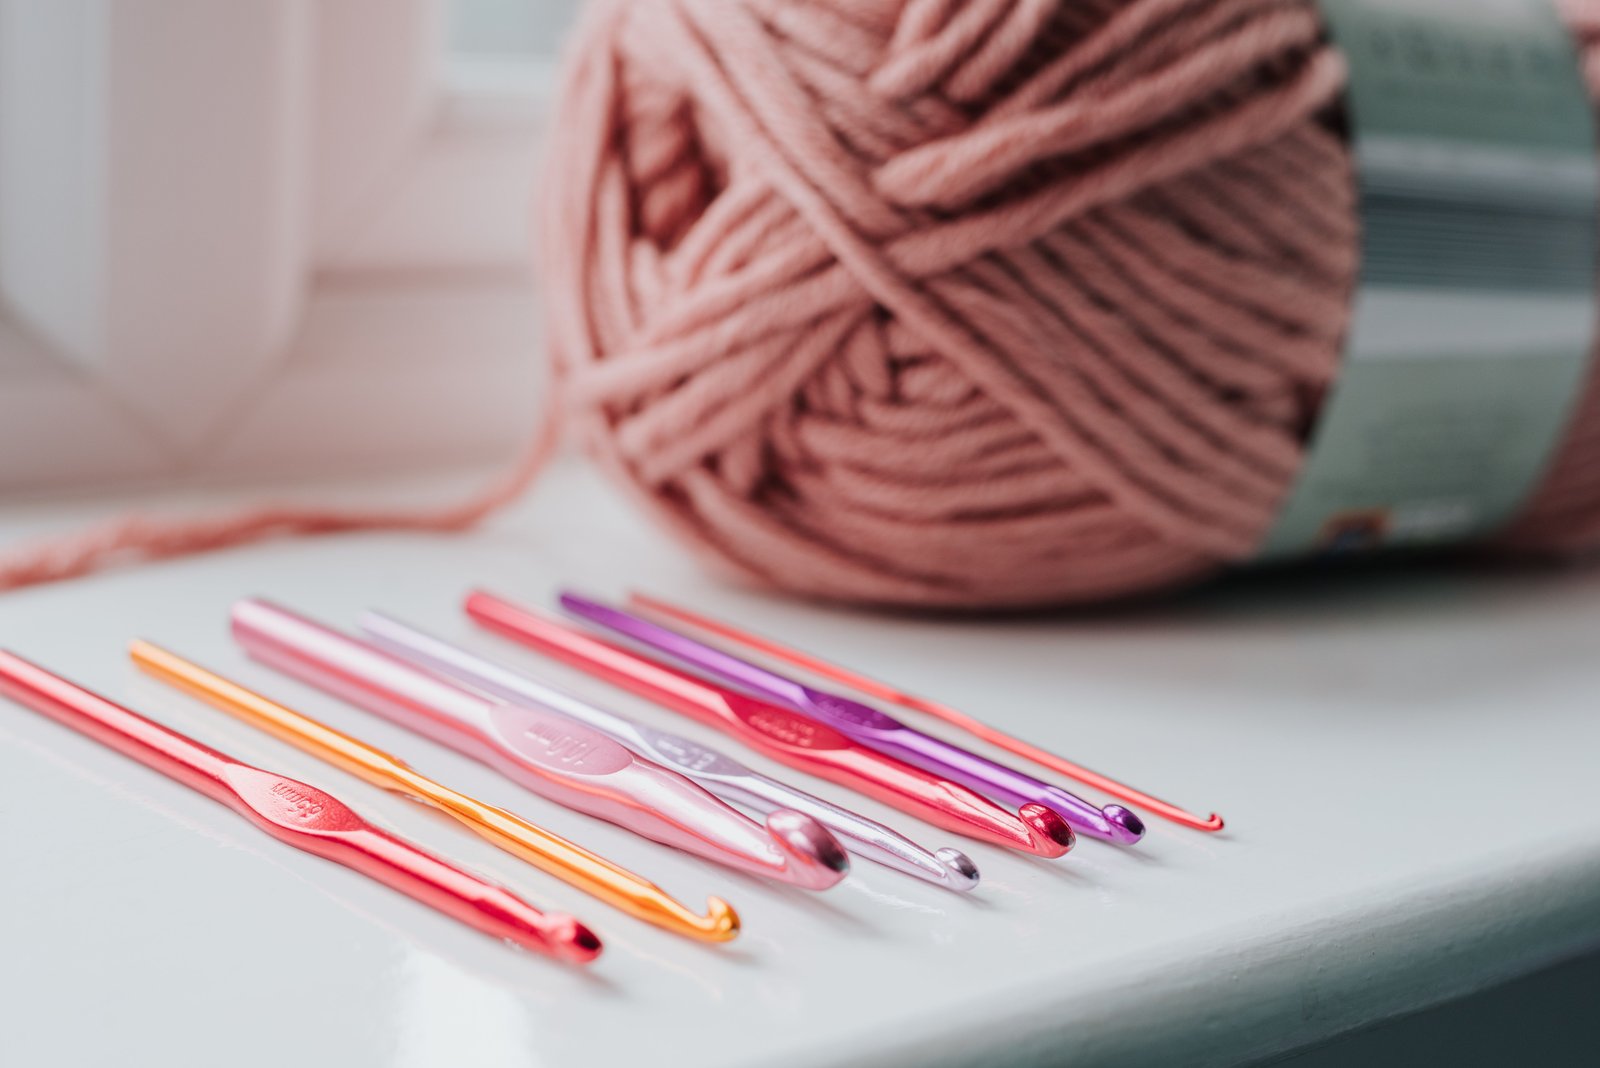
You should choose yarn by following the pattern’s recommendations, then check gauge and fabric feel with a swatch made in the main stitch pattern.
A yarn substitution can work, but changing the yarn may also change the garment’s width, length, drape, warmth, texture, and care requirements. Don’t choose a substitute only because the color looks similar. Compare the information given in the pattern with the yarn label, and make a sample before beginning the sweater.
Your swatch should use the actual stitch pattern whenever possible. A plain row of stitches may not tell you how a textured, lacy, or clustered design will behave. Work enough of the repeat to judge the fabric, then measure it according to the pattern’s instructions.
Gauge is important, but it isn’t the only thing a swatch teaches you. Hold the fabric, bend it, and look at the spaces between stitches. Does it feel too stiff for a sweater? Does it stretch more than you expected? Are the stitches easy to see? A technically close gauge may still create a fabric you won’t enjoy wearing.
- Choose a clear yarn for learning: Smooth yarn makes stitch tops and shaping easier to see.
- Consider drape: A fabric that hangs softly may suit a relaxed pullover, while a firmer fabric may create more structure.
- Think about care: Check the yarn label before choosing a garment you expect to wash often.
- Record your sample: Note the yarn, hook, stitch pattern, and measurements so you can refer back to them.
- Make a new swatch after substitutions: Never assume that a different yarn will behave exactly like the original.
If you’re still learning how yarn behaves, begin with one of these small crochet projects before tackling a garment. A small sample or accessory can help you understand tension and texture without the time commitment of a sweater.
For crocheters drawn to smooth, detailed materials, this guide to mercerized cotton crochet thread explains why fine thread behaves differently from the yarn commonly used for sweaters. It may not be the usual choice for a beginner garment, but understanding material differences helps when you explore patterns later.
How Do You Choose the Right Sweater Size and Fit?
You choose the right sweater size by comparing your measurements and preferred ease with the pattern’s finished measurements, not by choosing a size label automatically.
Start by measuring the parts listed by the pattern. Depending on the design, that may include chest or bust, body length, sleeve length, upper arm, shoulder width, and neckline. Then compare those numbers with a sweater you already enjoy wearing. A familiar garment can show you whether you prefer a close fit, a relaxed fit, a shorter hem, or longer sleeves.
Ease is the room between your body and the finished garment. A close-fitting sweater needs a different amount of ease from a loose pullover or cardigan. If a pattern includes fit notes, read them carefully. If it doesn’t, use the finished measurements and think about what you plan to wear underneath.
Length is one of the most tempting modifications. You may want to add or remove rows, but check how that change affects the stitch repeat, color sequence, hem, and border. If you are changing the sleeves, compare both upper-arm width and cuff width rather than adjusting only the length.
Try to measure as you go instead of waiting until the last section. Lay the body flat and check its width and length. If the pattern allows you to try on the garment, move your arms and sit down. A sweater can look fine on a flat surface but feel restrictive around the shoulders, underarms, or cuffs.
If you’d like to see how careful measuring affects another wearable, take a look at this beginner crochet socks pattern guide. Socks require different construction, but the habit of checking measurements before and during a project transfers beautifully to sweater making.
Which Stitches Make an Easy Crochet Sweater Interesting?
Simple textured stitches, stripes, openwork panels, and neat ribbed edges can make an easy crochet sweater interesting without making every row complicated.
A beginner design doesn’t have to be plain. You can use one main stitch throughout the body and add interest with a contrasting hem, a textured yoke, a central panel, or a different stitch on the sleeves. This keeps the construction manageable while giving the finished garment personality.
Before adding a decorative stitch, make a sample. Textured stitches can change the width and thickness of the fabric, while open stitches can add stretch or reduce coverage. Compare the sample with the garment’s intended use, especially if you’re changing the stitch from the one specified in the pattern.
- Ribbed edges: A ribbed hem, neckline, or cuff can frame the garment and add a flexible finish.
- Clusters and shells: These create visible texture and can work well as a feature panel.
- Openwork: Chain spaces and taller stitches can make a lightweight section, but check the coverage before using it across the full body.
- Stripes: Color changes can define the yoke, cuffs, hem, or sleeve sections.
- Post stitches: Raised lines can add direction and structure to an otherwise simple fabric.
If you want to explore stitch options before choosing a sweater design, browse these interesting crochet stitches. You can also look through these beautiful crochet stitches for ideas that might work as a border, yoke, or accent panel.
Taller stitches can create a more open fabric. An extended double crochet stitch guide may help you understand one way of adding height and variation. If you’re comparing stitch structures, this treble crochet stitch guide offers another direction to explore. Always swatch first, because stitch substitutions can alter the garment’s proportions.
What Tools and Preparation Make Sweater Crochet Easier?
The tools and preparation that make sweater crochet easier are a complete pattern, the recommended hook and yarn, stitch markers, a measuring tool, scissors, a yarn needle, and a notebook.
Read the entire pattern before making the foundation chain. Mark the size you plan to make and highlight the numbers that apply to it. This is especially helpful when several sizes are written in the same line and it’s easy to follow the wrong number.
- Stitch markers: Use them for round beginnings, increase points, corners, sleeve joins, and repeat sections.
- Measuring tape: Check the body, sleeves, neckline, and panels as they grow.
- Row counter or notebook: Record completed rows, rounds, color changes, and modifications.
- Yarn needle: Keep one ready for joining and weaving in ends.
- Flat workspace: A clear surface makes it easier to compare panels and check symmetry.
Good preparation also means deciding how you’ll handle interruptions. Before putting the project away, write down the last completed row or round, which side is facing you, and where the next repeat begins. This small habit can save a great deal of counting when you return.
A relaxed garment can be a useful next step after your first sweater. These crochet poncho free patterns offer ideas for loose construction, borders, color planning, and wearable shapes. You might also enjoy browsing this crochet cape guide to think about layers and shoulder coverage without working fitted sleeves.
How Should You Finish and Troubleshoot a Beginner Sweater?
You should finish and troubleshoot a beginner sweater by correcting count problems early, checking the shape before seaming, securing the ends carefully, and following the pattern’s care guidance.
When you spot a mistake, pause and find the first place where the stitch count or shape changes. Pulling back a few rows can feel frustrating, but it is usually easier than carrying an unexplained error through the rest of the garment. Check whether the problem came from a missed stitch, an extra increase, a skipped repeat, or a misunderstanding about the turning chain.
- Uneven panels: Compare the row count, width, and tension before joining.
- Wavy edges: Check for accidental increases or extra stitches near the sides.
- Too-tight fabric: Review your tension and swatch rather than simply pulling harder on the yarn.
- Incorrect fit: Compare finished measurements with the pattern before deciding whether to continue.
- Misaligned seams: Lay pieces flat and identify the neckline, armholes, hem, and right side before sewing.
Before weaving in every end, lay the sweater flat and inspect the shoulders, side seams, sleeves, cuffs, hem, and neckline. Look for puckering, loose joins, or sections that pull. It’s much easier to make a small correction before the ends are trimmed.
Weave in yarn tails securely without tightening them so much that the fabric gathers. Give extra attention to areas that move often, such as underarms and cuffs. If the pattern recommends blocking or another finishing step, follow its instructions alongside the yarn label. Different fibers and stitch patterns may respond differently, so don’t assume every sweater should be treated identically.
After finishing, keep notes about the yarn, hook, size, gauge, modifications, and final measurements. Those notes turn one free pattern into a personal reference for your next garment.
What Should You Make After Your First Sweater?
Your next step is to choose one approachable sweater design, make the required swatch, and compare its finished measurements with a garment you already like wearing.
Don’t feel pressured to choose the most elaborate pattern available. A simple pullover can teach you how crochet fabric grows, how seams affect fit, how sleeves attach, and how finishing changes the final appearance. Once those skills feel familiar, you can experiment with stronger textures, colorwork, open panels, or more shaped silhouettes.
Keep your project notes and swatches. They’ll help you understand which yarns, stitches, and constructions suit your hands and your wardrobe. Then, when another sweater crochet pattern free search catches your attention, you’ll have a much better idea of which designs are genuinely approachable for you.
Gather your materials, read the instructions all the way through, and begin with a small swatch rather than rushing into the first row. A thoughtful start gives you the freedom to enjoy the creative part: choosing colors, adjusting details, and making a sweater that feels like your own.