
Crochet Cape: Easy Patterns & Stylish Ideas
Explore crochet cape ideas, easy pattern styles, yarn choices, shaping tips, sizing guidance, and creative ways to make a wearable cape.
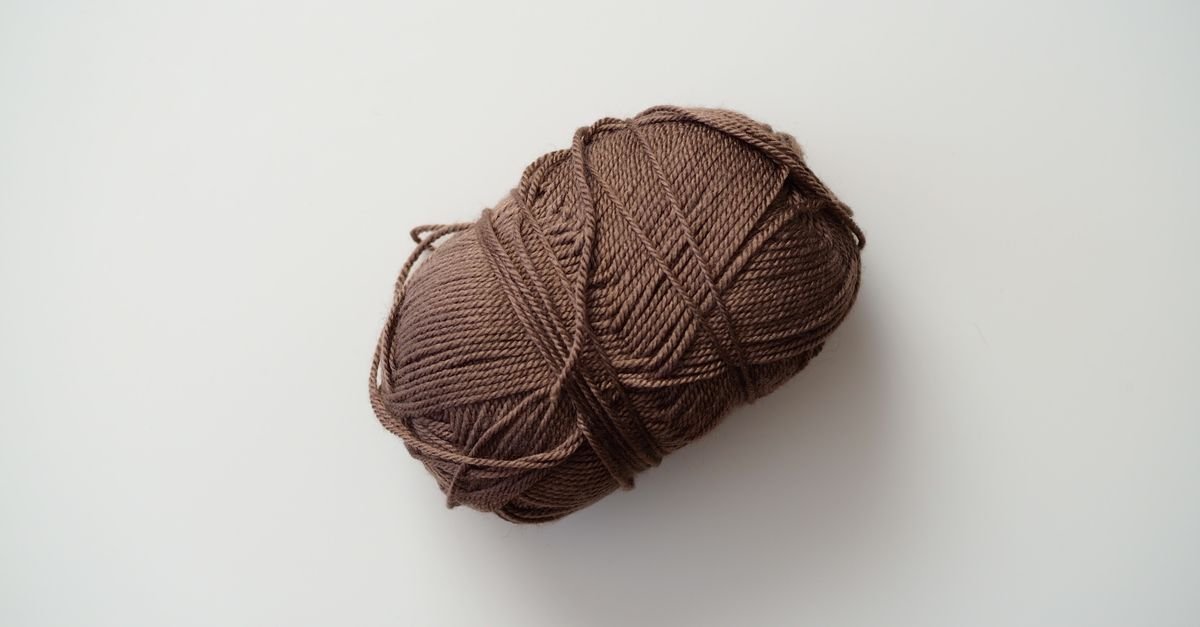
A crochet cape is one of those wearable projects that can feel both practical and wonderfully expressive. It gives us the cozy coverage of a wrap with a little more structure, and the silhouette leaves plenty of room to experiment with color, texture, fringe, collars, and edging. Whether you’re looking for an easy first garment or a fresh way to use a favorite stitch, a crochet cape can be adapted to suit your style.
In this guide, I’ll walk through crochet cape shapes, beginner-friendly construction ideas, yarn and stitch choices, sizing, finishing, and ways to make a simple design feel personal. I’ll keep the advice flexible because the exact yarn amount, hook size, stitch count, gauge, and finished measurements should always come from the specific pattern you choose.
Table of Contents
What makes a crochet cape such a versatile project?
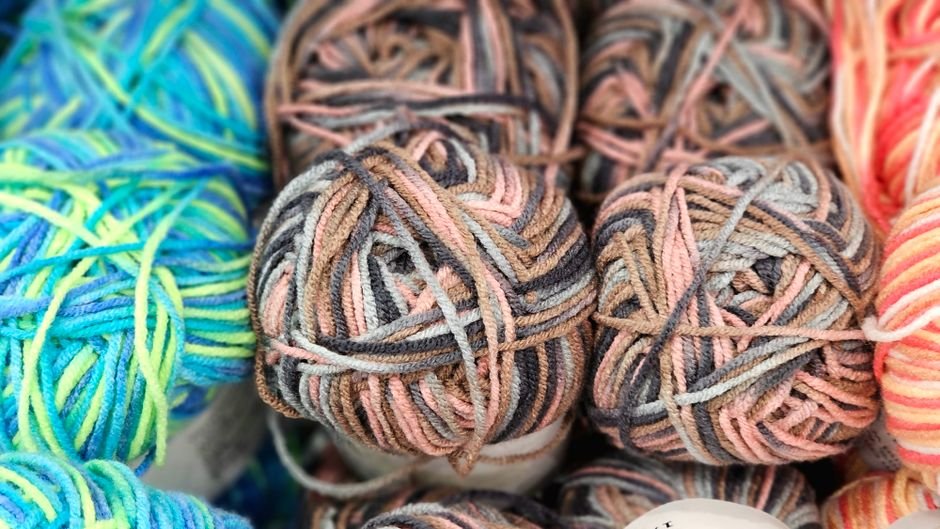
A crochet cape is versatile because it can be built from a simple shape while still offering many ways to change the fit and appearance. Some capes are open at the front, some are pulled over the head, and others sit somewhere between a poncho and a shawl. That variety means you can choose a construction that matches your experience and the kind of garment you want to wear.
The shape is often forgiving because it does not need to follow every curve of the body like a fitted sweater. Even so, a cape still benefits from thoughtful measuring. The length, neckline, front opening, and amount of ease all affect how it hangs. A design that looks graceful on a shorter silhouette may need a different length or edging for another wearer.
I also like capes because they let one design feature lead the project. You might choose an open lace stitch and let the fabric provide the drama, or use a simple stitch and make the color, collar, or border the main attraction. If you enjoy exploring texture, a cape is a generous canvas without requiring a complicated overall construction.
Before starting, ask yourself how you expect to wear it. Do you want a light layer over a dress, a warm shoulder covering, a dramatic statement piece, or a relaxed garment for everyday use? That answer will guide your yarn, stitch density, length, and finishing choices.
Which crochet cape styles are easiest to explore?

The easiest crochet cape styles to explore are simple rectangles, triangular wraps, circular designs, and basic poncho-style shapes, because each relies on a clear overall structure.
Open-front capes
An open-front cape hangs from the shoulders and leaves the front of the outfit visible. It can be made from panels, a large rectangle, or a shaped piece with a neckline. This style is a comfortable choice if you want to put the garment on without pulling it over your head.
The front edges become an important design feature. A plain border can keep the look clean, while a decorative edging, buttons, ties, or fringe can give the cape a more distinctive finish. Check that both front sides are balanced before adding embellishments.
Head-through capes
A head-through cape has an opening for the head and usually spreads over the shoulders and upper body. It may be worked in joined rounds, rows, panels, or sections that are assembled later. This style can be especially appealing when you want a garment that stays in place as you move.
The neckline deserves careful attention. It should be large enough to put on comfortably while still sitting neatly around the neck. If the pattern includes a collar or ribbed edge, work it with even tension so the opening does not pull out of shape.
Hooded capes
A hooded cape adds a cozy extension at the back of the neck and creates a strong focal point. The hood may be formed as part of the main fabric or attached afterward. Read the construction notes before starting so you understand whether the hood is shaped with increases, folded from a rectangle, or joined along a seam.
A hood can add weight to the back of the garment, so consider the relationship between the hood, neckline, and shoulder area. A well-planned border can help the hood transition smoothly into the rest of the cape.
Child and adult cape shapes
A cape can be designed for many ages, but sizing should always be based on the pattern’s finished measurements rather than the name of the size alone. Smaller capes may be quick to crochet, while adult capes give more space for stitch patterns and color changes. If you are making a gift, confirm the intended wearer’s measurements whenever possible.
If you like comparing wearable silhouettes, this crochet poncho pattern guide offers useful inspiration for openings, proportions, panels, and relaxed garment construction. A poncho and a cape are not identical, but thinking about both shapes can help you decide how much coverage and movement you want.
How should you choose yarn and stitches for a crochet cape?
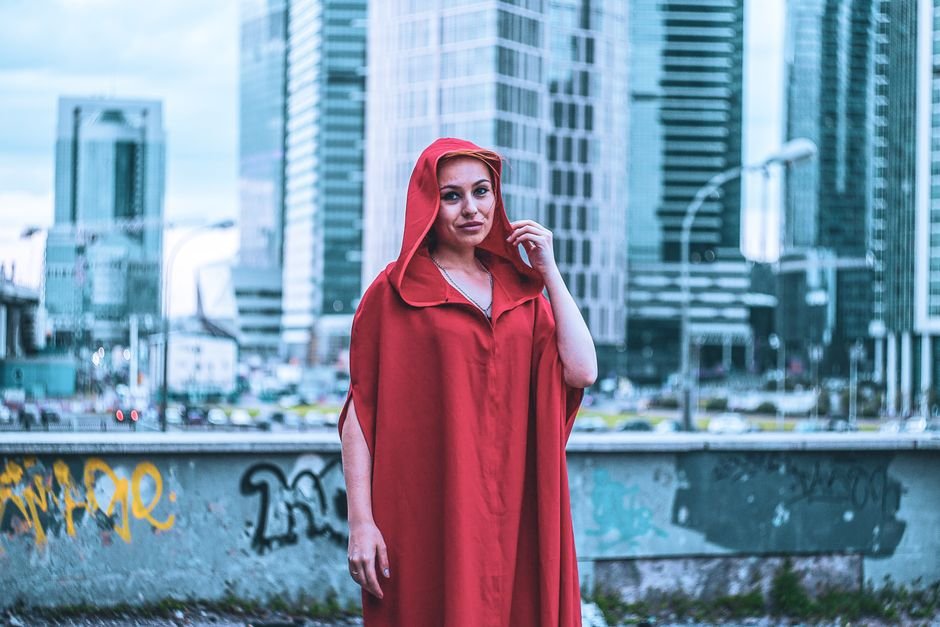
You should choose yarn and stitches for a crochet cape by matching the fabric’s weight, drape, warmth, stretch, and texture to the way you plan to wear the garment.
Start with the pattern’s yarn guidance. The listed yarn weight, fiber, quantity, hook, and gauge belong to that design, and changing any of them can affect the finished dimensions and fabric. If you are adapting a stitch or designing your own cape, make a swatch before estimating the full project.
Smooth yarn makes stitch definition easier to see, which is helpful when learning a new repeat or working shaping. A textured or fuzzy yarn can create a soft surface, but it may hide individual stitches and make counting more difficult. For a first cape, clarity can be more valuable than novelty.
Consider drape as well as warmth. An open stitch may create a light, flowing fabric, while a denser stitch can feel more substantial and structured. Neither is automatically better. The right choice depends on whether the cape is meant to be a decorative layer, a cool-weather garment, or something you can wear across changing seasons.
Color can completely change the mood of the finished piece. A single shade highlights the outline and texture, while stripes can emphasize the direction of the rows. Color blocks create clear sections, and a contrasting border can frame the garment. Before beginning a multicolor design, place the yarn colors together and consider which shade should dominate.
Pretty stitch patterns can be especially effective on a cape because the broad surface gives the repeat room to develop. For ideas about ridges, shells, clusters, lace, and other textures, browse these pretty crochet stitches. I’d still swatch any stitch before using it in a wearable piece, since texture can change the fabric’s width, height, thickness, and flexibility.
What supplies and planning steps help beginners?
Beginners benefit from gathering the pattern-specific yarn and hook along with stitch markers, a measuring tape, scissors, a yarn needle, and a place to record progress. Good planning makes a large wearable project feel much more manageable.
- Read the whole pattern: Check the construction, finished measurements, stitch abbreviations, gauge instructions, color changes, and finishing directions before making the first stitch.
- Mark your size: If the pattern lists several sizes together, highlight only the numbers that apply to your chosen size.
- Make a swatch: Work the main stitch pattern and compare both the measurement and the feel of the fabric with the pattern’s guidance.
- Use stitch markers: Mark round beginnings, shaping points, neckline sections, or repeat boundaries so you can return to the correct place after a pause.
- Keep notes: Record your hook, yarn, gauge, completed rows or rounds, color order, and any changes you make.
A measuring tape is particularly useful because a cape can grow quickly without looking dramatically different from one row to the next. Measure the length, width, neckline, and front edges at the points identified by the pattern. If you are creating your own design, write down every measurement as the shape develops.
Project organization matters too. Keep the pattern, yarn, hook, notes, and tools together in a basket or project bag. If you stop in the middle of a repeat, write down the last completed row or round rather than trusting yourself to remember it later.
For a smaller project that practices counting, color changes, and finishing before you begin a garment, these free crochet hat patterns for beginners offer useful preparation. The shapes are different, but the habits of checking gauge, following repeats, and measuring as you work are the same.
How do you check the fit and shape of a crochet cape?
You check the fit and shape of a crochet cape by comparing the growing fabric with the pattern’s finished measurements and by trying to understand how the neckline, shoulders, length, and front opening will sit on the wearer.
Begin with the wearer’s measurements whenever possible. Depending on the design, you may need to consider the shoulder span, upper body circumference, desired length, neckline, and arm coverage. Compare these with the finished garment measurements rather than choosing a size from the label alone.
Pay attention to ease. A cape generally needs enough room to move over clothing, but too much extra fabric can make the shape feel cumbersome. Think about the layers that will be worn underneath and whether the garment should sit close to the shoulders or fall loosely around the body.
Length is one of the easiest elements to personalize, but it can change the entire appearance. A shorter cape may feel light and casual, while a longer version creates more coverage and movement. If you alter the length, record how many rows or rounds you add and check whether the border still fits the edge as intended.
Lay the piece flat during construction and look for symmetry. The neckline should remain centered, the front edges should appear balanced, and the fabric should not twist. If the design uses increases, check that they are being placed consistently. A missed increase can make one section lean or cause an edge to ripple.
Try the cape on when the construction allows it, but avoid judging fit from appearance alone. Move your arms, sit down, and check whether the neckline stays comfortable. A garment can look lovely while feeling restrictive at the shoulders, especially if the fabric has less stretch than expected.
How can you add stylish details to a crochet cape?
You can add stylish details to a crochet cape with a thoughtful border, a collar, fringe, buttons, ties, color changes, or a carefully chosen textured panel. The key is to let one or two features lead the design rather than adding every idea at once.
Use the edging as a frame
A border can clarify the outline of a cape and help the front opening, hem, and neckline look finished. A simple round of stitches may be enough for a textured body, while a scalloped or lacy edge can complement a plain fabric. Work the border evenly and watch for puckering or stretching at corners and curves.
Try a contrasting collar
A collar creates a clear focal point around the face and shoulders. It can be made in the same stitch as the body for a quiet finish or in a contrasting texture for more definition. Before committing, make a small sample or hold the yarn near the finished fabric to see whether the contrast feels balanced.
Add fringe or tassels carefully
Fringe and tassels can give a cape movement and a relaxed, decorative feel. Keep the placement consistent along the hem and consider how the added weight may affect the fabric. If you are making a gift, follow the pattern’s care guidance and think about whether the finished item will be handled frequently.
Experiment with closures
Buttons, toggles, ties, or a small clasp can change how an open-front cape sits. Place the closure after trying on the garment so you can identify the most comfortable position. Reinforce the attachment area according to the pattern or design instructions, especially when the closure will be used often.
Combine simple and decorative sections
A textured panel can make a simple cape feel designed without requiring a complicated stitch throughout. Use a decorative repeat down the center, along the front edges, around the collar, or near the hem. When changing stitch patterns, make a new gauge sample because the fabric may grow differently.
If you enjoy turning handmade pieces into coordinated outfits, these free crochet sweater pattern designs can inspire color placement, relaxed silhouettes, contrasting cuffs, and textured panels. The same design principles work beautifully when you are planning a cape.
What common crochet cape problems should you avoid?
You can avoid common crochet cape problems by checking gauge, counting shaping sections, measuring regularly, and correcting uneven edges before the project becomes too large to handle comfortably.
- The neckline is too tight: Recheck the pattern’s opening measurement and your gauge before continuing. A tight neckline can make the whole garment uncomfortable.
- The fabric ripples: Look for extra increases, inconsistent stitch placement, or a border that is too loose for the edge.
- The edge curls: Compare your tension with the pattern and check whether the design calls for a specific border or finishing method.
- The cape hangs unevenly: Lay it flat and compare both sides. A missed stitch or misplaced increase may have shifted the shape.
- The fabric feels stiff: Review the yarn, hook, stitch pattern, and tension. A fabric can match a measurement while still feeling unsuitable for a flowing garment.
- The cape is too short or deep: Measure as you work rather than waiting until the final border to discover the difference.
When you find a mistake, stop at the first point where the stitch count changes. Unraveling a few rows can feel frustrating, but it is usually easier than trying to disguise a problem across a wide garment. Keep a note of what happened so you can avoid repeating it.
Don’t be tempted to change the yarn, stitch, length, and neckline all at once. Make one adjustment, record it, and assess the result. This approach gives you useful information for future versions and makes the design process much less mysterious.
Small stuffed projects can also help you practice careful shaping and finishing before returning to a wearable. These mini crochet animal patterns use different constructions, but they encourage the same useful habits: count consistently, inspect the shape, secure pieces carefully, and correct problems early.
What should you do when your crochet cape is finished?
When your crochet cape is finished, inspect the edges and seams, weave in the ends, follow the yarn’s care guidance, and try the garment on before deciding whether any final adjustments are needed.
Lay the cape flat and check the neckline, front opening, hem, side joins, collar, and closure. Look for loose loops, gaps, puckered sections, or places where the border has pulled the fabric out of shape. Make any repairs before trimming the final yarn tails.
Weave in the ends securely on the wrong side without pulling so tightly that the fabric gathers. If the pattern recommends blocking or washing, follow the instructions for the chosen yarn. Different fibers and textures can respond differently to moisture, stretching, and heat, so avoid assuming that one finishing method suits every project.
Try the cape on with the kind of clothing you expect to wear underneath it. Walk around, move your arms, and check the neckline and closure. This final fitting can show whether the length, drape, and shoulder coverage feel right in real use.
Keep a project record after finishing. Write down the yarn, hook, gauge, finished measurements, stitch pattern, color order, and modifications. Those notes will make it much easier to create a matching cape, adjust the design for another wearer, or reuse your favorite details in a future garment.
Your next step is to choose a cape shape that matches the way you want to wear it, then select one main design feature—perhaps a textured stitch, contrasting border, hood, or fringe—to guide the project. Read the pattern completely, make the recommended swatch, and measure as you go. With that preparation, a crochet cape becomes more than a warm layer: it becomes a chance to explore shape, texture, color, and your own creative point of view.