
Mini Crochet Animals: Cute & Easy Patterns
Discover mini crochet animals with easy project ideas, yarn tips, shaping guidance, beginner-friendly details, and creative ways to personalize tiny amigurumi.
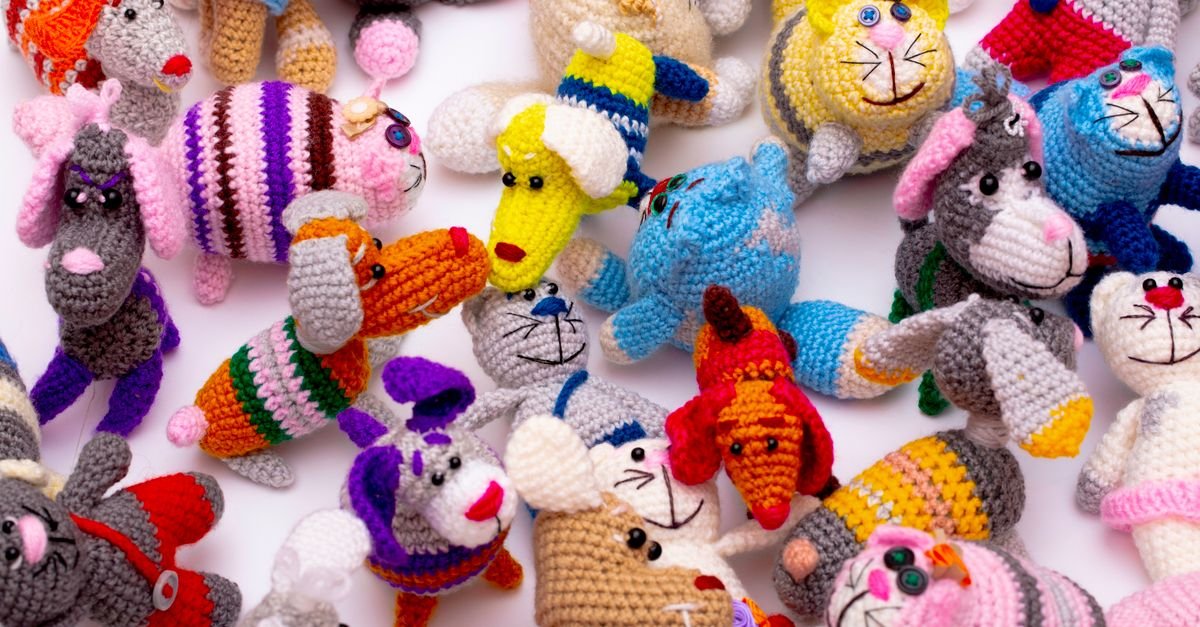
Mini crochet animals are small enough to make in a quiet afternoon, yet they offer plenty of room for creativity. A tiny bear, bunny, cat, whale, or bird can become a thoughtful gift, a cheerful desk companion, a bag charm, or simply a satisfying way to use leftover yarn. I especially like how these projects let us explore shaping and color without committing to a large blanket or garment.
The best mini crochet animals for beginners have clearly written instructions, simple shapes, and details that can be added one step at a time. In this guide, I’ll show you how to choose a manageable pattern, organize your supplies, understand the construction, shape a tiny body, and give each animal its own personality. I’ll keep the advice flexible because the exact yarn, hook, stitch count, stuffing instructions, and finished size belong to the pattern you choose.
Table of Contents
Why are mini crochet animals such enjoyable projects?

Mini crochet animals are enjoyable because they combine a compact project size with the creative satisfaction of shaping a recognizable little figure. You can practice crochet in three dimensions while making something that has a clear beginning, middle, and finish.
Unlike a large project, a tiny animal usually has only a handful of main components. The body may be worked in rounds, with separate ears, legs, wings, fins, or a tail attached afterward. That structure gives you a chance to learn how increases and decreases affect form without having to manage an enormous piece of fabric.
Small projects are also useful for experimenting with personality. The same basic body can become several different animals when you change the ears, color palette, muzzle, tail, or embroidered expression. A rounded shape in brown might suggest a bear, while the same shape in gray with pointed ears could become a cat.
If you’re new to stuffed crochet, browse these crochet stuffed animal pattern ideas for inspiration. They can help you compare different silhouettes and notice which details make an animal easy to recognize.
There is one important difference between a tiny animal and a flat accessory: small mistakes can be more visible. A slightly misplaced eye or an uneven ear may change the whole expression. I find that this is not a reason to avoid the projects; it is an invitation to slow down, inspect the shape, and treat the details as part of the design.
How do you choose an easy mini crochet animals pattern?
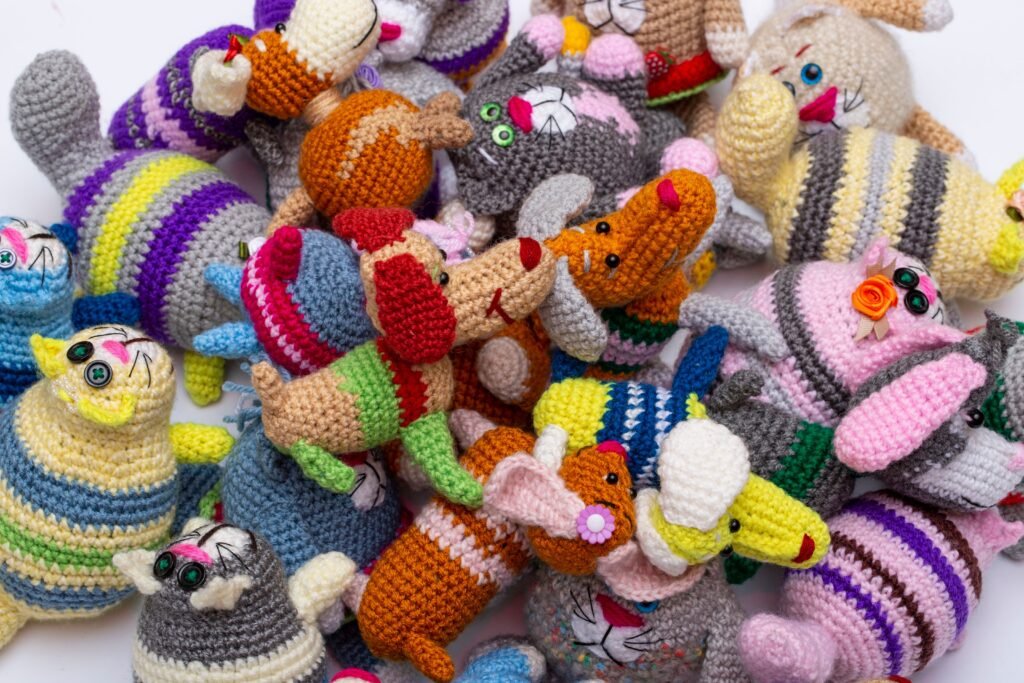
You choose an easy mini crochet animals pattern by looking for clear construction, familiar stitches, manageable shaping, and instructions that explain how the pieces are assembled.
Start with the pattern overview rather than the photograph alone. Check whether the animal is worked in one continuous piece or divided into several parts. A one-piece body may reduce sewing, while a design with separate parts may offer more control over the pose and expression. Neither option is automatically easier; the better choice depends on whether you prefer crocheting in rounds or assembling components.
Look for a stitch key and a consistent explanation of increases, decreases, joining, and finishing. If you are still learning, a pattern with process photographs or diagrams may make the shape easier to understand. Read the complete instructions before starting so you know when the body narrows, where the opening is left for filling, and when the limbs or face are attached.
Pattern difficulty can also depend on the detail work. A basic body may be simple, but tiny color changes, surface crochet, embroidered features, or many separate parts can add time. I recommend choosing a pattern whose main shape feels comfortable, then treating the decorative details as a separate learning step.
Keep the finished measurements in mind too. A very small project may require more precision because the stitches and openings are less forgiving. A slightly larger beginner project can make stitch placement easier to see while still giving you the same experience of shaping a stuffed figure.
For a gentle starting point, you can also explore these crochet projects for beginners. They provide a useful way to build confidence with counting, fastening off, sewing, and weaving in ends before you tackle especially tiny details.
What supplies help with mini crochet animals?

The supplies that help with mini crochet animals are the yarn and hook listed by the chosen pattern, a yarn needle, scissors, stitch markers, filling if the pattern uses it, and materials for the facial details.
- Yarn: Choose a yarn that lets you see the stitches clearly. Smooth yarn can make small increases and decreases easier to identify than a highly textured or fuzzy option.
- Hook: Begin with the hook recommended in the pattern. The hook affects the size and firmness of the fabric, so changing it can change the finished result.
- Stitch markers: Use markers to identify the beginning of a round or a specific shaping point.
- Yarn needle: A needle with a suitable eye helps with sewing pieces together and weaving in ends.
- Scissors: Keep them close for color changes, fastening off, and trimming tails.
- Filling and features: Follow the pattern’s instructions for filling, eyes, embroidery, or other details, and choose options appropriate for the intended recipient and use.
Color choice has a surprisingly strong effect on a tiny animal. A solid shade makes the shape easy to read, while two or more colors can define a face, belly, ears, or paws. Before beginning, place the yarn colors together and imagine where each shade will appear. This small planning step can prevent a color combination from feeling unbalanced once the pieces are assembled.
For your first project, avoid making the yarn selection harder than it needs to be. A yarn that hides the stitch structure may be charming, but it can make counting and shaping more difficult. You can always return to novelty textures after you feel comfortable reading small rounds.
Small tools can make a big difference. A removable marker helps you find the round beginning, while a blunt yarn needle can make sewing less stressful. I also like keeping a small notebook nearby to record the pattern size, color order, and the last completed round.
How do you understand the construction of a tiny animal?
You understand the construction of a tiny animal by separating the pattern into its body, appendages, facial details, and assembly instructions before you crochet.
Body and head shapes
The body is often the largest piece and may be worked from one end toward the other in joined or continuous rounds. Increases widen the shape, even rounds maintain it, and decreases narrow it again. The placement of these changes determines whether the animal looks round, oval, pear-shaped, or elongated.
Some designs use a separate head, while others connect the head and body into one piece. A separate head gives you more flexibility when positioning the face, but it also creates a seam or joining stage. An integrated shape reduces assembly but asks you to pay close attention to the transitions between sections.
Ears, limbs, tails, and wings
Small appendages may be made as flat pieces, narrow tubes, folded shapes, or tiny stuffed sections. Read the finishing instructions carefully because the way a piece is flattened or folded can be just as important as the stitches used to crochet it.
Before attaching anything permanently, place the parts on the body and look at the balance from the front, side, and back. This is especially helpful for ears and eyes. Temporary pins or scraps of yarn can hold pieces in position while you decide whether they sit evenly.
Facial details
Facial details give the animal its expression, so mark their positions before sewing or embroidering them. Check the placement from several angles and compare the two sides. A small shift can make the animal look curious, sleepy, surprised, or playful.
If you want to explore how different stitch heights can change a small shape, the tr crochet stitch guide explains a taller stitch and its visual effect. Mini animals often use compact stitches for their main structure, but understanding stitch height can inspire decorative fins, feathers, tails, or surface details in future projects.
How do you crochet and shape mini crochet animals?
You crochet and shape mini crochet animals by maintaining the pattern’s round structure, counting increases and decreases carefully, and checking the developing form before closing each section.
Begin by identifying the round marker and the first stitch. In a small circular project, losing the round beginning can quickly shift every later shaping instruction. Move the marker as directed, count regularly, and write down the last completed round whenever you pause.
When an increase is required, make sure it is worked in the correct stitch or space. An increase adds fabric and can make the body wider or rounder. A decrease removes fabric and helps create a taper, neck, snout, tail, or narrowing limb. If the shape starts looking lopsided, compare your stitch count with the earlier round instead of continuing and hoping it will correct itself.
Stuffing should be added gradually when the pattern calls for it. Adding too much at once can make it difficult to reach the remaining stitches, while too little may leave the form soft or uneven. Follow the pattern’s guidance and use the opening to distribute the filling toward corners and smaller areas.
As you shape the animal, pause to look at it from different directions. A piece can appear symmetrical when it is lying flat but lean once it is held upright. This is a good moment to identify missed increases, accidental extra stitches, or a twisted section.
For another tall-stitch reference, see the treble treble crochet stitch guide. It is not usually the first stitch I would choose for a compact stuffed body, but it offers ideas for open decorative details and reminds us that stitch choice can change the scale and movement of a small design.
Keep your tension steady, but don’t grip the hook or yarn so tightly that the stitches become difficult to work into. Tiny crochet rewards a calm rhythm. If your hands feel tense, pause for a moment and return with a lighter hold.
How do you assemble and personalize tiny animals?
You assemble and personalize tiny animals by arranging the pieces first, securing them gradually, and adding expressive details only after the main shape is stable.
Lay out every completed part before sewing. Group matching pieces together and identify the front, back, top, and bottom of the body. If the pattern includes two ears, legs, wings, or fins, compare them before attachment so you can correct a difference while the pieces are still separate.
Use temporary markers to hold parts in place. Attach one section at a time, checking the position after a few stitches rather than waiting until the seam is complete. This makes it easier to adjust the angle of a leg, the tilt of an ear, or the placement of a tail.
Personalization works best when you change one feature at a time. Try a contrasting belly, a different ear shape, a tiny embroidered nose, or a short color stripe. You can also make a family of animals from one basic pattern by changing the colors and facial expressions.
Eyes deserve thoughtful placement. Mark both positions before attaching them, then view the face straight on. If the project is intended for a young child, follow the pattern’s instructions and choose facial details with the intended recipient and use in mind rather than adding a feature simply because it looks cute in a photograph.
For inspiration beyond animals, the site’s easy crochet pullover sweater pattern ideas show how color blocks and simple shaping can create visual personality. Those garment techniques won’t transfer directly to a tiny animal, but the design principle does: one clear color or texture choice can make a simple shape feel distinctive.
What common mistakes should you avoid?
You can avoid common mini crochet animals mistakes by counting each round, marking the starting point, checking symmetry, and correcting shaping errors before closing the piece.
- Losing the round beginning: Move the stitch marker consistently and record where each round ends.
- Skipping a stitch: Count the completed round before beginning the next shaping section.
- Adding filling too early: Wait until the pattern indicates it so you can still reach the stitches comfortably.
- Overstuffing the shape: Add filling in small amounts and check whether the fabric is stretching or losing its intended outline.
- Attaching pieces without planning: Position the parts temporarily and inspect the animal from more than one angle.
- Making details uneven: Mark both sides of the face or body before sewing.
- Changing the yarn without checking the effect: Different yarns can alter the size, stitch definition, and firmness of the project.
If you find a mistake, stop as soon as you notice it. Small projects are often quick to unravel and repair, while continuing can hide the original problem under several more rounds. Compare the current stitch count with the pattern and look for the first round where the numbers changed.
Don’t judge the project only while it is flat on the table. Hold it upright, turn it around, and check how the limbs or ears sit. The finished animal may look different once it has filling and a three-dimensional shape.
What should you do after finishing mini crochet animals?
After finishing mini crochet animals, secure the yarn ends, inspect every attachment, check the facial details, and store or present the project according to the pattern’s care guidance.
Look closely at the seams and joins. Gently handle the ears, limbs, tail, and other attached pieces to make sure they are secure. Examine the body for gaps, loose loops, or areas where the filling is visible. If you find an issue, repair it before trimming the final yarn tails.
Weave in ends carefully on the inside or underside of the work when possible. Avoid pulling so tightly that the body puckers. Keep a record of the yarn colors, pattern size, and any changes you made; that information is useful if you want to make a matching group later.
Once the animal is finished, consider how you’ll use it. A small figure can be displayed, added to a collection, used as a decorative accent, or incorporated into another handmade project when the pattern and intended use allow. If you plan to give it as a gift, include any relevant care information from the yarn or pattern.
Your next step is to choose one small animal with a construction you can understand, gather the listed supplies, and read the instructions from beginning to end before making the first stitch. Start with a clear body shape, mark every round, and leave the personality details until the structure is secure. Mini crochet animals may be tiny, but they give us a wonderful space to explore color, shaping, expression, and the joy of making something completely our own.