Jumper Crochet Pattern: Easy & Stylish Designs
Find the right jumper crochet pattern with practical advice on yarn, sizing, gauge, construction, stitches, customization, and neat finishing.
A jumper crochet pattern is a lovely way to move from smaller accessories into handmade clothing. It may look like a big project at first, but a jumper is usually built from familiar decisions: choosing yarn, checking measurements, repeating stitches, shaping a few sections, and joining everything neatly. Once we break the process into manageable steps, the project feels far less mysterious.
In this guide, I’ll help you choose an easy and stylish design, think through yarn and fit, understand common jumper constructions, and add personal details without losing the shape of the garment. The exact yarn quantity, hook size, gauge, stitch count, and finished measurements should always come from the specific pattern you choose. Use the ideas here as a planning companion while you work through those instructions.
Table of Contents
What makes a jumper crochet pattern beginner-friendly?
A beginner-friendly jumper crochet pattern has clear construction, understandable shaping, manageable stitch repeats, and finished measurements that are easy to compare with your own body measurements. The word “jumper” can describe many styles, so the best starting point is often the design you can understand before making the first chain.
Look at the garment’s construction photograph or diagram and ask yourself a few practical questions. Is it made from a front and back panel? Are the sleeves separate? Does the pattern begin at the neckline and work downward? Are the shoulders joined, or does the design use motifs? None of these methods is automatically difficult, but each creates a different kind of crochet experience.
For a first garment, I’d look for a relaxed shape, a simple neckline, and shaping that is explained row by row. A loose silhouette can be more forgiving than a close-fitting style, especially while you’re learning how your tension affects fabric. It can still look polished when the hem, cuffs, and neckline are finished carefully.
It’s also worth reading the complete pattern before buying yarn. Check the abbreviations, stitch key, size chart, gauge information, assembly instructions, and finishing notes. If the pattern lists multiple sizes together, highlight the numbers for your chosen size. This small bit of preparation makes it much easier to keep your place.
For another wearable construction to compare, browse this crochet pullover sweater pattern guide. A pullover and a jumper may use similar ideas, but comparing several silhouettes can help you decide whether you prefer panels, top-down shaping, or a more relaxed geometric design.
How do you choose yarn and supplies for a jumper?
You choose yarn and supplies for a jumper by following the pattern’s recommendations while considering the fabric’s softness, drape, stitch definition, and care needs. The pattern and yarn label should determine the specific yarn weight, fiber, amount, and hook guidance rather than guesswork.
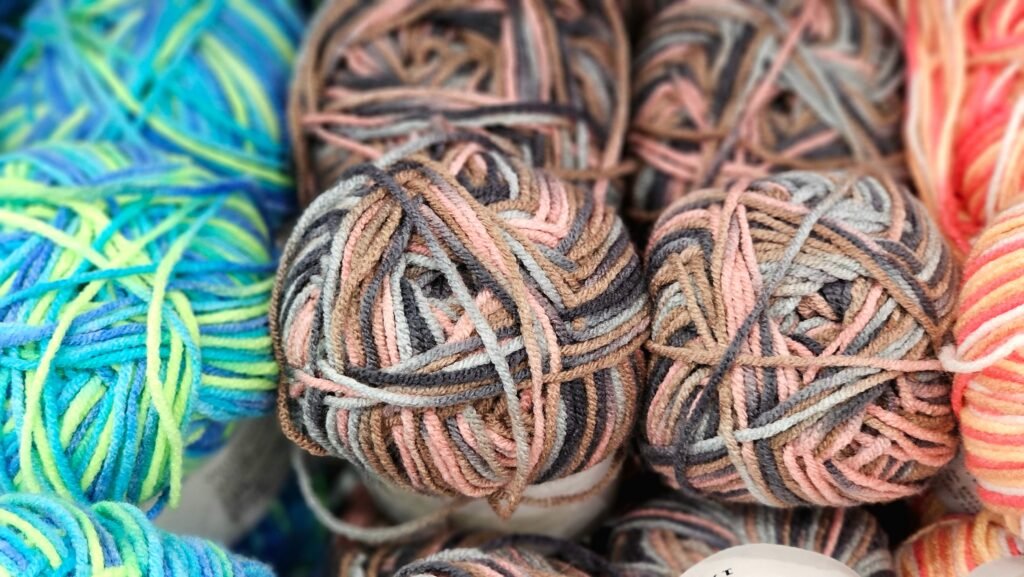
A smooth yarn can be especially helpful when you’re learning garment construction because the stitch tops and row edges are easier to see. Very fuzzy or highly textured yarn may create a lovely fabric, but it can make counting and correcting mistakes more difficult. A solid or gently varied color can also make shaping easier to follow than a dramatic color-changing yarn.
- Yarn: Choose a material and color you’ll enjoy wearing, while checking the pattern’s requirements and the yarn’s care information.
- Hook: Begin with the hook recommended by the pattern, then use your gauge swatch to decide whether an adjustment is needed.
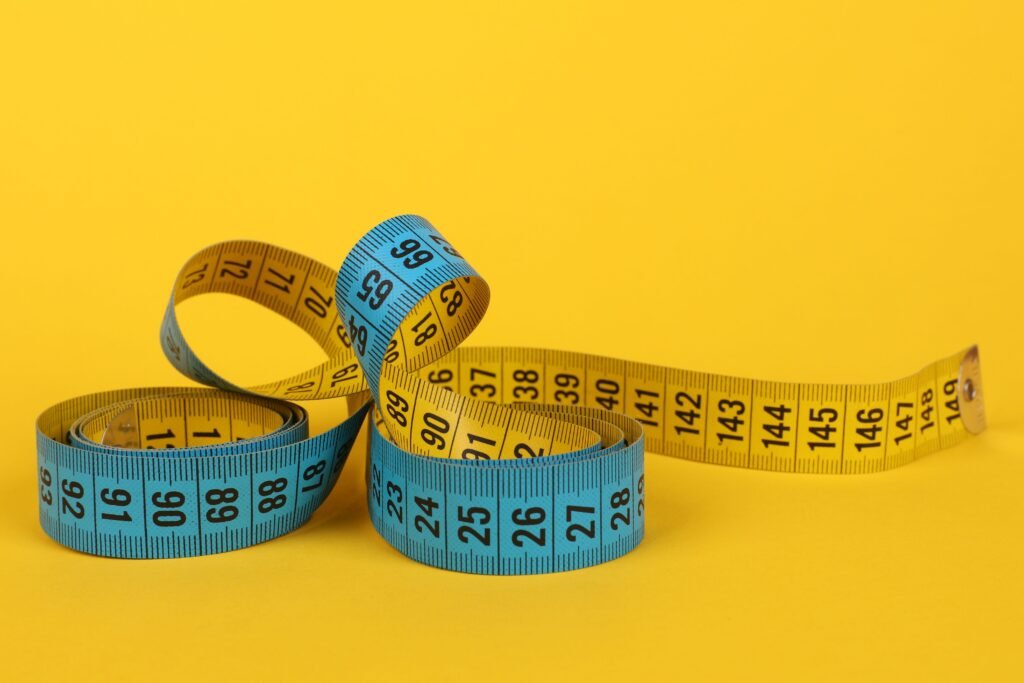
- Measuring tape: Keep one nearby for body measurements, swatch measurements, panel dimensions, and sleeve length.
- Stitch markers: Use markers for row beginnings, shaping points, sleeve joins, or repeated stitch sections.
- Yarn needle and scissors: These are essential for seams, weaving in ends, color changes, and finishing edges.
- Notes: Record your size, gauge, yarn, hook, row counts, and any alterations as you work.
Think about the fabric you want the jumper to have. A tighter fabric may feel more structured, while a more open stitch can create extra drape and movement. The same stitch can behave differently with another yarn, hook, or crocheter’s tension, which is why a small sample is much more useful than judging the yarn by appearance alone.
Color planning can be simple. A single shade can showcase texture and shaping, while contrasting cuffs or a striped body can give a straightforward jumper more personality. If the garment is made in separate panels, consider how the color changes will meet at the side seams and shoulders.
Why are gauge and measurements essential?
Gauge and measurements are essential because your crochet tension determines the finished jumper’s width, length, drape, and fit. A pattern’s size label gives you a starting point, but the finished garment measurements tell you much more about how it is intended to fit.
Begin by measuring the wearer according to the pattern’s instructions. Depending on the design, you may need measurements around the chest or bust, the upper arm, the body length, the sleeve length, and the preferred neckline. Compare those numbers with the pattern’s finished measurements rather than choosing only by a familiar clothing size.
Ease is the difference between a body measurement and the finished garment measurement. A relaxed jumper generally has more extra room than a close-fitting one, but there is no single correct amount for everyone. Think about whether you want to layer the garment over another top and how much room you prefer around the shoulders and arms.
Make a gauge swatch in the main stitch pattern. If your sample has more stitches in the measured area than the pattern expects, your stitches are smaller. If it has fewer, your stitches are larger. Changing hook size may help, but it can also change the fabric’s feel and drape, so check both the measurement and the fabric quality.
Don’t forget row gauge. You might match the width while creating a body or sleeve that is too long or too short. Measure your work as it grows, especially after completing a major section. Catching a difference early is much easier than discovering it after the seams are finished.
Which construction works best for an easy jumper?
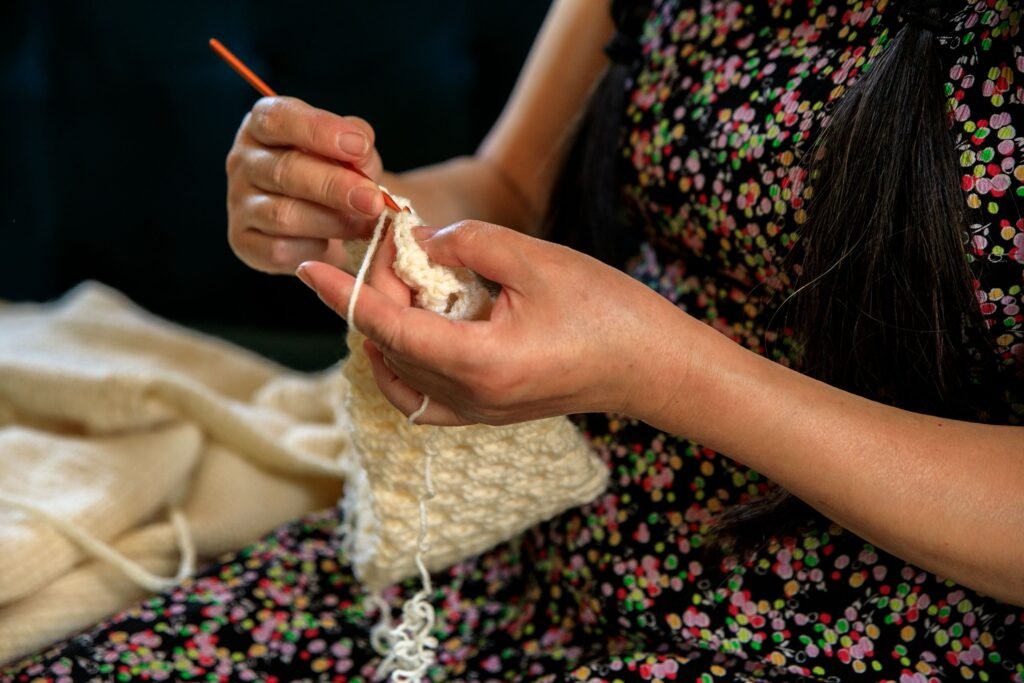
The best construction for an easy jumper is the one whose pieces, shaping, and assembly you can clearly understand before starting. Many crocheters find flat panels approachable, while others prefer a top-down garment that can be checked as it grows.
Flat panels
Flat-panel jumpers are commonly made from a front, a back, and separate sleeves. The pieces are worked back and forth in rows, then joined at the shoulders and sides. This method makes it easy to lay each piece flat and compare its measurements with the pattern.
The main challenge is seaming. Before sewing, identify the top, bottom, right side, and wrong side of every piece. Match the edges in small sections and use removable markers to stop the fabric from shifting. Take your time here; neat joins can make a simple stitch pattern look much more refined.
Top-down designs
Top-down jumpers begin near the neckline or shoulders and continue toward the hem. Depending on the pattern, you may be able to check the fit while the garment is still in progress. This can make length adjustments more convenient, although you’ll still need to follow increases, armhole instructions, and sleeve placement carefully.
Motif-based jumpers
Motif-based designs use repeated squares, hexagons, or other shapes joined into a garment. They can be enjoyable if you like portable crochet and color planning. The important point is consistency: make early motifs the same size and tension before producing the entire collection.
If you’re drawn to simple geometric garments, a crochet poncho free pattern guide offers another perspective on turning panels or shapes into wearable fabric. A poncho has a different silhouette, but the same planning habits apply to yarn, proportion, openings, and finishing.
How do you keep the pattern organized?
You keep a jumper pattern organized by marking your size, separating the garment into sections, recording your progress, and highlighting repeated instructions before you begin. This matters even more when several sizes share the same written row.
- Read the whole pattern: Find the gauge, finished measurements, abbreviations, construction notes, assembly order, and finishing instructions.
- Mark your size: Highlight only the numbers that apply to you so your eyes don’t jump between size columns.
- List the pieces: Write down the front, back, sleeves, cuffs, neckband, hem, and any other sections.
- Mark repeats: Circle repeated rows, stitch multiples, and shaping intervals.
- Record stopping points: Note the last completed row or round whenever you put the project away.
Pay attention to phrases such as “at the same time,” “repeat across,” and “work evenly.” They can change the order in which you complete a row. Read the entire instruction before starting, especially when shaping occurs at both edges.
A simple row checklist can be surprisingly helpful. Write down the row number, stitch count, and any increase or decrease. If the jumper uses several colors, note the color at each change as well. These records are particularly valuable when making the second sleeve or repeating a motif.
How do you handle jumper shaping and assembly?
You handle jumper shaping and assembly by following the pattern’s increases and decreases, checking each piece against its measurements, and joining the sections in the stated order. The more often you compare your work as you go, the fewer surprises you’ll face at the end.
Shaping may appear around the neckline, shoulders, armholes, sleeves, cuffs, or waist. An increase adds fabric, while a decrease narrows an edge or combines stitch positions. Count the stitches after shaping rows rather than relying only on how the edge looks. A small missed stitch can gradually change the proportions.
Before sewing, lay the front and back flat together. Check their width, length, shoulder placement, and neckline shape. Compare the sleeves with each other as well. If one sleeve is longer or wider, find the source of the difference before attaching it.
Use removable markers or scraps of yarn to hold seams temporarily. Join a small section, inspect the alignment, and then continue. Pull the joining yarn evenly; excessive tension can pucker the fabric, while loose sewing can leave gaps.
When attaching a sleeve, find the center point or the placement markers given by the pattern first. Secure that point, then work outward on both sides. Check that the sleeve isn’t twisted before finishing the seam. This is one of those small checks that can save a great deal of unpicking.
Neckbands, cuffs, and hems also deserve a fit check. An edging that is pulled too tightly can draw the garment inward, while an overly loose edging may not sit neatly. Follow the stitch placement and keep your tension consistent around the entire opening.
Which crochet stitches add style without adding confusion?
The best stitches for an easy stylish jumper are those that create visible texture or drape without making the construction difficult to track. Basic stitches, ribbing, stripes, openwork panels, and carefully placed taller stitches can all change the character of the garment.
A plain stitch pattern can make the silhouette and color the focus. Ribbed cuffs and hems add a structured finish, while alternating stitch heights can create subtle texture across the body. If you change the main stitch, make a new swatch because the stitch may alter the fabric’s width, stretch, thickness, and row height.
Taller stitches are useful when you want an airier fabric or a decorative panel. Before using them in a garment, review a clear tr crochet stitch tutorial so you can recognize the stitch tops, manage the turning chain, and keep the row edges consistent. For an even taller, more open effect, this treble treble crochet stitch guide explains how repeated pull-throughs affect the fabric.
You don’t need to use a dramatic stitch across the entire jumper. A textured panel down the front, a contrasting sleeve section, or a decorative border may be enough. Using one strong feature often keeps the garment easier to read than combining several complicated patterns at once.
How can you customize an easy jumper?
You can customize an easy jumper by changing the colors, length, sleeve finish, neckline, or texture after you understand the original construction. I recommend changing one feature at a time and writing down every adjustment.
Color is the simplest place to experiment. Try a solid neutral, two contrasting shades, narrow stripes, or contrasting cuffs and hem. If the jumper is worked in panels, plan the changes so the front, back, and sleeves coordinate when joined.
Length changes need more care than they might seem to require. Adding rows to the body can affect the relationship between the hem, side seams, sleeves, and shaping. Check the garment against your measurements as you work and record the extra rows.
Sleeves can also change the personality of a jumper. A straight sleeve creates a clean silhouette, while a cuff or gradual shaping gives the garment a more defined finish. Make sure the opening remains comfortable and that both sleeves follow the same alteration.
The neckline is another useful detail. A simple round or slightly wider opening can create a different look, but changing it may affect shoulder width and the way the garment sits. Treat neckline modifications as structural changes rather than only decorative ones.
What mistakes should you avoid?
You can avoid common jumper mistakes by checking gauge, counting edge stitches, measuring each section, and correcting problems as soon as you notice them. Waiting until assembly often makes a small error much harder to fix.
- Skipping the swatch: Your finished garment may be a different size or have an unsuitable fabric.
- Choosing by label alone: Compare your measurements with the finished garment measurements.
- Ignoring row gauge: Matching width does not guarantee the correct body or sleeve length.
- Missing edge stitches: Mark the first and last stitch when the row ends are difficult to see.
- Mixing up right and wrong sides: Place a removable marker on the front side when needed.
- Making one sleeve from memory: Record the first sleeve’s shaping and rows before starting the second.
- Joining too soon: Compare pieces flat before committing to the seams.
If the sides begin to slope unexpectedly, compare the current stitch count with an earlier row. Look for a missed edge stitch, an accidental increase, or a decrease worked in the wrong place. Find the first row where the count changed instead of trying to hide the difference near the hem.
Weave in ends as you complete major sections, particularly after color changes. This keeps the final finishing stage manageable and lets you inspect the garment while it is still easy to handle. Don’t trim a tail until you’re confident the nearby join is secure.
How do you finish and care for a crochet jumper?
You finish and care for a crochet jumper by inspecting the seams, securing the loose ends, checking the fit, and following the care guidance for the yarn. A careful finish can make the difference between a garment that looks homemade in the best sense and one that looks unfinished.
Lay the jumper flat and inspect the shoulders, side seams, sleeve joins, neckline, cuffs, and hem. Look for loose gaps, puckered areas, missed tails, or edges pulled out of shape. Try it on before making final adjustments so you can judge comfort and movement rather than relying only on a flat layout.
Weave in yarn ends on the wrong side and avoid pulling them so tightly that the fabric puckers. For seams, work through corresponding stitches or row spaces using the joining method recommended by the pattern. Neat, even tension matters more than rushing through this stage.
Arrange or block the jumper only in a way that suits the yarn and the pattern instructions. Not every fiber should be washed, stretched, heated, or shaped in the same way. Follow the yarn label and pattern guidance, and avoid assuming that one finishing method works for every handmade garment.
Keep a project record with the pattern title, size, yarn, hook, gauge, measurements, color order, and alterations. That information can help you adjust the fit next time or reuse a favorite stitch pattern in another project.
Your next step is to choose a jumper crochet pattern with a construction you can clearly understand, then make the gauge swatch before beginning the full garment. Measure thoughtfully, mark your progress, and treat each panel or sleeve as one manageable section. With a little planning and patient assembly, you can create an easy jumper that feels personal, wearable, and distinctly your own.