
Crochet Pullover Sweater Pattern: Easy Designs
Choose a crochet pullover sweater pattern with practical tips for yarn, sizing, gauge, construction, shaping, seaming, and easy custom details.

A crochet pullover sweater pattern can be a wonderfully rewarding project when you’re ready to move from accessories into handmade clothing. The word “sweater” may sound ambitious, but an easy pullover is often built from understandable sections: a front, a back, sleeves, and a few finishing details. Once we break those parts into smaller decisions, the project feels much more approachable.
In this guide, I’ll walk through how to choose an easy design, plan your yarn and supplies, check gauge and sizing, understand common construction methods, and handle shaping and assembly. I’ll also share practical ways to customize a pullover without accidentally changing its fit. The exact yarn, hook, stitch count, measurements, and gauge should always come from the specific pattern you choose, so use this guide as a planning companion rather than a substitute for pattern instructions.
Table of Contents
What makes a crochet pullover sweater pattern easy?

An easy crochet pullover sweater pattern has clear construction, manageable shaping, and instructions that let you check your progress as you work. The simplest designs often use basic stitches, straightforward panels, relaxed shaping, and uncomplicated finishing.
Before choosing a pattern, look at how the garment is made. A pullover might consist of two flat rectangles joined at the shoulders and sides, or it may be worked from the neckline downward. Some designs use separate sleeves, while others create a loose arm opening with minimal shaping. A motif-based sweater can also be approachable if you enjoy making and joining smaller pieces, although joining adds another stage to the project.
I recommend reading the entire pattern before beginning. Look for finished garment measurements, the required gauge, stitch abbreviations, size instructions, assembly notes, and any special techniques. If several sizes are listed together, highlight or copy the numbers for your chosen size so your eyes don’t accidentally jump between columns.
Pay attention to the silhouette too. A relaxed pullover with a simple neckline is generally easier to understand than a closely fitted garment with extensive shaping. That doesn’t mean a simple sweater has to look plain. Texture, stripes, color blocking, and a thoughtful border can add plenty of personality without making the construction confusing.
For more ideas to compare, browse these easy sweater crochet pattern designs. Looking at several silhouettes can help you decide whether you prefer a boxy shape, a longer tunic-style pullover, a cropped fit, or a design with more defined sleeves.
How do you choose yarn and supplies for a pullover?
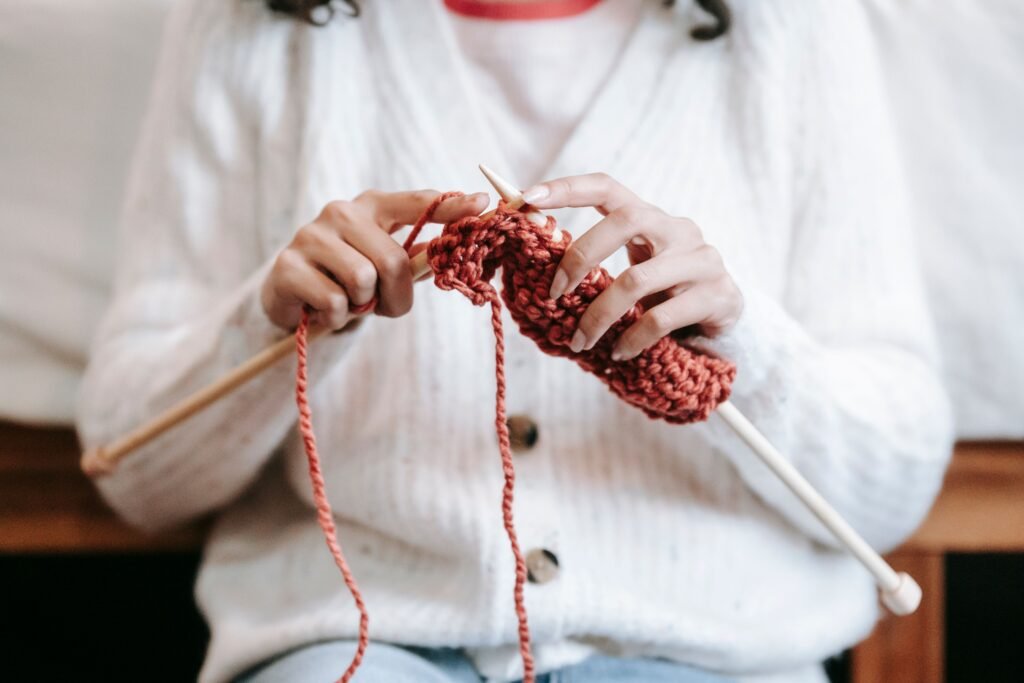
You choose yarn and supplies for a pullover by following the pattern guidance while considering the fabric, drape, comfort, and care you want from the finished garment. The pattern and yarn label should determine the specific yarn quantity, fiber, weight, hook size, and care instructions.
- Yarn: Choose a yarn that makes the stitches visible and creates a fabric you would enjoy wearing. Smooth yarn is often easier to count than highly textured or fuzzy yarn.
- Hook: Begin with the hook recommended by the pattern, then use your gauge swatch to decide whether an adjustment is needed.
- Measuring tape: Keep one nearby for body measurements, swatch measurements, panel dimensions, and sleeve length.
- Stitch markers: Use markers for row beginnings, shaping points, sleeve joins, and repeated stitch sections.
- Yarn needle and scissors: These are essential for seams, color changes, weaving in ends, and finishing edges.
- Notes: A notebook or printed pattern lets you record your size, gauge, row counts, and alterations.
The swatch is especially useful because yarn can behave very differently in a garment than it appears in the skein. A stitch may create a firm fabric, a soft drape, or a more open texture depending on your tension and hook. Make the sample in the main stitch pattern whenever the pattern provides one, then wash or treat it according to the yarn and pattern guidance if that is recommended.
Color deserves some planning as well. A solid shade can make shaping and texture easy to see. Stripes or color blocks can emphasize the garment’s construction, while a variegated yarn may create unpredictable visual changes across the front, back, and sleeves. If you’re unsure about a palette, place small strands together before starting and make a swatch to see how they interact.
Why are gauge and measurements important?
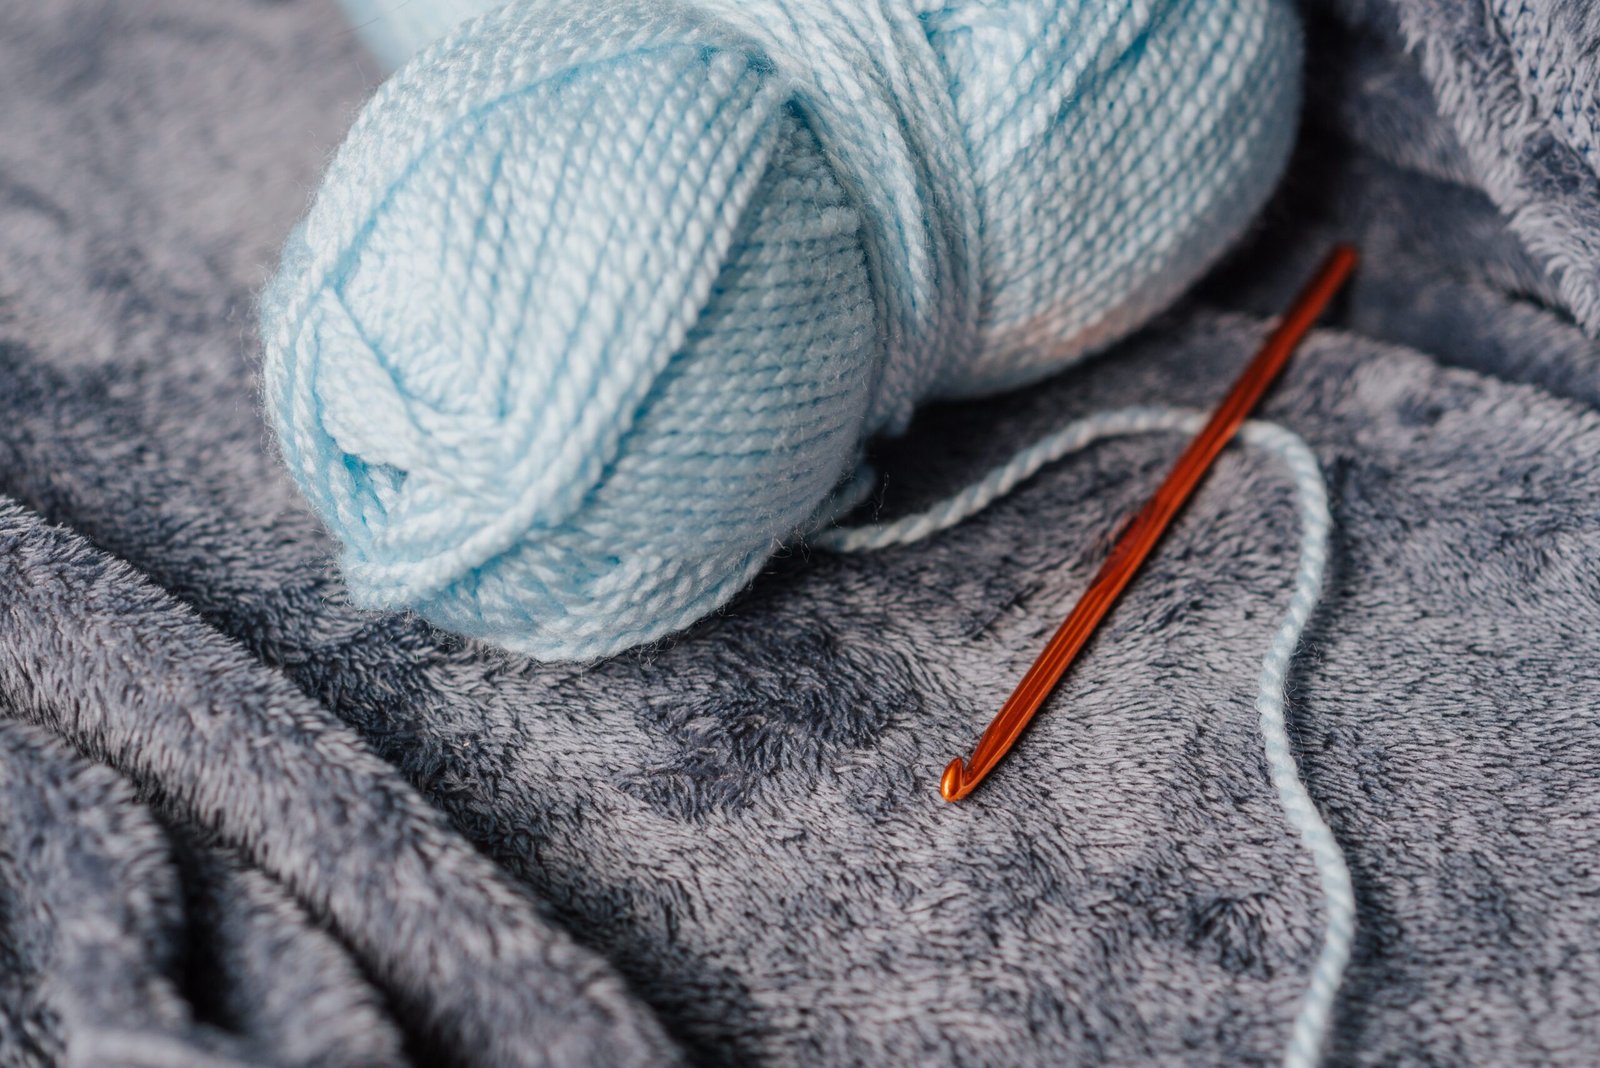
Gauge and measurements are important because even a small difference in stitch size can change the width, length, and overall fit of a sweater. Matching the pattern’s gauge gives you a better chance of achieving the finished measurements you expect.
Start by measuring the intended wearer according to the pattern’s instructions. Depending on the design, you may need measurements for the chest or bust, upper arm, body length, sleeve length, and desired neckline. Compare those numbers with the finished garment measurements, not just the size label. A size name can vary between patterns, while the actual measurements tell you more about how the pullover will fit.
Ease is the space between your body measurement and the finished garment measurement. A close-fitting pullover will use less extra room than a relaxed style, but comfort and personal preference matter. Think about whether you want to layer the sweater over another top and how much movement you want around the arms and shoulders.
Make a gauge swatch large enough to measure away from the edges. If you have more stitches in the measured area than the pattern expects, your stitches are smaller. If you have fewer, your stitches are larger. Changing hook size may help, but remember that it also changes the feel and drape of the fabric. Matching a number is useful, but a wearable sweater also needs a fabric that feels comfortable.
Row gauge matters too. You may match the width while producing a body or sleeve that is noticeably too long or too short. Check your measurements as the sweater grows instead of waiting until every piece is complete. This is particularly helpful when adapting a design for a different body shape or preferred length.
Which construction works well for an easy pullover?
A panel-based or gently shaped construction often works well for an easy pullover because the pieces are straightforward to identify and compare. Still, the clearest instructions are more important than the construction label alone.
Flat panels
Flat panels are made back and forth in rows, commonly as a front and back with separate sleeves. This construction is familiar to many crocheters and makes it easy to lay each piece flat while checking its dimensions. The main learning opportunity comes during seaming, where matching row edges and keeping the fabric aligned require patience.
Top-down construction
Top-down pullovers begin at the neckline or shoulder area and continue toward the hem. Depending on the pattern, you may be able to try on the garment as it grows. That can make length and fit adjustments easier, but you’ll still need to understand where increases, armholes, body sections, and sleeves begin.
Motif-based construction
Motif-based pullovers use repeated squares, hexagons, or other shapes joined into a garment. This can be a satisfying option if you like portable projects and color planning. Keep your tension consistent so the motifs have similar dimensions, and test the arrangement before joining the entire sweater.
If you’re interested in another garment made from simple geometric ideas, explore this pattern poncho crochet guide. A poncho is different from a pullover, but it can help you think about how flat crochet fabric becomes a wearable shape.
How do you organize the pattern before crocheting?
You organize the pattern before crocheting by identifying your size, listing the garment pieces, marking repeated instructions, and recording progress as you go. A little preparation can prevent many avoidable mistakes.
- Read the full pattern: Find the construction overview, gauge, finished measurements, stitch key, assembly instructions, and finishing notes.
- Mark your size: Highlight only the numbers that apply to you, especially where several sizes are written on the same line.
- List the pieces: Write down the front, back, sleeves, cuffs, neckband, hem, and any other components.
- Note the repeats: Circle repeated rows, stitch multiples, and shaping intervals so they’re easy to find.
- Record each stopping point: Write down the last completed row or round whenever you put the project away.
Take special care with phrases such as “at the same time,” “repeat across,” and “work evenly.” These instructions can change the order in which you work. If shaping occurs at both sides of a panel, read the entire row before beginning so you know where the first and final changes belong.
Stitch markers can make the written instructions easier to follow. Place one at the start of a round, beside a shaping point, or at the center of a sleeve. I also like using a simple row checklist because it separates the physical location of the marker from the written record of what happens next.
How do you shape and assemble the sweater?
You shape and assemble a crochet pullover by following the pattern’s increases and decreases, checking each piece against its measurements, and joining the sections in the listed order. Careful assembly can make a simple design look polished.
Shaping may appear at the neckline, shoulders, armholes, sleeve caps, cuffs, or waist. An increase adds fabric, while a decrease narrows the edge or combines stitch positions. Don’t rely on appearance alone when working these sections. Count the stitches and use markers where the pattern indicates a change.
Before sewing, lay the pieces on a flat surface and compare them. Check that the front and back are similar in width where they should be, that the sleeves are the same length, and that the edges you plan to join actually correspond. If one piece looks different, investigate before picking up the needle.
Use removable markers or scraps of yarn to hold the seams temporarily. Match the edges in small sections rather than trying to control the entire seam at once. Work through corresponding stitches or row spaces and keep your sewing tension even. Pulling one side too tightly can create puckering, while loose joining can leave visible gaps.
When attaching sleeves, identify the sleeve center or the pattern’s marked placement first. Secure that point, then work outward along both sides. Check whether the sleeve is right side out and whether it has twisted before sewing completely. A twisted sleeve is much harder to correct after the seam is secured.
Neckbands, cuffs, and hems deserve a final fit check. A band attached too tightly can draw the fabric inward, while a loose band may not sit neatly. Follow the pattern’s stitch placement, lay the garment flat, and inspect the edge before weaving in the final ends.
What common mistakes should you avoid?
You can avoid common pullover mistakes by checking gauge, counting consistently, measuring each section, and correcting problems as soon as you notice them. Waiting until assembly often makes a small error harder to fix.
- Skipping the swatch: You may end up with a garment that is a different size or has an uncomfortable fabric.
- Choosing by size label alone: Compare your measurements with the finished garment measurements instead.
- Ignoring row gauge: Matching width does not guarantee the correct body or sleeve length.
- Missing the first or last stitch: Mark the edge stitches if your rows are becoming narrower or wider.
- Confusing right and wrong sides: Place a removable marker on the front side when the difference is difficult to see.
- Sewing before comparing pieces: Lay the components together first and check their proportions.
- Making the second sleeve from memory: Record the first sleeve’s rows and shaping so the pair matches.
If the sides are uneven, compare your current stitch count with an earlier row. Look for a missed edge stitch, an accidental increase, or a decrease worked in the wrong location. Find the first row where the count changed rather than trying to disguise the problem near the hem.
It’s also wise to weave in ends as you complete major sections, particularly when changing colors. This keeps the finishing stage manageable and makes it easier to inspect the garment as it develops. Don’t trim a tail until you’re confident the nearby seam or color change is secure.
How can you customize an easy pullover?
You can customize an easy pullover by changing the colors, length, sleeve shape, neckline finish, or stitch texture after you understand the original construction. Make one adjustment at a time and write it down so you can track its effect.
Color is usually the simplest place to start. Try a solid shade to highlight texture, stripes to emphasize the body, or contrasting cuffs and hem for a framed appearance. If you’re working a front and back separately, plan the color changes so the pieces coordinate during assembly.
Length changes need more attention than they may seem to require. Adding rows to the body can affect where the side seams, sleeves, or shaping meet. Record the extra rows and check the garment against your measurements before continuing. Sleeve length should be checked with the sweater on or against a garment with a similar fit.
Texture is another useful design tool. A ribbed cuff, raised stitch panel, or alternating stitch sequence can give a simple pullover a distinctive surface. Always make a small sample when changing the stitch, because texture may alter gauge, stretch, thickness, and drape.
For a lighter garment idea, browse this crochet top pattern guide. It offers another way to think about openings, straps, body measurements, and wearable finishing. You can also compare the broader collection of free crochet sweater patterns when you’re ready to explore different silhouettes.
What should you do when the pullover is finished?
When the pullover is finished, inspect the seams and edges, secure the loose ends, follow the yarn’s care guidance, and try the garment on before treating the project as complete. This final review is a useful opportunity to catch small issues.
Check the shoulder seams, side seams, sleeve joins, neckline, cuffs, and hem. Look for loose gaps, tight areas, missed ends, or places where the fabric has been pulled out of shape. If something feels wrong, compare it with your notes and measurements before deciding whether an adjustment is needed.
Arrange or block the sweater only in a way that suits the yarn and the pattern instructions. Avoid assuming that every fiber can be washed, heated, stretched, or shaped in the same way. Let the fabric settle according to the care guidance for your materials.
Keep a project record with the pattern title, size, yarn, hook, gauge, measurements, and alterations. That information becomes valuable when you want to make another pullover, adjust the fit, or use the same stitch pattern in a different garment.
Your next step is to choose a crochet pullover sweater pattern with construction you can clearly understand, then make the swatch before beginning the full garment. Measure thoughtfully, mark your progress, and treat each panel or sleeve as its own manageable project. With careful planning and a little patience during assembly, an easy pullover can become a practical foundation for exploring more of handmade crochet clothing.