
Decrease Crochet: How to Make a Crochet Decrease
Learn decrease crochet with clear steps for single, half double, double, and treble crochet decreases, plus shaping tips and common mistake fixes.
Learning decrease crochet is an important step toward making shaped projects with confidence. A crochet decrease narrows your fabric by combining stitches, which helps create hat crowns, curved amigurumi, sloping garment edges, tapered bags, and pointed motifs. Once the idea makes sense, “two together” instructions become much easier to read and work.
In this guide, I’ll walk through what a crochet decrease does, how to decrease common crochet stitches, where to place shaping, and what to check when the result doesn’t look quite right. You don’t need a complicated project to practice. A small swatch is enough to help your hands understand the movement before you use it in a larger design.
Table of Contents
What is a decrease crochet stitch?
A decrease crochet stitch turns two or more stitches into fewer stitches, most commonly combining two stitches into one. You usually begin the first stitch, leave it unfinished, begin the next stitch, and then complete both together.
For example, a single crochet two together, often written sc2tog, uses the next two single crochet stitches but produces one completed single crochet at the top. The stitch count therefore goes down by one. That small change, repeated across rows or rounds, gradually creates a slope, curve, taper, or point.
Decreases are the opposite of increases. An increase adds stitches to widen fabric, while a decrease removes stitches to make it narrower. You’ll find decreases in many kinds of crochet, including:
- Hat and beanie crowns that taper toward the top.
- Armholes, necklines, sleeves, and waist shaping in garments.
- Bags, pouches, and baskets that narrow toward an opening.
- Amigurumi heads, bodies, ears, limbs, and other rounded parts.
- Triangles, diamonds, chevrons, leaves, petals, and geometric motifs.
Before you begin, identify the stitch being decreased, the number of stitches involved, and the exact location of the shaping. A single crochet decrease and a double crochet decrease do not use the same loop sequence, and moving a decrease even a little can change the outline of your project.
If you’re still getting comfortable with stitch placement and reading the fabric, this crochet guide for absolute beginners is a useful place to review the basics before practicing shaping.
How do you make a crochet decrease neatly?
You make a neat crochet decrease by working into the correct stitch tops, leaving the individual stitches unfinished, and completing them together without changing your tension. The technique sounds simple, but careful stitch identification makes the biggest difference.
Read the pattern instructions before starting the row or round. Abbreviations such as sc2tog, hdc2tog, dc2tog, and tr2tog all use “2tog” to mean “two together,” but the first part tells you which stitch to work. Some patterns write the full instruction instead of using an abbreviation.
As you work, look for the two separate stitch tops underneath the decrease. Insert the hook into those stitches rather than into the space between them. After the final pull-through, the new stitch may look a little wider or more compact than a regular stitch. That is normal as long as it is anchored to the intended stitches.
Stitch markers can help, especially when shaping occurs at the beginning or end of a round. Mark the first stitch, the round beginning, or repeated decrease points so the placement remains consistent. Count after the shaping row or round to confirm that the stitch total changed as expected.
Keep the working loops at a comfortable height. Pulling them tightly can make the decrease pucker, while leaving them very loose can create a hole. I find it helpful to slow down during the first few decreases and say the sequence quietly to myself: begin one stitch, begin the next, finish together.
For a broader explanation of reducing stitch counts, the site’s easy crochet decrease guide also covers placement, invisible decreases, and shaping across different projects.
How do you decrease single crochet?
To decrease single crochet, work a single crochet into each of the next two stitches but leave both stitches unfinished until the final pull-through. This technique is called single crochet two together, or sc2tog.
- Insert the hook into the first stitch.
- Yarn over and pull up a loop, leaving two loops on the hook.
- Insert the hook into the next stitch.
- Yarn over and pull up another loop, leaving three loops on the hook.
- Yarn over and pull through all three loops.
The two original stitch positions now share one finished stitch. If the pattern asks for several single crochet decreases in the same row, repeat this sequence at the specified points and count the completed stitches afterward.
How can you make a single crochet decrease less visible?
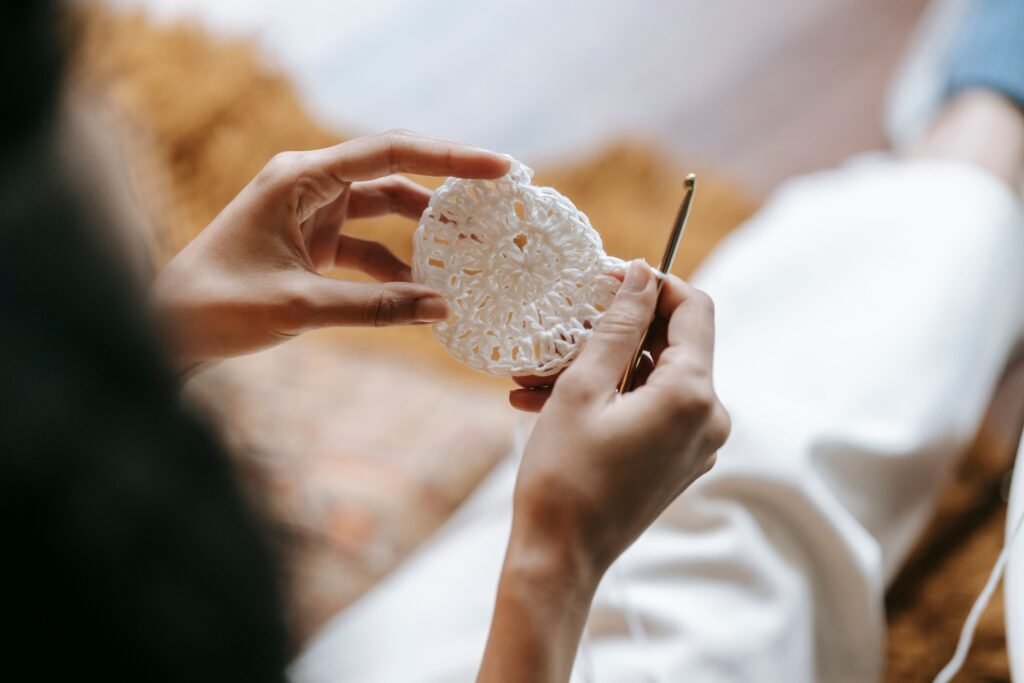
You can make a single crochet decrease less visible by using an invisible decrease when the pattern calls for it. This method commonly works through the front loops of two neighboring stitches before completing the decrease. It is especially associated with amigurumi and other projects where the outside surface is clearly visible.
Use the method named by the pattern rather than automatically substituting one decrease for another. A standard sc2tog is appropriate for many flat projects, edges, motifs, and shaped pieces. An invisible decrease changes the appearance of the surface, so it may not be the right choice for every design.
For a smooth result, match the tension of the surrounding single crochet. If the decrease is noticeably tighter, the fabric may pucker. If it is too loose, a gap can appear beside the combined stitch.
How do you decrease half double, double, and treble crochet?
You decrease taller crochet stitches by beginning each stitch separately, stopping before the final completion, and then pulling through the remaining loops together. The idea stays the same, but the number of yarn overs and pull-throughs changes with the stitch height.
Half double crochet decrease
A half double crochet decrease, often written hdc2tog, combines two half double crochet stitches into one.
- Yarn over and insert the hook into the first stitch.
- Yarn over and pull up a loop.
- Yarn over and insert the hook into the next stitch.
- Yarn over and pull up a loop.
- Yarn over and pull through all loops on the hook.
Because the final pull-through completes both half double crochets, this decrease can feel fuller than a single crochet decrease. Keep your loops even so the new stitch has a similar height to the surrounding fabric.
Double crochet decrease
To make a double crochet decrease, or dc2tog, begin a double crochet in the first stitch and stop before its last pull-through. Begin a double crochet in the next stitch and stop before its last pull-through as well. Then complete both unfinished stitches together.
- Yarn over and insert the hook into the first stitch.
- Yarn over and pull up a loop.
- Yarn over and pull through two loops, leaving the stitch unfinished.
- Yarn over and insert the hook into the next stitch.
- Yarn over and pull up a loop.
- Yarn over and pull through two loops.
- Yarn over and pull through the remaining loops.
Double crochet decreases are useful in garment shaping, shawls, sleeves, bags, and decorative motifs. Since double crochet is taller than single crochet, repeated decreases can alter the outline more quickly. Check the project measurements as you go when the final proportions matter.
Treble crochet decrease
A treble crochet decrease, or tr2tog, follows the same unfinished-stitch principle while using the additional yarn overs required for treble crochet. Work the first treble crochet until its final step, begin the second treble crochet in the following stitch, and then complete them together.
Practice the full treble crochet first if the stitch is unfamiliar. The treble crochet guide for beginners can help you review the stitch sequence before you combine two treble crochets. Taller stitches can make uneven tension more noticeable, so try to keep each unfinished stitch at the same height.
Where should crochet decreases go?
Crochet decreases should go wherever the pattern specifies because their position controls the shape of the finished fabric. The same number of decreases can create a sharp angle, a gentle slope, or a centered point depending on where they are placed.
- At row edges: Decreasing near the beginning or end creates a sloping side for armholes, necklines, and triangular pieces.
- Evenly across a row: Spaced decreases gradually narrow a wide section without concentrating the shaping in one place.
- At the center: Centered decreases can form a point, dart, or strong decorative line.
- Around a round: Distributed decreases help close hat crowns, tubes, baskets, and rounded amigurumi parts.
In flat work, check whether decreases happen on every row, every other row, or at another interval. Decreasing on consecutive rows usually creates a faster change in width than alternating a decrease row with a plain row. Follow the instructions carefully rather than assuming the spacing.
In circular work, markers are useful for finding the beginning of the round and repeated shaping points. Count after each decrease round until the pattern becomes familiar. If the decreases drift, the piece may twist or become uneven.
Shaping also plays a major part in wearable crochet. Browse these free crochet sweater patterns for ideas about how decreases can appear around necklines, armholes, sleeves, and other garment sections. A relaxed pattern poncho crochet design may use less close shaping, but the same principles still help when adjusting a neckline or tapered detail.
What projects use crochet decreases?
Crochet decreases are used in any project that needs to become narrower, close toward an end, or develop a curved outline. The best decrease depends on the stitch pattern, the position of the shaping, and how visible you want the change to be.
Hats and beanies
Hat crowns often use evenly spaced decreases to bring the top opening inward. A balanced crown should narrow gradually rather than forming sudden folds. Check the shape after each decrease round and compare it with the intended fit.
If you’re exploring hats, these free crochet hat directions and beginner-friendly crochet hat patterns can provide inspiration for working in rounds, checking proportions, and understanding crown shaping.
Garments and sleeves
In garments, decreases can shape an armhole, neckline, waist, sleeve, or cuff. Record the row and position of each decrease when making a second matching piece. Compare the pieces as you work instead of relying on memory.
Always compare the growing fabric with the pattern’s finished measurements. A decrease can be worked correctly and still produce a different result if your tension, yarn, or gauge differs from the design instructions.
Bags, baskets, and pouches
Decreases can taper a bag opening, shape a flap, or create an angled side. A firm single crochet fabric may make the shaping easy to see, while taller stitches can create a more open effect. Make a small sample when changing the stitch or yarn.
Motifs, blankets, and decorative crochet
Triangles, chevrons, leaves, diamonds, and other motifs often rely on strategically placed decreases. If you’re designing your own piece, write down each shaping location so the pattern can be repeated consistently.
For broader inspiration, explore these crochet blanket patterns, crocheted afghan ideas, and crochet square inspiration. Even when a design is built from simple sections, decreases can help create pointed corners, shaped borders, or unusual motif outlines.
Amigurumi and floral shapes
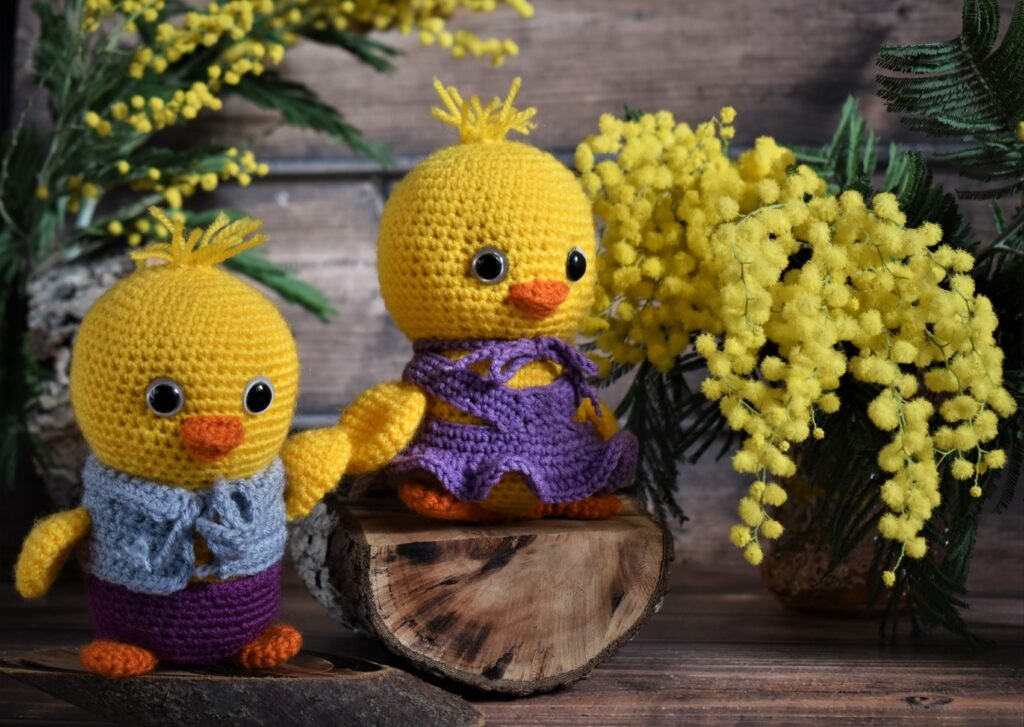
In amigurumi, decreases close rounded body parts and shape heads, ears, muzzles, and limbs. Consistent tension helps keep the outer surface smooth, while an invisible decrease may be useful when the pattern specifically requests a less noticeable finish.
Small floral pieces also benefit from shaping. A petal may narrow toward its tip, or a leaf may use decreases to create a pointed end. The crochet poppy flower guide and crochet calla lily pattern guide offer inspiration for turning shaped pieces into appliqués, accessories, and decorative motifs.
How do you fix a crochet decrease that looks wrong?
When a crochet decrease looks wrong, stop and check the stitch count, insertion points, yarn overs, and tension before working several more rows. Most problems are easier to correct immediately than after the shaping has continued.
- A hole appears beside the decrease: Check that the hook entered both intended stitches and that the unfinished loops were not pulled too loosely.
- The fabric puckers: Relax your tension and avoid pulling the final loop tightly.
- The edge is uneven: Compare the decrease positions on both sides and check whether the turning chain counts as a stitch.
- The stitch count is incorrect: Count the stitches below the decrease and confirm that you did not skip an extra stitch.
- The slope is too sharp: Check whether the pattern places decreases on consecutive rows or rounds.
- The decrease is hard to see: Make sure you are working into the stitch tops rather than a nearby space.
Unraveling a few stitches is often the quickest solution. If you’re designing your own project, try a small swatch with different decrease intervals. Compare decreases on consecutive rows with decreases separated by plain rows, then choose the outline that suits your idea.
Keep notes whenever you modify a pattern. Record the row, stitch type, placement, and number of decreases so you can repeat the shaping on the opposite side or in a matching piece. This matters especially in garments and accessories.
A decrease is simply a way to let the fabric change direction. Begin one stitch, begin the next, and finish them together. Once that rhythm becomes familiar, you can use decrease crochet to shape hats, sleeves, bags, motifs, flowers, amigurumi, and much more. Choose a small swatch, practice the stitch that appears in your pattern, and let the fabric show you how the shaping develops.