
Crochet Socks Pattern Free: Easy Beginner Design
Explore a crochet socks pattern free guide with beginner-friendly construction, yarn choices, sizing tips, stitch ideas, fit checks, and finishing advice.
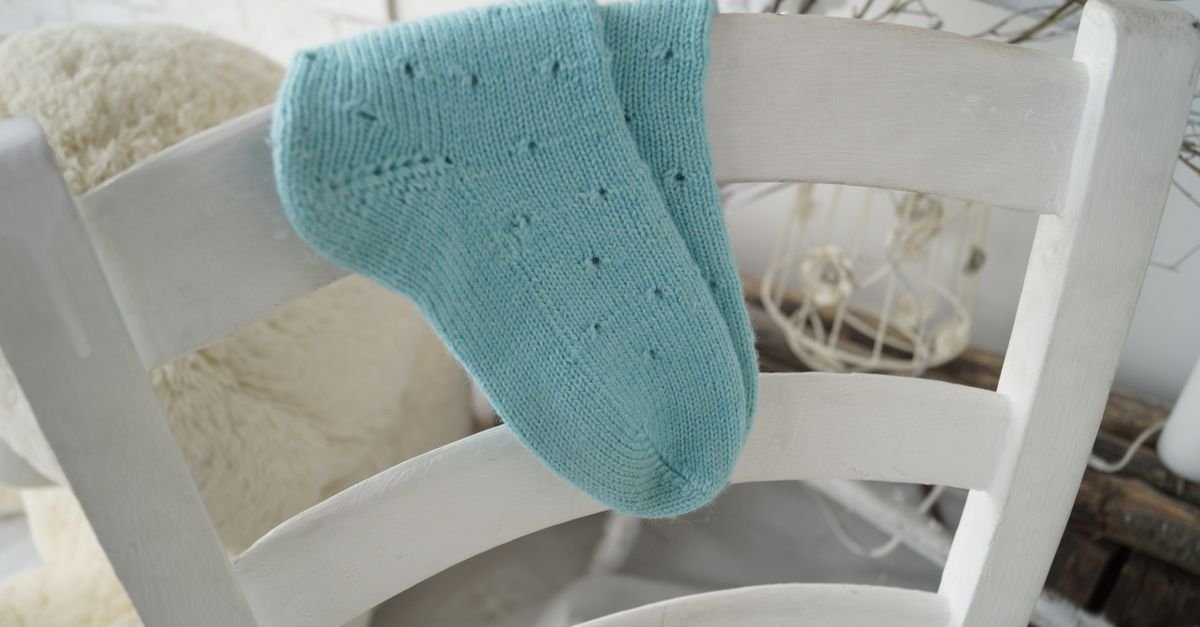
A crochet socks pattern free can be a lovely way to explore handmade wearables without beginning with a complicated sweater or fitted garment. Socks are small enough to feel approachable, yet they introduce useful skills such as working in rounds, shaping the heel, checking measurements, and creating a comfortable edge.
In this guide, I’ll walk through the decisions that make an easy beginner sock design more manageable. We’ll look at construction, yarn, stitch choices, sizing, fit, common mistakes, and finishing. I’ll keep the advice flexible because every pattern has its own yarn requirements, hook size, gauge, stitch count, and finished measurements. The pattern you choose should always be your main source for those details.
Table of Contents
What makes a crochet socks pattern free beginner-friendly?
A crochet socks pattern free is beginner-friendly when it uses a clear construction, familiar stitches, simple shaping, and instructions that make the heel, toe, and cuff easy to identify.
Socks can look intimidating because they need to fit a three-dimensional foot, but a well-organized beginner design breaks the work into understandable sections. You might begin at the cuff and work toward the toe, start at the toe and build upward, or create separate pieces that are joined around the foot. Each method has advantages, and the best choice depends on which skills you already feel comfortable using.
For a first pair, I’d look for a pattern with clearly labeled sections and a straightforward stitch repeat. Instructions should explain whether you are joining rounds, turning after each row, or working continuously. They should also identify where increases and decreases happen rather than leaving you to guess from a photograph.
A simple texture is often more useful than a complicated one. Basic stitches can make the shaping easier to see, while a small ribbed section can give the cuff visual definition. If you’re still learning to count, a smooth yarn and a clear stitch pattern will usually make the project less frustrating than a fuzzy or heavily textured yarn.
It can also help to practice the pattern language before beginning. Our guide to crochet abbreviations is useful when you need to decode terms such as slip stitch, stitch, repeat, increase, decrease, or work in the next space. Keep the pattern’s own key nearby, since designers may use different abbreviations or terminology.
Which construction should you choose for easy crochet socks?
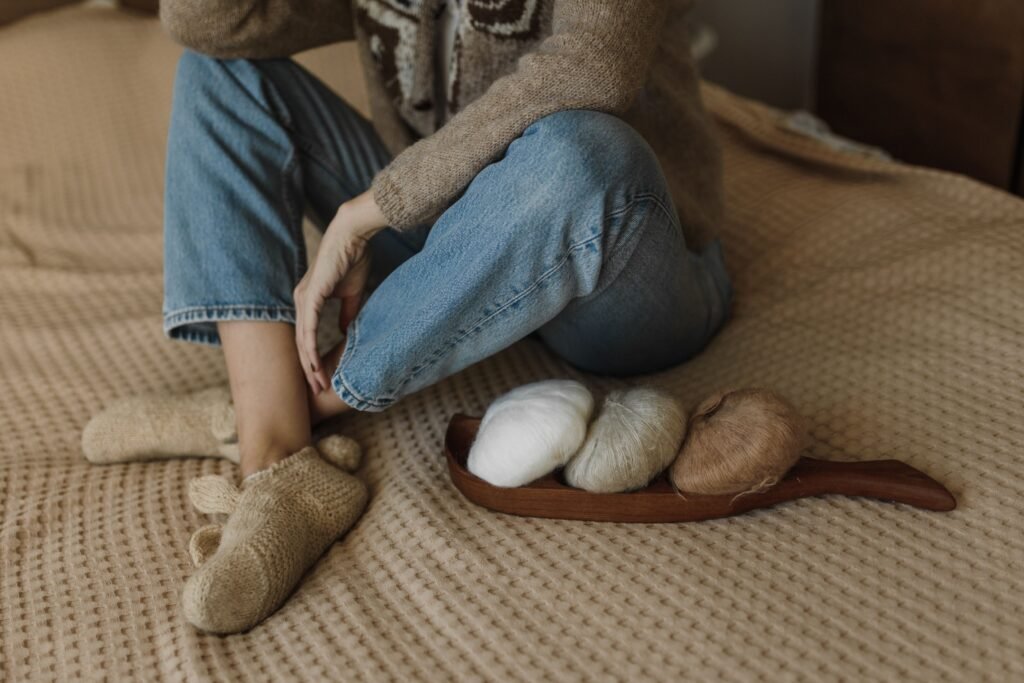
The main crochet sock constructions are cuff-down, toe-up, and flat-piece designs, and each offers a different learning experience.
Cuff-down socks
Cuff-down socks begin at the top edge and move toward the foot. This construction lets you establish the cuff first, then continue down the leg before shaping the heel and foot. It can feel intuitive because the sock grows in the same direction as the way it is worn.
The cuff is also a useful place to check the fit. Before moving too far into the leg, compare the opening with the wearer’s ankle or lower leg. It should feel secure without pulling uncomfortably or leaving a large gap. If the pattern includes a ribbed texture, pay attention to how much flexibility that fabric provides.
Toe-up socks
Toe-up socks begin at the toe and expand as you work toward the foot, heel, and cuff. This approach can make the toe shape easy to observe, and some designs allow you to try the sock on as you continue.
The toe needs to increase gradually enough to create a rounded shape rather than a flat or sharply pointed end. Keep careful notes about increase rounds and place a marker at the beginning of the round. Once the foot reaches the needed length, the heel and cuff complete the upper part of the sock.
Flat-piece socks
Flat-piece socks are worked in rows and then joined with seams. This construction may suit beginners who are more comfortable turning rows than working in continuous rounds. The trade-off is that the seams need to be placed thoughtfully so they don’t feel bulky against the foot.
Before sewing, lay the pieces together and identify the toe, heel, sole, and upper sections. Match corresponding edges and use the finishing method described by the pattern. A careful seam can help the sock hold its shape, while an uneven seam may affect comfort and fit.
Which method is easiest?
The easiest method is the one that matches your current skills and gives you clear instructions for shaping. If you are confident with rounds, a round-based design may feel natural. If you prefer rows and assembly, a flat-piece pattern can be a calmer place to begin. Don’t choose only from the finished photograph; read the construction notes first.
How should you choose yarn for a crochet socks pattern free?
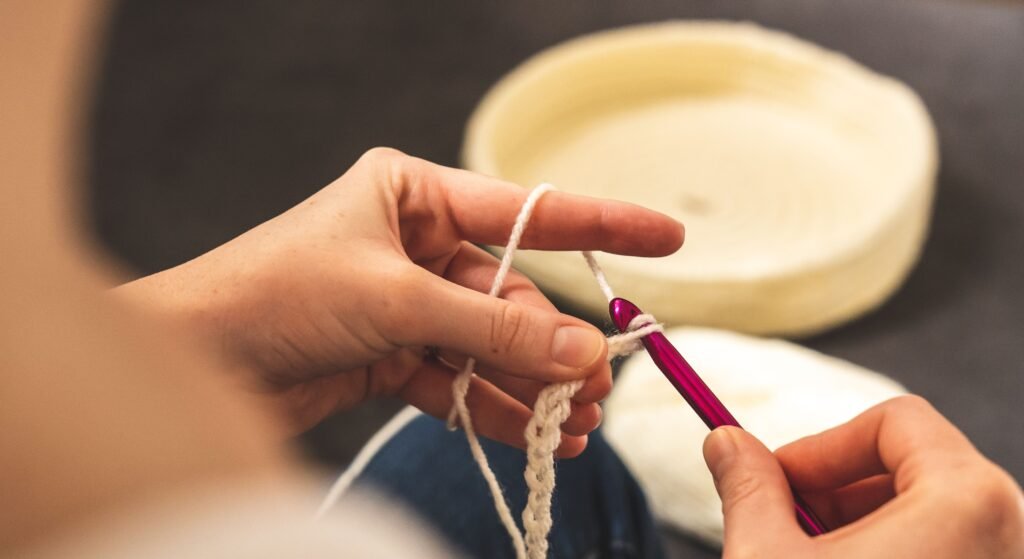
You should choose yarn for a crochet socks pattern free by following the pattern’s yarn guidance and considering softness, stretch, stitch definition, warmth, and care requirements.
Start with the specific pattern. The recommended yarn weight, fiber, amount, hook, and gauge are connected to its finished measurements. Substituting yarn may change the thickness, flexibility, drape, warmth, and size of the sock, so make a swatch whenever you use a different yarn or hook.
For a beginner project, clear stitch definition is valuable. Smooth yarn in a color that lets you see the stitch tops can make it easier to count rounds and locate the correct insertion point. Very dark, fuzzy, slippery, or highly textured yarn may be attractive, but it can hide mistakes while you’re still learning the construction.
Stretch matters because a sock needs to move over the heel and stay in place around the ankle. Don’t assume that every crochet fabric will behave like a knitted sock. Check the pattern’s notes about fit, and handle your swatch to see whether it has the flexibility the design expects.
Think about comfort too. A dense stitch may create a substantial fabric, while an open stitch can feel lighter but may provide less coverage. Raised texture can add interest, but it may not be the most comfortable choice everywhere on the foot. If you’re making a gift, consider the wearer’s preferences and how the finished socks will be used.
Color can be simple or adventurous. A single shade makes the stitch pattern easier to read. Stripes can separate the cuff, leg, heel, and toe, while a contrasting toe or cuff can make a basic design feel more personal. If you change colors, keep notes about the order so the pair matches.
For more ideas about choosing texture and yarn combinations, browse these beautiful crochet stitches. A stitch that looks lovely in a flat sample may behave differently when shaped around a foot, so swatching remains important.
What supplies and preparation make beginner crochet socks easier?
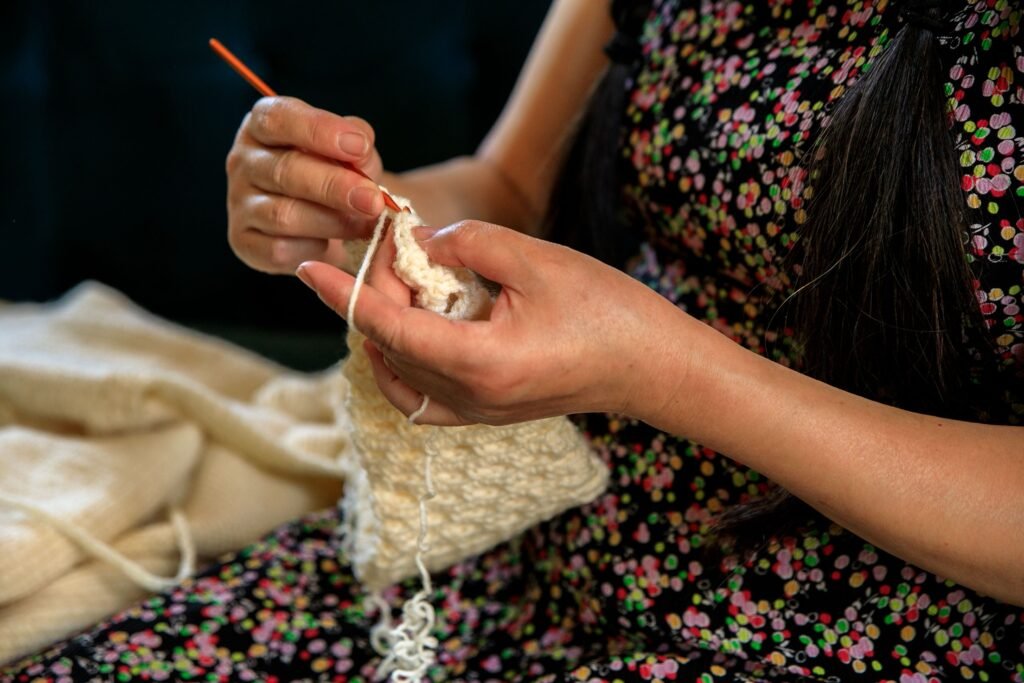
The supplies and preparation that make beginner crochet socks easier are the pattern, the specified yarn and hook, stitch markers, a measuring tape, scissors, a yarn needle, and a notebook for project notes.
- Read the full pattern first: Identify the construction, terminology, gauge instructions, size options, shaping sections, and finishing method before beginning.
- Highlight your size: If several sizes are listed together, mark only the numbers that apply to your intended wearer.
- Make the recommended swatch: Work the main stitch pattern and check both the measurement and the fabric’s feel.
- Mark important points: Use removable markers for the round beginning, heel placement, toe shaping, or repeat boundaries.
- Record your progress: Note completed rounds, color changes, modifications, and any measurements you take.
Preparation is particularly helpful with socks because small changes can affect the fit. A missed increase may alter the toe shape, while an extra stitch can make the foot wider. Write down the last completed round whenever you pause so you can return to the project without guessing.
Keep the two socks together as you work. If you finish one sock before starting the other, record its measurements and stitch counts. That reference can help you make the second sock match, especially if your tension changes during the project.
If you want to build confidence with small, wearable shapes first, you might also explore these free crochet hat patterns for beginners. Hats and socks are shaped differently, but both encourage careful counting, rounds, sizing, and finishing.
How do you measure and check the fit of crochet socks?
You measure and check the fit of crochet socks by comparing the pattern’s finished measurements with the wearer’s foot, ankle, and lower-leg measurements, then checking the fabric as you crochet.
Measure the intended wearer rather than relying only on a shoe size or a general small, medium, or large label. Depending on the design, you may need the foot length, foot circumference, ankle circumference, lower-leg circumference, and the desired cuff height. Compare those measurements with the pattern’s finished dimensions.
The foot should have enough room for comfortable movement without becoming loose inside the shoe. The cuff should stay in place without feeling restrictive. If the pattern includes negative ease or relies on stretch, follow its guidance carefully rather than automatically adding extra stitches.
Try on the sock during construction when the design allows it. Check the toe first: it should not press sharply against the end of the foot. Then inspect the sole, sides, heel, and cuff. Walk around if possible and notice whether the fabric twists, bunches, slides, or feels tight.
Heel shaping deserves special attention. A heel may be formed with short rows, increases and decreases, a separate flap, or joined sections. Follow the instructions exactly through this part and compare the developing shape with the pattern’s diagrams or photographs. If the heel looks dramatically different from the intended construction, stop and check your stitch count before continuing.
Remember that crochet fabric may change after finishing. Washing, blocking, or simply wearing the sock can affect its shape and flexibility. Use the yarn and pattern’s care guidance, and avoid assuming that a method suitable for one fiber will suit another.
Which stitches and details work well in an easy sock design?
Simple stitches, gentle ribbing, small texture repeats, and carefully placed color changes work well in an easy sock design because they keep the construction visible and manageable.
Basic stitches are a practical starting point. They make it easier to see where each stitch belongs and to count the circumference of the sock. A plain foot can also make the heel and toe shaping easier to follow.
Ribbing can add definition to the cuff and may provide useful flexibility. Depending on the pattern, it might be created with back-loop stitches, post stitches, or a separate ribbed band. Check the instructions closely because each technique creates a different texture and amount of stretch.
Small texture repeats can make the sock more interesting without hiding the shaping. A vertical ridge may emphasize the leg, while a simple repeat can add detail to the upper foot. Before using a textured stitch throughout, consider whether it will feel comfortable under the sole or inside a shoe.
Color changes are another beginner-friendly design feature. You might use one shade for the cuff, another for the leg, and a third for the toe. Short stripes can help you see progress, while a solid body with a contrasting edge keeps the overall look calm.
When a pattern uses unfamiliar stitch language, check the designer’s terminology key. Our guide to crochet pattern abbreviations can help you recognize common instructions, but the pattern itself should always take priority. This is especially important when comparing US and UK stitch terms.
What common crochet sock problems should you avoid?
You can avoid common crochet sock problems by checking gauge, counting every shaping section, measuring as you go, and correcting errors before they spread through the foot.
- The cuff is too tight: Check the starting chain, gauge, and fabric stretch before continuing. A narrow cuff can make the entire sock uncomfortable.
- The sock is too loose: Compare your stitch count and finished measurements with the pattern. Extra stitches or loose tension may have increased the circumference.
- The toe looks pointed: Review the increase placement and the number of rounds worked before shaping the rest of the foot.
- The heel sits incorrectly: Recheck the heel instructions, turning points, and stitch counts. A small error can change the direction of the shaping.
- The fabric twists: Confirm that your rounds are joined correctly and that the work has not been accidentally turned.
- The pair does not match: Compare the second sock with the first after each major section instead of waiting until both are finished.
When you discover a mistake, find the first round where the count changes. Unraveling a few rounds is usually easier than trying to compensate later with unexplained increases or decreases. Keep notes about what went wrong so the second sock becomes easier.
Try not to change several variables at once. If you switch yarn, hook, stitch, and size simultaneously, it becomes difficult to understand why the fit changed. Make one adjustment, swatch again, and record the result.
A sock is a small project, but it still rewards patience. If the construction feels too complicated, pause and sketch the sections on paper. Label the cuff, leg, heel, foot, and toe. Turning the shape into a simple map can make the written instructions much easier to follow.
How should you finish and care for handmade crochet socks?
You should finish handmade crochet socks by checking the seams and shaping, weaving in the ends securely, following the yarn’s care instructions, and wearing them gradually to assess comfort.
Lay each sock flat and inspect the cuff, leg, heel, sole, toe, and any joins. Look for loose loops, open gaps, uneven decreases, or areas where the fabric has twisted. Repair these details before trimming your yarn ends.
Weave in ends on the wrong side without pulling so tightly that the fabric gathers. Pay particular attention to color-change ends and seams, since those areas may experience extra movement. If the pattern recommends a specific finishing method, follow it rather than relying on a technique from a different project.
Follow the yarn label and pattern guidance for washing and drying. Fibers respond differently to moisture, heat, and agitation, and a finished sock can change in size or shape if it is cared for incorrectly. When in doubt, handle a swatch first.
Try on the completed sock with the footwear you expect to wear. Move around, bend your foot, and check the toe, heel, sole, and cuff. A fit issue that seems minor while standing still may become noticeable after walking.
Finally, keep a project record. Write down the yarn, hook, gauge, finished measurements, size, stitch pattern, color order, and changes you made. Those details will make it much easier to create a matching pair or adapt the design for another wearer.
Your next step is to choose a crochet socks pattern free with a construction you understand, make the recommended swatch, and measure before committing to the full pair. Start with clear yarn, mark the shaping sections, and check the fit as you go. Once you understand how the cuff, heel, foot, and toe work together, you’ll have a useful foundation for experimenting with texture, stripes, color blocking, and your own comfortable sock designs.
For broader wearable inspiration, you can also browse these free crochet sweater pattern designs. Socks are smaller and more fitted, but the same habits—swatching, measuring, reading carefully, and making thoughtful adjustments—will support every crochet garment you explore.
If you’re drawn to relaxed handmade layers as well as accessories, these crochet poncho free patterns offer another way to practice yarn selection, stitch texture, color planning, and wearable construction.
And when you want to compare another shoulder-friendly garment, explore this guide to a crochet cape. The shapes are different from socks, but both projects invite us to think carefully about comfort, fit, finishing, and how a handmade piece will move in real life.