
Crochet Poncho Free Patterns: Easy Designs to Try
Explore crochet poncho free patterns with easy shapes, yarn tips, sizing advice, stitch ideas, and finishing details for confident handmade layers.
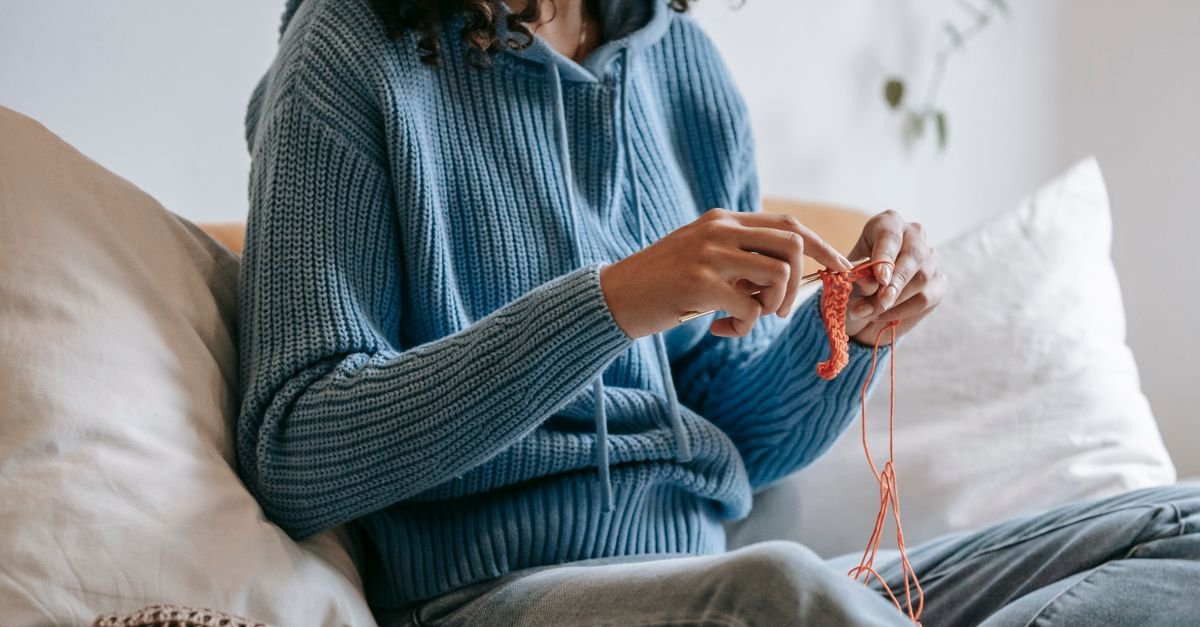
Crochet poncho free patterns are a wonderful place to begin when you want to make a wearable layer without taking on the shaping of a fitted sweater. The simple silhouettes leave room to explore texture, stripes, lace, fringe, collars, and color while keeping the construction approachable. Whether you’re new to crochet garments or looking for a relaxed weekend project, a poncho gives you plenty of creative freedom.
In this guide, I’ll walk through easy poncho shapes, construction methods, yarn choices, sizing, stitch ideas, and finishing details. I’ll also share ways to choose a design that suits your skill level and the way you plan to wear it. Since every pattern has its own requirements, always follow the specific pattern for its yarn, hook, gauge, stitch counts, and finished measurements.
Table of Contents
Why are crochet poncho free patterns such versatile projects?
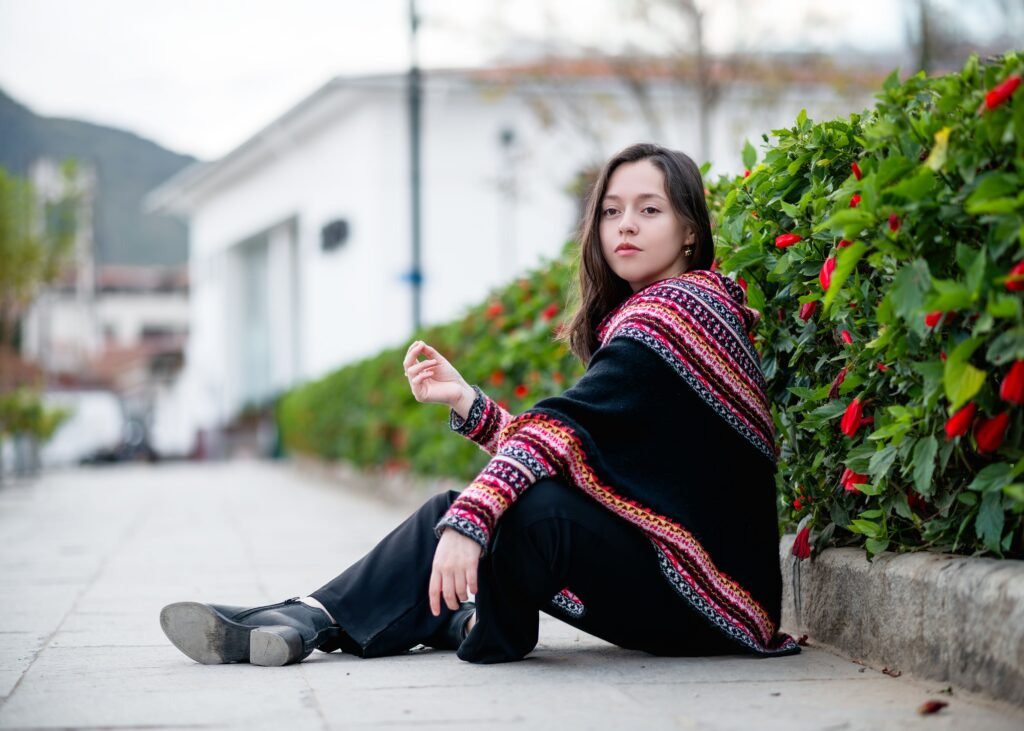
Crochet poncho free patterns are versatile because most ponchos use a relaxed shape that can be adapted through length, width, neckline, color, and edging. Unlike a close-fitting sweater, a poncho usually gives you more flexibility around the body, making it a friendly introduction to crochet clothing.
A poncho may be made from two rectangles, a pair of squares, a triangle, or fabric worked in rounds from the neckline downward. Some designs have an open front, while others slip over the head. The best construction depends on whether you want a structured wrap, a warm pullover layer, or something light and decorative.
I like to begin by imagining where the poncho will be worn. A lightweight design with open stitches can work as a decorative layer, while a dense fabric may feel more substantial. A short poncho can sit around the shoulders, and a longer version can provide more coverage. There isn’t one correct silhouette; the useful question is whether the shape fits your wardrobe and comfort preferences.
If you’re comparing similar handmade layers, our guide to a crochet cape can help you think about open fronts, collars, borders, closures, and the difference between a shoulder covering and a more enclosed poncho.
Which easy poncho shapes should you try first?
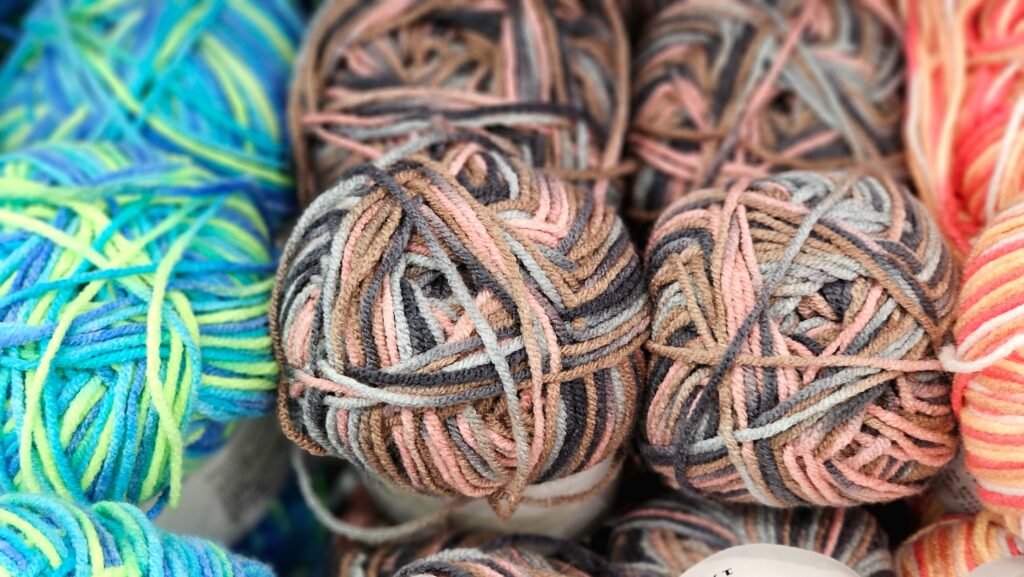
The easiest poncho shapes to try first are rectangles, joined squares, simple triangles, and basic top-down designs because each has a clear structure and limited shaping.
Two-rectangle ponchos
A two-rectangle poncho is one of the most approachable constructions. You crochet two matching panels and join them in a way that leaves an opening for the head and neck. The panels may be worked in rows, so this option can feel familiar if you’re not yet comfortable with crocheting in rounds.
The main challenge is keeping both rectangles the same size. Count rows, check the width regularly, and lay the panels together before joining. Even a small difference can make the neckline sit unevenly or cause one side to hang lower.
Square and folded ponchos
A square poncho is created from one or more square pieces that are folded and joined around the neckline. This construction can showcase a central motif, granny-style clusters, color blocks, or a large textured repeat.
Because the fold becomes part of the silhouette, pay attention to the fabric’s drape. A stiff square may create a boxier garment, while a flexible fabric can fall softly over the shoulders. Check the placement of the neckline before joining so the opening feels comfortable rather than cramped.
Triangle ponchos
A triangular poncho often begins at a point and grows outward through increases. This creates a flowing shape with plenty of room for dramatic color changes or decorative borders. The construction can be visually satisfying because you can see the garment expanding as you work.
Increase placement matters in a triangular design. Mark the center or shaping points and count after each increase section. If one increase is missed, the finished fabric may pull to one side or lose its intended symmetry.
Top-down ponchos
A top-down poncho begins at the neckline and grows toward the hem. This can make it easier to adjust the length because you can try on the garment as it develops, provided the construction allows it.
Neckline comfort is especially important here. The opening needs to be large enough to pull over the head while still sitting neatly around the neck. Read the pattern’s instructions for chains, increases, and joining before you begin, since a small change at the neckline can affect the entire shape.
How should you choose yarn for an easy crochet poncho?

You should choose yarn for an easy crochet poncho by considering the pattern’s requirements, the fabric’s drape, the intended warmth, and how clearly you need to see the stitches.
Start with the selected pattern’s yarn guidance. The recommended yarn weight, fiber, amount, hook, and gauge are connected to the pattern’s finished measurements. Substituting yarn may be possible, but it can change the size, thickness, drape, stretch, and appearance of the poncho.
Smooth yarn in a clear color is often helpful when learning a new stitch or construction. You can see the stitch tops, chain spaces, edges, and increase points more easily. Fuzzy, slippery, or highly textured yarn may create a lovely surface, but it can make counting and correcting mistakes more difficult.
Drape deserves just as much attention as warmth. A poncho needs enough movement to fall comfortably over the body. A dense stitch can create a cozy fabric, but it may feel heavier or more structured. Openwork can feel light and fluid, but it may offer less coverage. Make a swatch in the actual stitch pattern and handle it before committing to a full garment.
Color is another way to shape the design. A solid shade highlights texture and silhouette. Stripes can emphasize rows, while color blocks can divide the poncho into clear sections. A contrasting border frames the garment and can make a straightforward construction feel much more intentional.
For more ideas about using texture, clusters, ridges, shells, and open stitches, browse these beautiful crochet stitches. I’d still swatch any stitch before using it in a wearable because the same repeat can behave differently depending on yarn and tension.
What supplies and planning steps make a poncho easier?
The supplies and planning steps that make a poncho easier are a pattern, its specified yarn and hook, stitch markers, a measuring tape, scissors, a yarn needle, and a simple way to record your progress.
- Read the pattern first: Check the construction, terminology, stitch abbreviations, gauge, finished measurements, joining instructions, and finishing details before beginning.
- Mark your size: If several sizes appear together, highlight the numbers for the size you intend to make.
- Make the recommended swatch: Work the main stitch pattern and check both the measurement and the fabric’s feel.
- Use stitch markers: Mark round beginnings, center points, shaping sections, and repeat boundaries.
- Keep notes: Write down your hook, yarn, gauge, completed rows or rounds, color changes, and any modifications.
A large garment can look deceptively simple while quietly growing out of proportion. Measure the width, length, neckline, and front opening at the points identified by the pattern. If you’re making your own adaptation, record those measurements as you work rather than trying to reconstruct them later.
It also helps to decide how you’ll use the poncho before choosing a pattern. Will it be worn over a shirt, dress, or coat? Do you want the hem near the waist, hips, or lower body? Will the neckline sit close to the neck or fall more loosely? These choices guide your pattern selection more effectively than a photograph alone.
How do you check poncho sizing and fit?
You check poncho sizing and fit by comparing the wearer’s measurements with the pattern’s finished measurements and by considering the layers that will be worn underneath.
Do not choose a size from a label alone. A small, medium, or large can mean different things in different patterns, while finished measurements give you a clearer picture of the actual garment. Depending on the design, consider upper-body circumference, shoulder width, neckline, total length, and arm coverage.
Ease is important. A poncho needs room to move over clothing, but too much fabric can feel bulky or make the neckline shift. Think about whether you want a close shoulder fit or a relaxed, flowing silhouette. If the pattern includes a measurement diagram, use it as your main reference.
Length is one of the easiest features to personalize, but changing it can affect the overall balance. A short poncho may feel casual and light, while a longer design provides more coverage and movement. If you add or remove rows, check whether the stitch repeat still ends correctly and whether the border will fit the new edge.
Try the poncho on during construction when possible. Move your arms, sit down, and check whether the neckline feels comfortable. Look for twisting, uneven front edges, or a hem that pulls upward. It’s much easier to correct a fit issue before the final border is attached.
Which stitches work well in crochet poncho patterns?
Stitches that work well in crochet poncho patterns include simple solid stitches, ribbed textures, granny-style clusters, shells, lace repeats, and combinations of different stitch heights.
Simple solid stitches
Basic stitches create a dependable fabric and let the poncho’s silhouette, color, or edging take center stage. They’re also useful when you’re learning garment construction because the stitch placement is usually easy to see and count.
Ribbed textures
Ribbed textures add direction and may provide useful flexibility around a neckline or hem. Read the pattern carefully to see whether the ribbing is made through specific loops, post stitches, or separate rows. Those choices change the appearance and stretch of the fabric.
Clusters, shells, and fans
Clusters, shells, and fans create decorative movement across broad panels. They can make a simple poncho feel expressive without requiring complicated shaping. Count the groups and spaces rather than relying only on the visual pattern, especially near edges and corners.
Lace and openwork
Lace and openwork can create a light poncho with plenty of drape. Chain spaces are usually an important part of the repeat, so mark the beginning of each section and check the number of spaces as you work. A missed space can alter the following rows even when the error is hard to spot immediately.
If crochet terminology is slowing you down, a helpful crochet abbreviations guide can make written patterns easier to follow. Always use the pattern’s own key first, especially when checking US or UK stitch terms.
How can you customize an easy crochet poncho?
You can customize an easy crochet poncho with color placement, a contrasting border, a collar, fringe, buttons, ties, textured panels, or a changed length. I recommend choosing one main feature and letting it guide the rest of the design.
A contrasting neckline is a simple way to frame the face and shoulders. You might use a textured collar against a plain body or a solid border around an openwork fabric. Before adding a strong contrast, hold the yarn colors together and consider which shade should dominate.
Fringe and tassels can give a poncho extra movement, particularly along a simple hem. Keep the placement consistent and consider how the added weight may affect the edge. If you add fringe to a garment that will be worn often, follow the yarn’s care guidance rather than assuming it will behave like every other fiber.
Closures can change how an open-front poncho sits. Buttons, toggles, ties, or a small clasp may keep the front in place and add a decorative detail. Try on the poncho before deciding where to attach a closure, then reinforce the area according to the design instructions.
Color changes can be just as effective as complicated stitches. Try wide stripes, a color-blocked center, a darker border, or a gradual sequence of shades. Keep notes about the order and placement so you can reproduce the arrangement if you make a second poncho.
For another wearable project that demonstrates how color, texture, and relaxed construction can work together, explore these free crochet sweater pattern designs. A poncho and sweater are shaped differently, but the same design questions apply.
What common crochet poncho mistakes should you avoid?
You can avoid common crochet poncho mistakes by checking gauge, counting shaping points, measuring regularly, and correcting uneven edges before the piece becomes too large.
- The neckline is too tight: Recheck the pattern’s opening measurement, gauge, and starting chain before continuing.
- The fabric ripples: Look for extra increases, inconsistent stitch placement, or a border that is too loose.
- The edge curls: Check your tension and see whether the design calls for a specific border or blocking method.
- The poncho hangs unevenly: Lay it flat and compare the sides, center points, and increase sections.
- The fabric feels too stiff: Reconsider the yarn, hook, stitch pattern, and tension rather than changing only the finished length.
- The colors do not line up: Review the color-change rows and mark the right side when the pattern requires it.
When you find an error, stop at the first point where the stitch count or shaping changes. Unraveling a few rows is usually easier than disguising a mistake across a wide panel. If you’re unsure whether a flaw matters, compare the piece with the pattern’s measurements and lay it flat before deciding.
Try not to change the yarn, stitch, neckline, and length all at once. Make one adjustment, record it, and observe the result. That way, each version teaches you something useful about your own design preferences.
Small projects can help you practice counting and finishing before you begin a full garment. These free crochet hat patterns for beginners offer manageable practice with rounds, texture, sizing, color changes, and finishing details.
How should you finish and care for a crochet poncho?
You should finish a crochet poncho by inspecting the edges and joins, weaving in ends securely, following the yarn’s care guidance, and checking the fit before making final adjustments.
Lay the poncho flat and inspect the neckline, seams, front opening, hem, and border. Look for loose loops, gaps, puckered areas, or places where the edging has pulled the fabric out of shape. Repair anything necessary before trimming the final yarn tails.
Weave in ends on the wrong side without pulling so tightly that the fabric gathers. If the pattern recommends blocking or washing, follow those directions for the chosen yarn. Fibers and textures can respond differently to moisture, stretching, and heat, so avoid applying a finishing method automatically.
Try the completed poncho on with the kind of clothing you expect to wear beneath it. Move your arms, sit down, and check whether the neckline, length, and front opening feel comfortable. This final fitting can reveal details that weren’t obvious while the garment was lying flat.
Keep a project record after finishing. Note the yarn, hook, gauge, finished measurements, stitch pattern, color order, and changes you made. Those notes can help you adjust the design for another wearer or reuse your favorite details in a future garment.
Your next step is to choose the poncho construction that feels most approachable, then select one design feature to explore—perhaps a textured stitch, bold stripe, hood, collar, or fringed edge. Read the pattern from beginning to end, make the recommended swatch, and measure as you go. With that preparation, a simple poncho can become a relaxed, wearable canvas for your own crochet ideas.