
20 Free Crochet Hat Patterns for Beginners
Explore 20 free crochet hat patterns for beginners, with helpful guidance on yarn, sizing, stitches, construction, customization, and finishing.
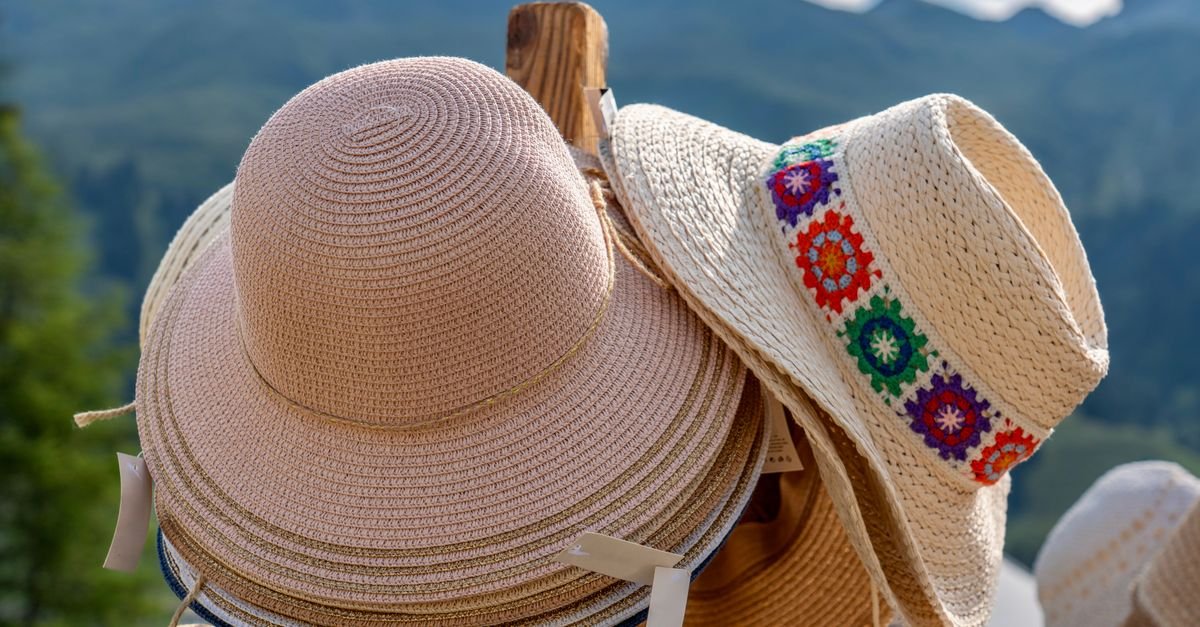
These 20 free crochet hat patterns for beginners are a wonderful way to practice working in rounds, reading repeats, shaping fabric, and creating something useful at the same time. Hats are small enough to feel manageable, but they still introduce techniques we can carry into larger projects.
I love how much variety a simple hat can offer. A change in stitch texture, brim style, color, or crown shape can make the finished project feel completely different. In this guide, I’ll walk through twenty beginner-friendly hat ideas, explain what makes each one approachable, and share practical advice for choosing yarn, checking fit, following a pattern, and adding your own creative details.
Table of Contents
How should beginners choose among free crochet hat patterns?
Beginners should choose a free crochet hat pattern by looking at its construction, stitch vocabulary, sizing information, and finishing instructions before starting. A pattern photograph can be helpful, but the written details tell you whether the project matches your current confidence.
For a first hat, look for familiar stitches, clear round instructions, and shaping that is easy to recognize. A simple beanie worked from the crown downward may be a comfortable starting point if you like crocheting in rounds. A hat made from a rectangle may suit you better if you prefer working back and forth in rows and sewing one seam.
Read all the instructions before making your first stitch. Check whether the pattern uses continuous or joined rounds, how the beginning of each round is marked, and whether the brim is made separately. Also look for finished measurements rather than choosing only by a small, medium, or large label.
If you’re ready to compare handmade clothing projects after finishing a hat, these free crochet sweater pattern ideas offer a useful next step. Sweaters require more planning, but the same habits—checking gauge, following repeats, and measuring as you go—still apply.
20 free crochet hat patterns and ideas for beginners
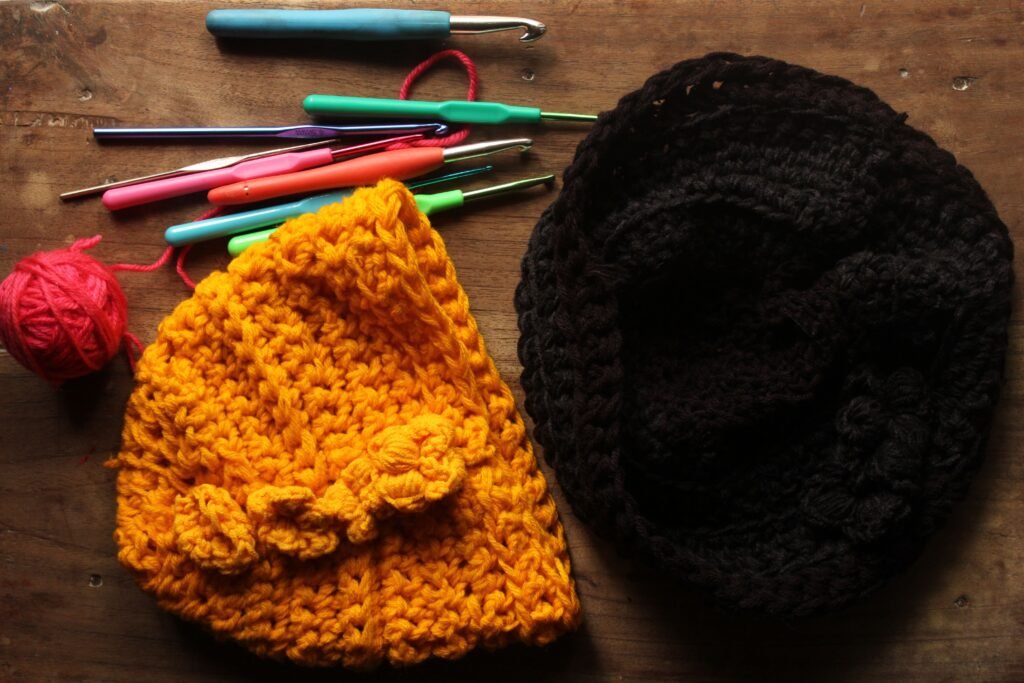
These twenty free crochet hat ideas cover a range of shapes, textures, and construction methods, so you can choose a project that feels interesting without being unnecessarily complicated. Treat each description as a way to decide what kind of pattern to look for, then follow the exact instructions for the design you select.
- Classic beginner beanie: A basic beanie is an excellent first hat because its shape is easy to recognize and its construction usually follows a simple crown-to-hem journey. Look for a design that explains increases clearly and uses a consistent stitch pattern. A plain fabric lets you focus on counting and keeping the rounds even.
- Ribbed crochet beanie: Ribbing adds stretch and a satisfying vertical texture. It may be made with front-loop or back-loop stitches, post stitches, or rows that are joined afterward. Read the pattern’s stitch explanation carefully, because the look and stretch depend on exactly where the hook enters.
- Messy bun hat: A messy bun hat leaves an opening at the crown for gathered hair. This makes it a fun alternative to a fully closed beanie and gives you a chance to practice shaping around an opening. Check the finished measurements carefully because the opening and brim both affect comfort.
- Simple slouchy hat: A slouchy hat has extra fabric toward the back or crown, creating a relaxed silhouette. It can be a good choice when you want a project with a little more drape than a close-fitting beanie. Pay attention to the pattern’s length instructions, since the amount of slouch changes the way the hat sits.
- Two-color striped hat: Stripes are a straightforward way to make a basic shape more expressive. Choose a pattern with clearly marked color changes and keep track of which side of the work is facing you. Changing colors neatly and weaving in the ends as you go will make the final hat look much tidier.
- Simple color-blocked beanie: A color-blocked design divides the hat into larger sections of contrasting color. This can be easier to manage than narrow stripes because there are fewer changes to track. Plan where the color sections begin and end, especially if the pattern is worked in joined rounds.
- Textured stitch hat: A hat built around texture gives you a chance to explore a stitch repeat without managing a large project. Look for a repeat that is easy to identify visually. Mark the beginning of each round and count periodically, since textured stitches can make the stitch tops less obvious.
- Half-double crochet hat: A half-double crochet hat is often a practical choice for learning how a stitch creates a firm, balanced fabric. The stitch has a slightly different rhythm from single crochet and double crochet, so follow the pattern’s turning or joining instructions closely.
- Granny stitch hat: Granny-style groups can create a light, decorative fabric and introduce clusters in the round. This style is especially interesting for color play. Before starting, make sure you understand where each cluster belongs and how the pattern handles the spaces between groups.
- Basic bucket hat: A bucket hat is a useful project for learning how the crown, sides, and brim relate to one another. The crown usually expands, the sides maintain or shape the depth, and the brim flares outward. Follow the pattern’s measurements rather than guessing when to stop increasing.
- Textured bucket hat: Adding texture to a bucket hat creates a more sculptural surface while keeping the overall construction recognizable. Choose a design with a repeat you can see clearly. A stitch that pulls the fabric inward or outward may change the brim’s shape, so gauge and measurement checks matter.
- Sun hat with a brim: A brimmed sun hat gives you practice with structured shaping and edge finishing. The brim may need even tension so it lies flat instead of curling. If the instructions include a stabilizing method, follow them exactly and avoid assuming that every yarn will behave the same way.
- Earflap hat: An earflap hat adds separate flaps to a familiar hat body. This introduces simple assembly and placement decisions without requiring an entirely new construction. Mark the sides of the hat before attaching the flaps so they sit evenly.
- Hat with braided ties: Braided ties can be added to earflaps or used as decorative details. They’re a nice way to practice making chains, braiding strands, and securing ends. Check the pattern’s finishing instructions so the ties are attached firmly and don’t twist.
- Pom-pom beanie: A pom-pom beanie keeps the crochet structure simple and places the creative emphasis on finishing. You can use a matching or contrasting pom-pom, but attach it securely and consider how the hat will be handled or washed.
- Hat with a folded brim: A folded brim gives a beanie extra visual weight and can create a cozy, structured finish. Follow the pattern’s length instructions before folding, since a brim that is too short or too long can change the fit around the head.
- Colorwork hat: A beginner colorwork hat can introduce simple motifs, stripes, or geometric changes without requiring a large chart. Choose a pattern with an easy-to-follow color key. Keep unused yarn strands from pulling across the inside, and check the fabric regularly for even tension.
- Textured winter hat: A thicker-looking textured hat can showcase post stitches, raised lines, or alternating rows. The visual effect may be more advanced than the construction itself, but the stitch pattern can affect the hat’s stretch and size. Make a swatch when the pattern recommends one.
- Newborn or child-sized hat: Smaller hats can be satisfying quick projects, but they still need careful sizing. Use the pattern’s intended measurements and recipient information rather than estimating from an adult hat. If the hat is a gift, confirm the sizing details whenever possible.
- Matching adult-and-child hats: Coordinating hats let you explore the same design in more than one size or color arrangement. Make notes as you complete the first hat, especially if you change the brim, length, or color order. That record makes the second version easier to follow.
What yarn and tools do beginner crochet hats need?
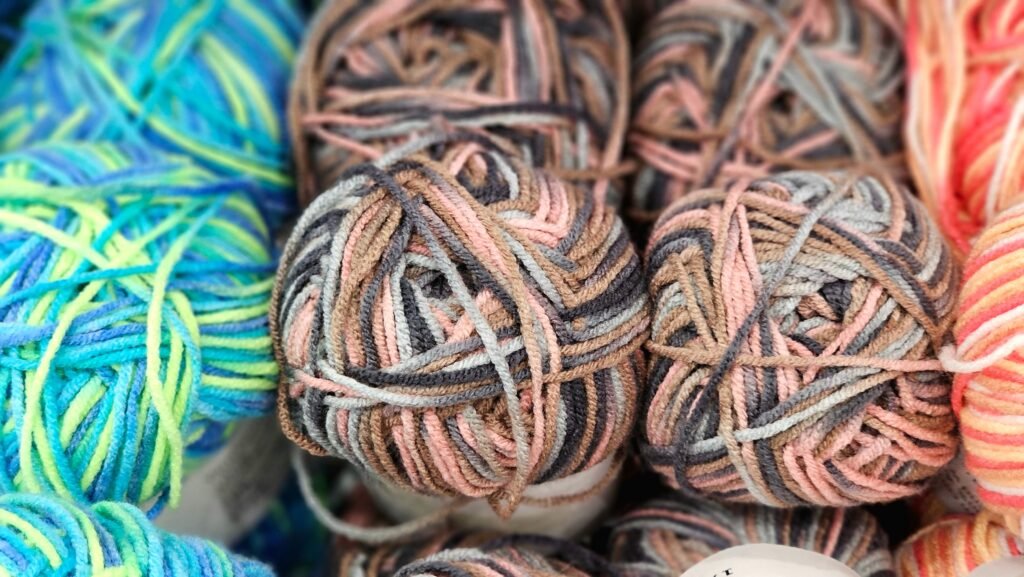
Beginner crochet hats need the yarn, hook, and finishing tools specified by the chosen pattern, along with a measuring tape and stitch markers for checking progress. The exact yarn weight, fiber, hook size, and amount should always come from the pattern and yarn label rather than guesswork.
- Yarn: Smooth yarn can make stitch tops and round changes easier to see. Very fuzzy or heavily textured yarn may be attractive, but it can make counting and correcting mistakes more difficult.
- Hook: Start with the recommended hook and use a swatch or the pattern’s gauge guidance to decide whether an adjustment is needed.
- Stitch markers: A removable marker helps identify the beginning of a round or an important shaping point.
- Measuring tape: Use it to compare the growing hat with the pattern’s finished measurements.
- Yarn needle and scissors: These are useful for sewing a seam, fastening off, and weaving in ends.
Color choice can change the personality of a hat quickly. A solid shade makes texture easy to see, while stripes and color blocks create visual interest without changing the basic shape. If you’re choosing several colors, place small strands together first so you can judge how they look as a group.
If you enjoy moving from accessories into wearables, this crochet tank top pattern guide explains why yarn choice, gauge, and measurements matter in a larger garment. Those same planning skills are useful even for a small hat.
How do you check the fit of a crochet hat?
You check the fit of a crochet hat by comparing its circumference and depth with the pattern’s finished measurements and by considering how the stitch pattern affects stretch. A hat can look attractive while still being too loose, too tight, too short, or too deep.
Measure the intended wearer according to the pattern’s guidance when possible. Then compare that measurement with the finished hat measurement, remembering that the fabric may stretch. Don’t choose a size from the title alone. Different patterns use different labels, and a measurement is a more useful reference.
Gauge matters because your tension controls how large each stitch becomes. If your stitches are smaller than the pattern’s, the hat may be narrower or shorter. If they’re larger, the hat may be roomier or deeper. Changing hook size can help, but check the fabric too. A numerical match is not useful if the result feels stiff or lacks the intended stretch.
Depth is just as important as circumference. A hat that is too shallow may not cover the ears or sit securely, while a hat that is too deep may fold or create more slouch than you wanted. Measure as you work and compare the piece with the instructions before fastening off.
If you’re practicing construction with a larger wearable project, the site’s easy jumper crochet pattern ideas offer another example of why finished measurements are more helpful than size names alone.
What beginner crochet techniques make hats easier?
The beginner crochet techniques that make hats easier are counting rounds, marking the first stitch, recognizing increases and decreases, maintaining even tension, and checking the shape as it develops. These habits prevent small errors from spreading through the project.
First, determine whether the pattern uses joined rounds or continuous rounds. In joined rounds, the instructions usually tell you how to connect the end to the beginning. In continuous rounds, you keep working without a visible join and use a marker to identify the round start. Confusing these methods can shift the shape and make the stitch count difficult to follow.
Increases add stitches and usually help the crown grow wider. Once the crown reaches the required size, the pattern may tell you to work even rounds before shaping the sides or brim. Count after each increase round, and compare the developing circle with the instructions instead of relying only on appearance.
When you reach the brim, pay attention to tension. A very tight brim may not stretch comfortably, while a loose one may fail to hold its shape. Follow the pattern’s stitch placement and check the edge frequently. If the brim is worked separately, mark its midpoint or joining points before attaching it.
For inspiration beyond hats, these mini crochet animal patterns also demonstrate how small projects can teach shaping, counting, color changes, and careful finishing. The construction is different, but the patience you build transfers beautifully to hats.
How can beginners finish and customize crochet hats?
Beginners can finish and customize crochet hats by securing the final round neatly, weaving in ends, checking the shape, and adding one or two intentional details. Simple finishing choices often make the difference between a project that looks rushed and one that feels complete.
Before trimming any yarn, inspect the last round and the seam if the hat was worked flat. Make sure the crown is closed as the pattern instructs and that the brim is even. Weave in ends on the inside without pulling so tightly that the fabric puckers.
Blocking or washing should follow the pattern and yarn guidance. Fibers can respond differently to moisture, stretching, and heat, so don’t assume one finishing method suits every hat. If you’re unsure, follow the care information supplied with the yarn.
Customization can begin with color. Try a contrasting brim, a narrow stripe, a two-color crown, or a small accent around the edge. You can also add a pom-pom, braided ties, a simple embroidered detail, or a folded brim when the hat’s construction allows it.
Keep modifications modest on your first version. Changing the hat’s length, stitch pattern, and circumference at the same time can make it difficult to understand why the fit changed. I prefer to alter one feature, record the change, and use that information for the next version.
If you want to explore another simple garment silhouette after experimenting with hats, a crochet pullover sweater guide can help you compare color, texture, and construction choices on a larger scale.
What should you do when a beginner hat goes wrong?
When a beginner hat goes wrong, stop at the first clear problem, compare the stitch count with the pattern, and unravel only as far as needed to correct the mistake. Continuing through several more rounds usually makes the repair harder.
- The crown looks wavy: Check whether increases were added where the pattern specifies them and whether an extra stitch slipped into a round.
- The hat is narrowing: Look for missed increases or skipped stitches, especially near the beginning or end of a round.
- The sides lean: Confirm that the round marker is moving correctly and that joined rounds are being closed as directed.
- The brim curls: Compare your tension and stitch placement with the pattern, then check whether the design expects a particular finishing step.
- The hat is too small: Review your gauge, yarn, hook, and finished measurements before changing the pattern.
- The colors look uneven: Check the color-change rounds and make sure the work is facing the correct way.
Don’t be discouraged by unraveling. In crochet, pulling out a few rounds is often the quickest route to a better result. Use stitch markers, write down your stopping point, and take a short break if counting starts to feel frustrating.
Your next step is to choose one of these 20 free crochet hat patterns based on the construction you find easiest to understand. Gather the listed supplies, read the full instructions, and begin with a simple swatch or gauge check when the pattern calls for one. Once you’ve finished your first hat, you’ll have a practical foundation for experimenting with stripes, texture, brims, and your own wonderfully personal variations.