
Crochet Pullover Sweater: Easy Patterns & Ideas
Explore crochet pullover sweater patterns, construction ideas, yarn tips, sizing guidance, stitch choices, and practical finishing advice for handmade wearables.
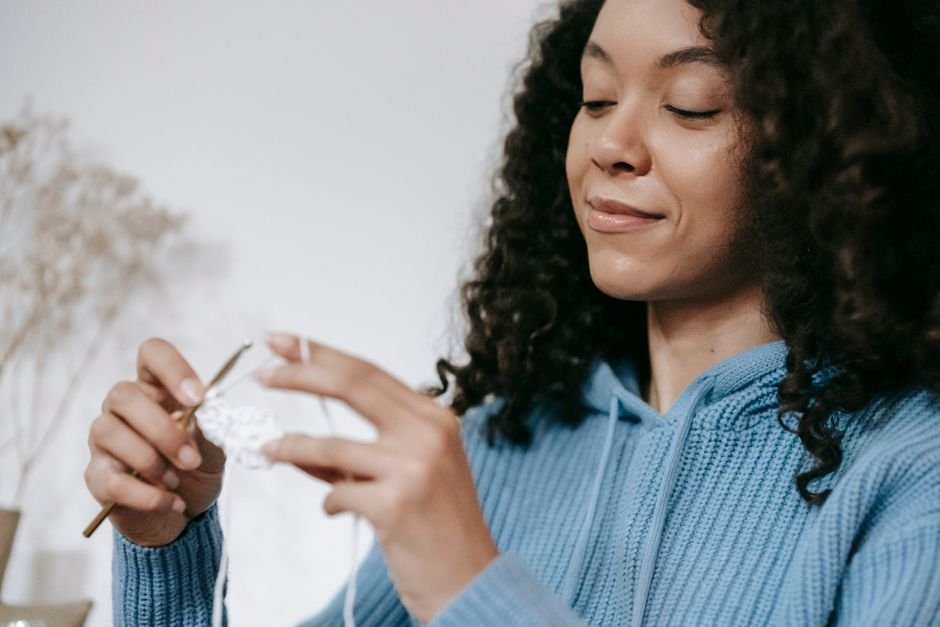
A crochet pullover sweater is a rewarding handmade layer when you want to explore wearable crochet without making the project feel unnecessarily complicated. The simplest designs often begin with rectangles, squares, or a straightforward yoke, then become a finished sweater through thoughtful seaming, shaping, and edging.
I love the creative freedom a pullover offers. We can keep the fabric plain and let the silhouette do the work, choose a textured stitch for a cozy statement, or use stripes and color blocks to make a familiar construction feel completely personal. The key is to plan the fabric and fit before crocheting too far, because a sweater has to feel good as well as look appealing.
Table of Contents
What makes a crochet pullover sweater easy to crochet?
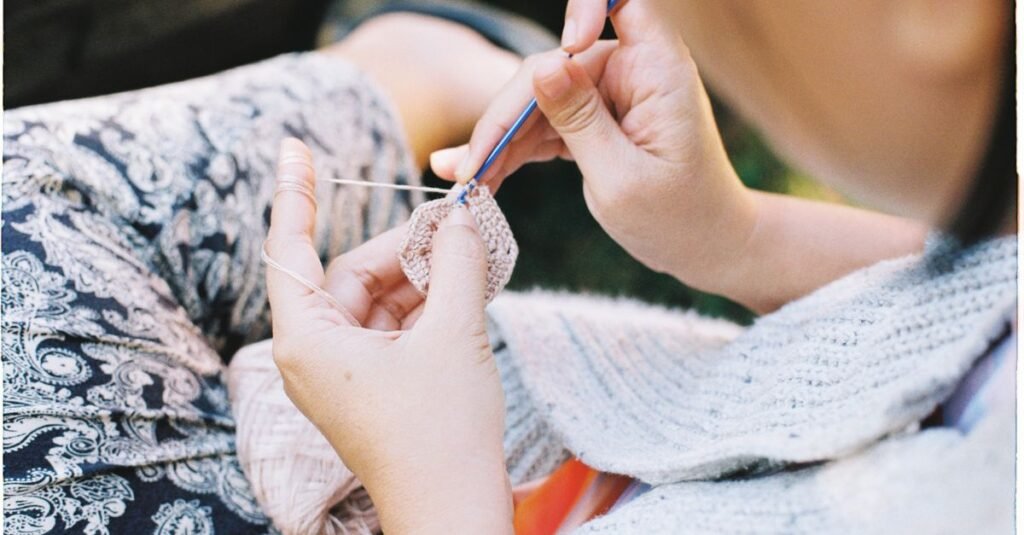
An easy crochet pullover sweater usually has a clear construction, limited shaping, and stitch repeats that are simple to recognize. That might mean two flat panels joined at the shoulders and sides, a top-down yoke worked in rounds, or a boxy design made from a few basic pieces.
“Easy” doesn’t necessarily mean fast. A sweater contains a lot of fabric, and even a simple stitch can take time when worked across a full garment. Instead, look for a pattern that makes the decisions easy to follow. Helpful instructions should explain the finished measurements, indicate where shaping happens, and show how the pieces are assembled.
- Simple panels: Rectangular front and back pieces are often approachable because they can be measured flat before joining.
- Minimal shaping: A relaxed silhouette may require less detailed shaping than a close-fitting sweater.
- Familiar stitches: Repeated single crochet, half double crochet, double crochet, or an uncomplicated textured stitch can keep the rhythm manageable.
- Clear finishing: Neckline, cuffs, hem, and sleeve instructions should be easy to identify before you begin.
If you’re new to crochet or need a refresher on stitch placement and turning, start with this crochet guide for absolute beginners. A wearable project is much less intimidating when the basic movements already feel familiar.
Which construction should you choose for a crochet pullover sweater?
The best construction for a crochet pullover sweater depends on how much shaping, seaming, and in-the-round crochet you want to handle. I recommend choosing the construction before choosing the stitch, since the underlying shape influences both the fit and the amount of finishing work.
Two-panel pullovers
Two-panel pullovers are built from a front and back, often with shoulder and side seams. This is one of the clearest approaches for beginners because each piece can be laid flat and compared with the pattern measurements. Sleeves may be worked separately or added directly around the armhole.
The trade-off is seaming. A neat seam takes patience, especially when aligning rows or matching textured sections. I like to use removable markers to hold the pieces together before joining, then inspect the right side after a short section of seam.
Top-down pullovers
Top-down pullovers usually begin near the neckline and grow toward the hem. Depending on the design, increases may form a round yoke, square yoke, or raglan-style structure. This construction can reduce sewing and lets you check the fit as the sweater develops.
Working from the top also makes length adjustments more accessible in some designs, although the pattern’s shaping still needs to be followed carefully. Use stitch markers to identify increase points and the beginning of each round. If the yoke starts to ripple or pull inward, pause and investigate before continuing.
Seamed rectangles and oversized shapes
A relaxed pullover can be made from broad rectangles with openings left for the neck and arms. This approach is visually simple and gives you room to experiment with stripes, color blocks, and textured panels. It is especially useful when you prefer flat crochet to continuous rounds.
Remember that a loose silhouette still needs thoughtful proportions. A very wide sweater may become heavy or difficult to style, while a narrow neckline can make an otherwise comfortable garment frustrating to wear. Compare the finished measurements with a sweater you already enjoy using as a reference.
How should you choose yarn and stitches?
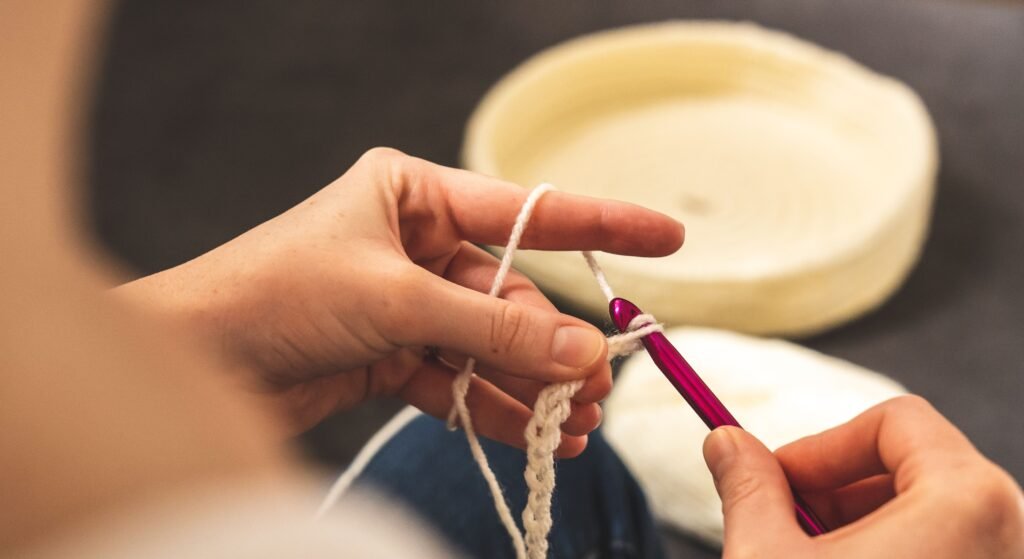
You should choose yarn and stitches together, because the stitch pattern changes the feel, drape, thickness, and visual character of the finished fabric. A small swatch is the most useful way to judge whether the combination suits your crochet pullover sweater.
Work the stitch pattern you plan to use, then handle the sample. Fold it, let it hang, and gently move it from side to side. Look at whether the stitches are easy to see and whether the fabric feels comfortable against the neck, shoulders, and arms. A yarn that looks attractive in a ball can create a very different fabric once crocheted.
- Smooth yarn: Often makes stitch counting easier and shows textured details clearly.
- Textured yarn: Can create an interesting surface, but may hide missed stitches or make unraveling less convenient.
- Plain stitches: Let color, stripes, and the sweater shape become the main design feature.
- Open stitches: Can create a lighter-looking fabric, but check the coverage and drape of the swatch.
- Dense stitches: May create structure, though a large garment can feel less flexible if the fabric is too firm.
Try to avoid changing several variables at once. If you’re experimenting with a new stitch, use a familiar yarn and a straightforward construction. If you’re substituting yarn, make a fresh swatch rather than assuming the replacement will behave like the original.
For more garment inspiration, browse these free crochet sweater patterns. They can help you compare relaxed shapes, stitch textures, cuffs, borders, and color placement before you settle on your own pullover idea.
How do you plan the fit and sizing?
You plan the fit of a crochet pullover sweater by comparing your body measurements with the pattern’s finished measurements and deciding how relaxed you want the garment to be. A size label is only a starting point; the actual measurements tell you much more about how the sweater will sit.
Measure around the part of your upper body where you want the sweater to fit, then consider the finished length, sleeve length, neckline, and hem placement. It can also help to measure a favorite sweater laid flat. Compare its width and length with the pattern before beginning so you have a practical visual reference.
Think about ease in terms of movement and style. A close shape may suit a lightweight layer, while a generous pullover can work over another top. The shoulder width, armhole depth, and sleeve opening are just as important as the body width. A sweater can have the correct circumference and still feel uncomfortable if the armhole or neckline is not right for you.
Check your project at useful points rather than waiting until the final row. Lay panels flat, measure the body, try on a top-down section when possible, and compare matching pieces as you work. If you’re making sleeves separately, record the row or round where shaping occurs so the second sleeve follows the same rhythm.
When a design uses decreases around a neckline, armhole, or sleeve, this crochet decrease guide can help you review how two stitches are combined and how shaping affects the edge. The important habit is to count carefully and place each decrease where the pattern intends.
What easy pattern ideas can you try?
Easy crochet pullover sweater ideas include a simple striped rectangle design, a textured boxy pullover, a top-down yoke, and a color-blocked sweater with plain sleeves. Each idea keeps the basic construction manageable while giving you a different way to explore personality and style.
Striped rectangle pullover
For a striped pullover, use simple panels and let the color sequence provide the visual interest. Broad stripes can create a calm, graphic look, while narrower stripes give the fabric more movement. Write down the color order so the front and back feel connected, especially if you want the stripes to meet at the shoulder seams.
A repeated neutral in the hem, cuffs, or neckline can help bring several colors together. If you’re using partial balls from your stash, check the yarns in a swatch first so the fabric remains reasonably consistent.
Textured everyday pullover
A textured pullover can stay simple in shape while featuring a stitch panel across the front or upper body. Raised stitches, clusters, ribbed sections, or alternating rows can create a focal point without making every section of the sweater demanding.
I prefer concentrating texture in one area when the stitch repeat requires extra attention. The plain sections give your hands a break and make the textured panel easier to notice. Keep the neckline and border quieter if the main fabric already has a lot of movement.
Color-blocked yoke sweater
A color-blocked yoke gives a top-down or yoke-style pullover a strong visual structure. You might keep the body in one shade and use two or three colors around the neckline and shoulders, or reverse the idea with a colorful body and quiet yoke.
Lay the yarns together before starting and take a quick note of the order. Contrast can change the way a stitch pattern reads, so a small sample is worthwhile before committing to the full yoke.
Simple openwork pullover
An openwork pullover can be a lighter-looking option when the stitch repeat creates visible spaces. Use a swatch to judge coverage, flexibility, and whether the fabric suits the layer you have in mind. Openwork can also be limited to the yoke, sleeves, or a decorative panel instead of covering the entire sweater.
If the stitch uses taller stitches, review the sequence before beginning the garment. This treble crochet guide is useful when you want to understand a taller stitch before including it in an open pattern or textured repeat.
How can you customize a simple pullover?
You can customize a simple pullover with color, neckline details, sleeve shape, borders, pockets, and small changes to the length. I recommend choosing one or two main modifications so the finished design stays balanced and the adjustments remain easy to track.
- Change the length: Add or remove rows while checking how the hem sits against your intended outfit.
- Adjust the sleeves: Make them shorter, longer, wider, or more fitted, but compare both sleeves as you work.
- Frame the neckline: Use a contrasting round or a subtle textured edging to draw attention to the face.
- Add cuffs: A ribbed or contrasting cuff can make a relaxed sleeve look more intentional.
- Include a pocket: A simple patch pocket adds function and gives you another place to repeat the sweater’s color or texture.
- Use a statement border: Keep the body quiet and let the hem or cuffs carry a decorative stitch.
Small crochet projects can be a useful place to test a color combination or motif before adding it to a garment. You might make a tiny swatch, flower, or square and use it to compare shades. These small crochet project ideas offer inspiration for manageable practice pieces and decorative details.
You can also borrow inspiration from a pattern poncho crochet guide. Poncho construction often highlights relaxed proportions, necklines, borders, and color planning that can translate well to an oversized pullover.
What finishing details make the sweater look polished?
Finishing details make a crochet pullover sweater look polished by improving the edges, shaping the neckline, and giving the seams a deliberate appearance. Take your time here; finishing can change how the garment feels and how confidently you wear it.
Before weaving in the ends, lay the sweater flat and inspect the shoulders, side seams, neckline, cuffs, and hem. Check that the front and back are aligned and that the sleeves hang in the same direction. If the fabric has stretched during handling, let it rest flat before making final judgments.
When seaming, secure the pieces with markers and work a short section first. Turn the sweater right side out to see whether the seam is sitting as intended. Match rows or motif edges where possible, but don’t pull the seam so tightly that it changes the fabric’s drape.
Weave in tails on the wrong side by passing through several directions of the fabric. Keep the tension relaxed so the area does not pucker. If you added stripes, distribute the yarn ends instead of leaving a thick bundle in one place.
Blocking or gentle reshaping may help even out a finished piece, but it cannot correct a major difference in stitch count or construction. Follow the yarn’s care guidance and test any finishing method on a sample when you’re unsure how the fabric will respond.
How do you troubleshoot common sweater problems?
You can troubleshoot most crochet pullover sweater problems by stopping early, checking the stitch count, and comparing the fabric with the intended measurements. Small inconsistencies are much easier to fix before the sleeves and seams are complete.
- The front and back are different sizes: Compare row counts, stitch counts, and tension. Measure both pieces before joining.
- The neckline is too tight: Check whether the opening or edging is pulling inward. A tight border can make an otherwise usable opening uncomfortable.
- The fabric feels stiff: Revisit the swatch and consider whether the stitch, yarn, or tension is creating a fabric that lacks the flexibility you want.
- The sweater twists: Inspect the yoke increase points, round beginnings, and joins. Markers can help you keep the structure aligned.
- The sleeves do not match: Write down shaping rows and compare each sleeve as you go rather than relying on memory.
- The hem looks uneven: Check the first and last stitches of each row, then consider a neat edging only after identifying the cause.
Don’t be afraid to unravel. Undoing a few rows may feel disappointing, but it is usually better than carrying an error through the entire garment. If you changed the pattern, record what you did so the same modification can be repeated on the other side.
What should you do before starting your pullover?
Before starting your crochet pullover sweater, choose a construction you understand, make a meaningful swatch, compare the finished measurements, and read through the instructions from beginning to end. These steps give you a reliable plan while leaving plenty of room for creativity.
Gather your yarn, hook, measuring tape, stitch markers, scissors, yarn needle, and a notebook for project notes. Decide whether your main experiment will be color, texture, shaping, or finishing. Keeping the other choices straightforward makes it easier to understand how the fabric behaves.
Start with a manageable section and check it often. Measure the fabric, look at the edges, and ask whether the texture feels like something you’ll enjoy wearing. If the answer changes as the project develops, adjust early rather than forcing yourself to finish a design that no longer suits you.
Then let the pullover become your own. Try a calm neutral with a bold cuff, a stripe sequence inspired by your favorite colors, or a textured panel that turns a simple shape into a personal statement. With careful measurements, a useful swatch, and patient finishing, your next crochet pullover sweater can be an enjoyable exploration of both garment making and your own creative style.