Crochet Sweater Pattern: Easy Designs for Beginners
Choose a beginner-friendly crochet sweater pattern with practical guidance on construction, yarn, fit, stitches, shaping, finishing, and easy design ideas.
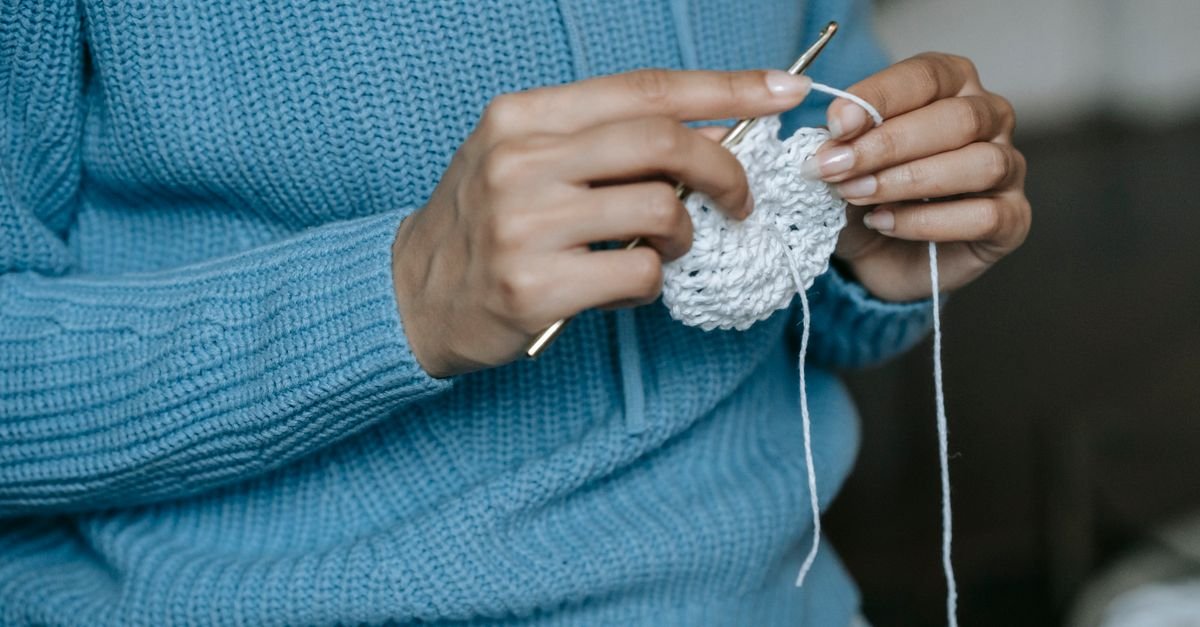
A crochet sweater pattern can seem like a big step when you’re still building confidence, but the right design makes the process much more approachable. Beginner sweaters often rely on simple panels, straightforward stitches, and gentle shaping rather than complicated techniques. That means we can focus on learning how a garment is built while still creating something useful to wear.
In this guide, I’ll walk you through the choices that matter most before you begin: construction, yarn, stitch texture, measurements, fit, color, and finishing. I’ll also share several easy design directions so you can choose a project that matches your current skills. You don’t need to know every crochet technique before starting. You do need a willingness to make a sample, read the instructions carefully, and pause when the fabric tells you it needs an adjustment.
Table of Contents
What makes a crochet sweater pattern beginner-friendly?
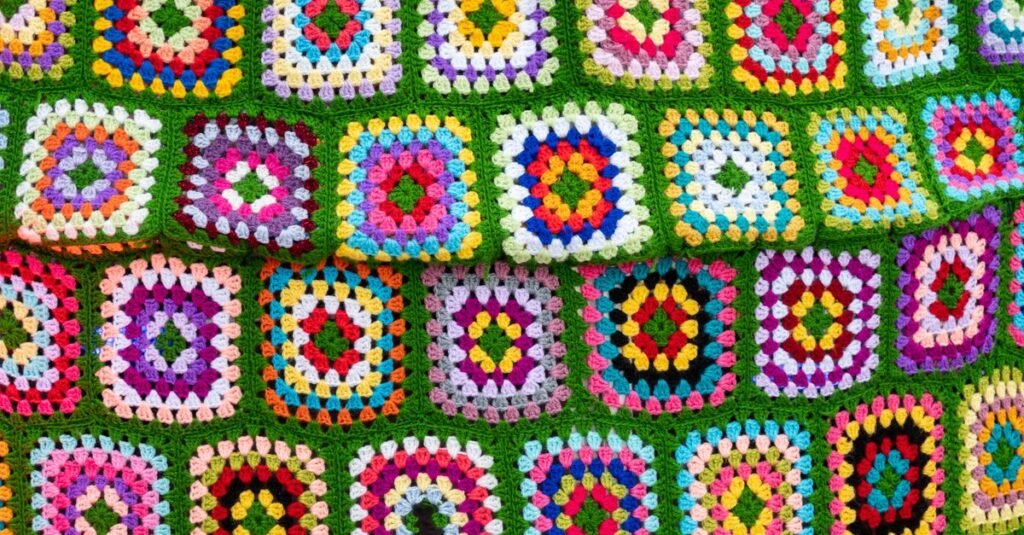
A beginner-friendly crochet sweater pattern uses a clear construction method, familiar stitches, manageable shaping, and instructions that let you check your progress as you work. The best first sweater is not necessarily the one with the fewest pages; it’s the one that explains how the pieces fit together and gives you useful checkpoints along the way.
Many easy sweaters are made from a front, a back, and sleeves. Some use two large rectangles with simple seams, while others begin at the neckline and grow downward. Both approaches can work well, but they offer different kinds of flexibility. A panel-based design makes each piece easy to see and measure. A top-down design can make it easier to adjust the body or sleeve length before finishing.
When I’m evaluating a pattern for a newer crocheter, I would look for these details:
- Clear stitch abbreviations: The pattern should explain its terms and identify whether it uses US or UK crochet terminology.
- Finished measurements: These are more useful than relying on a size name alone.
- Construction notes: You should be able to tell whether the sweater is worked in panels, rounds, sections, or separate pieces.
- Helpful checkpoints: Instructions should make it possible to check width, length, neckline, and sleeve placement before the final assembly.
- Manageable shaping: A first sweater is usually easier when increases and decreases are limited and explained clearly.
A pattern can still be beginner-friendly even if it includes one unfamiliar technique. The important thing is that the main structure remains understandable. If you’re still practicing chains, turning, and basic stitch placement, a quick review of this crochet guide for absolute beginners can help you prepare before choosing a wearable project.
Which crochet sweater construction is easiest to start with?
The easiest crochet sweater construction to start with is usually a simple panel design, especially when the front and back use the same basic shape. Separate panels let you work in rows, measure the fabric flat, and correct a piece before joining it to the rest of the sweater.
Two-panel sweaters
A two-panel sweater typically uses one front panel and one back panel, with the shoulders and sides joined after crocheting. Sleeves may be added directly to the armholes or made separately and sewn in place. This design is approachable because you can see the overall width and length without managing several shaping points at once.
The tradeoff is that a rectangle-based sweater often has a relaxed or boxy silhouette. That may be exactly the look you want, but it won’t automatically create a close fit around the waist or shoulders. If you prefer a casual pullover, simple panels can be a practical first choice.
Top-down sweaters
A top-down sweater begins near the neckline and develops toward the body. This construction can reduce sewing and gives you opportunities to check the fit before the project is complete. It may involve increases around a yoke or shoulder area, so you’ll need to keep track of where those increases belong.
The main advantage is adjustability. You can often decide whether the body or sleeves need more length as you work. The main challenge is that the early shaping can be harder to visualize if you’re new to garment construction.
Seamed sweaters
A seamed sweater is made from individual pieces that are joined with a yarn needle or crochet seam. Seaming takes patience, but it isn’t something to avoid. A neat seam can stabilize the garment and help the panels keep their intended shape. Lay the pieces on a flat surface before joining, and match the row edges carefully so one side doesn’t become longer than the other.
If you want a garment with a sporty, graphic feel, you may enjoy the construction and color-planning ideas in these crochet jersey patterns. A jersey-inspired top often uses simple shapes, contrast bands, and relaxed proportions—all useful ideas for a first sweater.
How should you choose yarn for a beginner sweater?
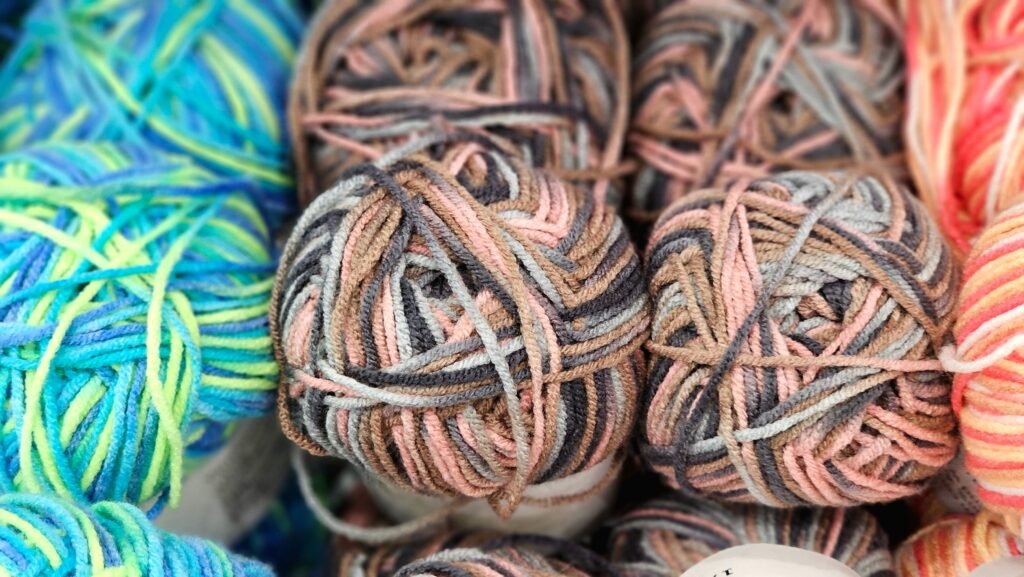
You should choose yarn for a beginner sweater by considering comfort, drape, stitch visibility, care requirements, and the fabric you want to create. Color matters, but it should come after you understand how the yarn behaves in a sample.
For learning, I recommend a smooth yarn in a color that makes the stitches easy to see. Highly textured, fuzzy, or very dark yarn can hide the top loops and make it harder to count rows. A clear fabric gives you a better chance of spotting missed stitches, uneven edges, and accidental increases before those problems spread.
Make a small swatch using the stitch from the pattern. A swatch is not just a formal step for matching measurements. It lets you ask practical questions:
- Does the fabric feel comfortable against the skin?
- Does it bend and drape, or does it feel stiff?
- Can you see the stitch structure clearly?
- Does the fabric stretch more across the row or along the row?
- Will the sweater feel too heavy when made at full size?
Use the pattern’s yarn guidance as a starting point, but don’t assume that a similar-looking yarn will behave identically. Fiber, twist, texture, and tension can all change the finished fabric. If your swatch is too firm, test a larger hook. If the fabric is too loose for the style you want, test a smaller hook. Keep notes about your sample so you can return to those choices later.
Also think about care before you begin. A sweater takes more time and yarn than a small accessory, so it’s worth knowing whether the finished fabric will suit the way you expect to wash and store it. If the pattern recommends a particular fiber or yarn, follow those instructions unless you’re comfortable recalculating the fabric and finished dimensions.
Which stitches work well in an easy crochet sweater pattern?
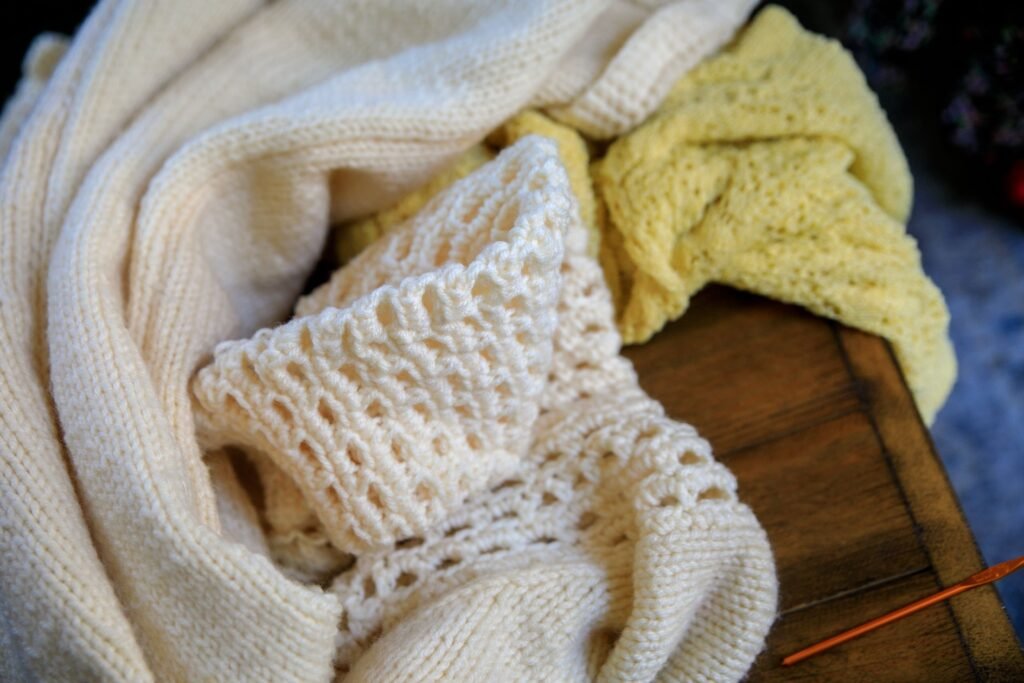
The best stitches for an easy crochet sweater pattern are stitches that you can recognize, count, and repeat consistently. Simple stitches can create a polished garment when the edges, seams, and fit are handled carefully.
Single crochet creates a compact fabric with clear stitch definition, but a full sweater made in this stitch may feel dense or firm depending on the yarn and hook. Half double crochet is a useful middle ground, giving the fabric more height while retaining a relatively structured appearance. Double crochet works more quickly and can create a lighter fabric, though the spaces between stitches may be more visible.
Texture can come from small changes rather than an elaborate stitch pattern. Consider these options:
- Back-loop stitches: Working through one loop can create horizontal ridges and a flexible ribbed look.
- Alternating stitch rows: Combining a shorter stitch with a taller stitch can create subtle stripes in texture.
- Simple post stitches: Raised stitches can frame a panel or add detail to cuffs and hems.
- Openwork rows: Spaces can make a lighter sweater, but check that the fabric still provides the coverage you want.
- Color stripes: A plain stitch can look lively when the colors change in a planned sequence.
Keep the most complicated texture away from areas that require precise shaping until you feel comfortable with the pattern. A plain body with textured cuffs may be easier to manage than a highly textured sweater with shaping in every row. If you’d like to practice a taller stitch before using it in a garment, this treble crochet guide for beginners explains the stitch sequence and common tension concerns.
How do you measure for a crochet sweater?
You measure for a crochet sweater by taking body measurements, comparing them with the pattern’s finished measurements, and deciding how much ease you want. A size label alone cannot tell you how the sweater will fit, because two patterns can use the same size name but have very different proportions.
At minimum, consider the chest or upper-body measurement, the desired body length, the sleeve length, and the neckline or shoulder width. Measure while standing naturally rather than pulling the tape tightly. Write the numbers down and compare them with the dimensions shown in the pattern.
Ease is the difference between the body measurement and the finished garment measurement. A close-fitting sweater has less extra room, while a relaxed sweater has more. The right amount depends on the style, the fabric’s stretch, and how you plan to layer the garment.
Don’t skip the finished-measurement check simply because the sweater is meant to be oversized. A very loose garment can become uncomfortable if the sleeves are too wide, the shoulders extend farther than expected, or the body has more weight than the construction can comfortably support.
As you work, check the project at natural stopping points. Lay a panel flat and measure its width before crocheting the full length. Hold the front and back together to compare the shoulder edges. If the pattern is worked in the round, try the upper section on before continuing into the body. These pauses are useful because changing the direction of the project becomes more difficult after all the finishing is done.
How can beginners adjust an easy sweater design?
Beginners can adjust an easy sweater design by changing one measurement or feature at a time and recording every change. Small, planned adjustments are much easier to manage than changing the stitch, yarn, width, and length all at once.
Adjust the body length
To make a sweater shorter or longer, continue or reduce the rows in the body section when the pattern allows it. Check the fabric against your own measurement before finishing. Remember that an edging may add extra length, so include it in your plan.
Adjust the sleeve length
Sleeves can often be changed by working more or fewer rows. Check whether the sleeve narrows toward the cuff before making the adjustment. If it does, keep the shaping sequence in the correct order and add length in the straight section where possible.
Change the neckline
A neckline is more difficult to modify than a body length because it affects the shoulder and front-panel construction. For a first sweater, choose a pattern with the neckline you already want. You can often change the appearance with a contrasting edging, but widening or deepening the opening may require careful recalculation.
Use color instead of complicated texture
If you want more visual interest without making the stitch pattern harder, add stripes or color blocks. Plan the colors on paper first, then decide whether you’ll carry unused yarn along an edge, cut it at each change, or work separate sections. Weaving in several ends takes time, so choose a method you’ll be comfortable finishing neatly.
Keep a project note with your hook, yarn, measurements, row counts, and modifications. This makes it easier to identify why a piece differs from the pattern and gives you useful information for your next garment.
What beginner sweater designs should you try?
The best beginner sweater design is one that gives you a simple shape and a clear opportunity to practice one new skill. You can start with a basic pullover and then explore more distinctive variations once the construction feels familiar.
- Classic rectangle pullover: Use simple front and back panels with joined shoulders and sides. This is a good way to practice measuring and seaming.
- Striped everyday sweater: Keep the stitch simple and let planned color changes provide the main design feature.
- Oversized drop-shoulder sweater: A relaxed shape can reduce complicated shoulder shaping, although you should still check the sleeve opening and overall width.
- Sleeveless sweater vest: Removing sleeves gives you more time to focus on the neckline, armholes, and body fit.
- Textured-cuff pullover: Work the main body in a familiar stitch, then use ribbing or a raised texture at the cuffs and hem.
- Color-blocked sweater: Divide the garment into large sections of color for a strong design without complicated motifs.
You can also use a smaller project to practice the skills you’ll need. A hat lets you work on shaping and checking fit in the round; these free crochet hat directions explain how to watch the crown, sides, and brim as the project develops. It isn’t a substitute for a sweater pattern, but the same habit of checking the fabric before continuing is valuable in any wearable.
How do you assemble and finish a crochet sweater?
You assemble and finish a crochet sweater by matching the pieces carefully, joining the seams with consistent tension, and completing the neckline, cuffs, and hem only after checking the fit. Finishing is not an afterthought; it affects how the garment hangs and feels.
Before sewing, block or gently arrange the pieces according to the yarn and pattern instructions. Match the front and back at the shoulders and side edges. Use stitch markers or removable clips to hold the pieces in place if that helps you keep the rows aligned.
When joining, avoid pulling the seam too tightly. A tight seam can draw the fabric inward and change the width of the sweater. A loose seam may leave gaps or fail to support the garment. Work a short section, inspect the right side, and adjust your tension before continuing across the entire edge.
After the body is joined, add the sleeves according to the pattern. Check that both sleeves have the same orientation and that any color changes line up as intended. If the sweater uses separate cuffs, compare them before attaching so the finished lengths match.
Edgings can refine a simple sweater. A compact neckline border can give the opening a clear shape, while a ribbed hem can add stretch and visual weight. Keep the edging comfortable. If it pulls the body inward, loosen your tension or reconsider the number of rounds.
Weave in ends on the wrong side and secure them through several directions of the fabric. Avoid placing every end in one small area, especially when using multiple colors. Once the ends are hidden, gently inspect the sweater for skipped stitches, open seams, uneven edges, or areas that need light reshaping.
How can you make your first crochet sweater confidently?
You can make your first crochet sweater confidently by treating the project as a series of small decisions rather than one enormous task. Read the entire pattern first, gather the supplies, make the recommended sample, and identify the points where you’ll stop to measure.
Choose a design with a construction you understand, even if another pattern looks more exciting at first glance. Confidence grows when you can explain what you’re doing: this panel creates the front, this section forms the shoulder, this edge becomes the cuff, and this seam joins the garment. Once that structure makes sense, decorative choices become much less intimidating.
Expect to make adjustments. Crochet tension is personal, and a pattern’s instructions cannot predict every crocheter’s hand. If your piece is too wide, too narrow, too stiff, or too short, pause before continuing. Compare the fabric with your notes and decide whether changing the hook, stitch, or number of rows will solve the problem.
Most importantly, don’t wait for perfect confidence before you begin. Start with a manageable crochet sweater pattern, keep your measurements nearby, and let each section teach you something about garment making. Your next step could be choosing a simple panel design, making a fabric swatch, or sketching a stripe plan. Once you have that first decision made, the sweater becomes a sequence of approachable steps rather than a mystery.