
Simple Crochet Hat Free Pattern: Easy Beginner Design
Learn a simple crochet hat free pattern with clear beginner steps, yarn tips, sizing guidance, shaping help, and easy finishing ideas.
A simple crochet hat free pattern is a wonderful place to begin if you want to make something useful while practicing the foundations of crochet. A hat introduces working in rounds, counting stitches, shaping a crown, checking fit, and finishing an edge without requiring a huge time commitment.
This beginner design is intentionally flexible. Instead of relying on unverified stitch counts, I’ll show you how to build the hat by measuring the fabric as you work. That makes the project easier to adapt for different heads, yarns, tensions, and styles. We’ll focus on clear steps, practical checkpoints, and small choices that help the finished hat feel like your own.
Table of Contents
Why choose this simple crochet hat free pattern?
This simple crochet hat free pattern is approachable because it uses a straightforward top-down construction and lets you check the size throughout the project.
A top-down hat begins at the crown and grows outward. You work increases to create a flat or gently rounded top, then continue without increases to form the sides. When the body reaches the length you want, you add a simple brim or finishing edge. This construction is useful for beginners because each stage has a clear purpose.
You’ll practice several skills along the way:
- making a starting loop and working into the first round;
- joining rounds or continuing in a spiral, depending on your chosen method;
- placing increases evenly;
- counting stitches and checking the shape;
- working the hat body to a comfortable depth;
- finishing the edge neatly.
The pattern is also easy to personalize. You can use one stitch throughout, add a contrasting brim, change colors between sections, or introduce a textured band after the main hat is complete. I recommend keeping the first version simple so you can concentrate on the shape and fit.
If you are collecting beginner-friendly projects, you may also enjoy browsing these free crochet hat patterns for beginners. They can give you ideas for changing the silhouette once you understand the basic construction.
What materials do you need for this beginner hat?
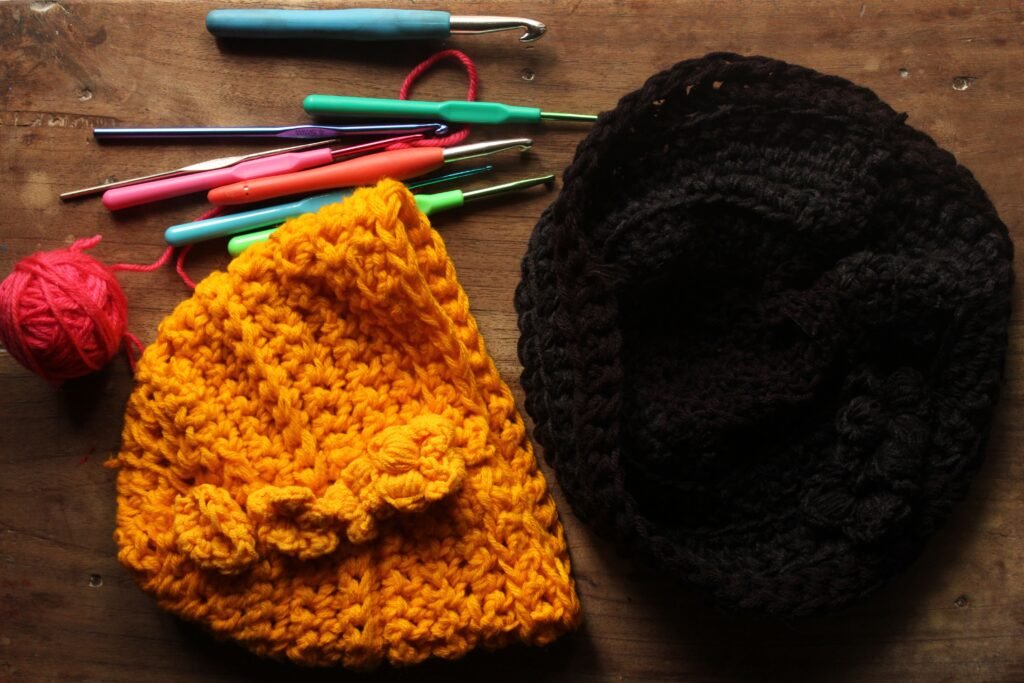
You need yarn suitable for the pattern, a crochet hook that works with that yarn, scissors, a yarn needle, a measuring tape, and a stitch marker for this beginner hat.
Because no two crocheters hold yarn in exactly the same way, I recommend following the yarn label and any information supplied with your chosen pattern or yarn. The thickness of the yarn and the hook size work together to create the fabric, so avoid choosing a hook based only on the appearance of someone else’s finished hat.
For a first attempt, a smooth yarn in a light or medium shade can make the stitches easier to see. Very dark, fuzzy, or highly textured yarn may be attractive, but it can make the beginning rounds harder to inspect. A clear stitch structure gives you more confidence while you learn where to place the hook.
You may also want a row counter or a small notebook. Write down the yarn, hook, number of completed rounds, and any changes you make. If you put the hat away halfway through, those notes will make it easier to continue without guessing.
Before starting, make a small sample of the stitch you plan to use. It does not need to become a formal gauge swatch unless your pattern provides gauge instructions, but it will show whether the fabric feels firm, flexible, loose, or difficult to work. If the fabric feels uncomfortable, adjust your tools or tension before beginning the hat.
How do you start the crown?
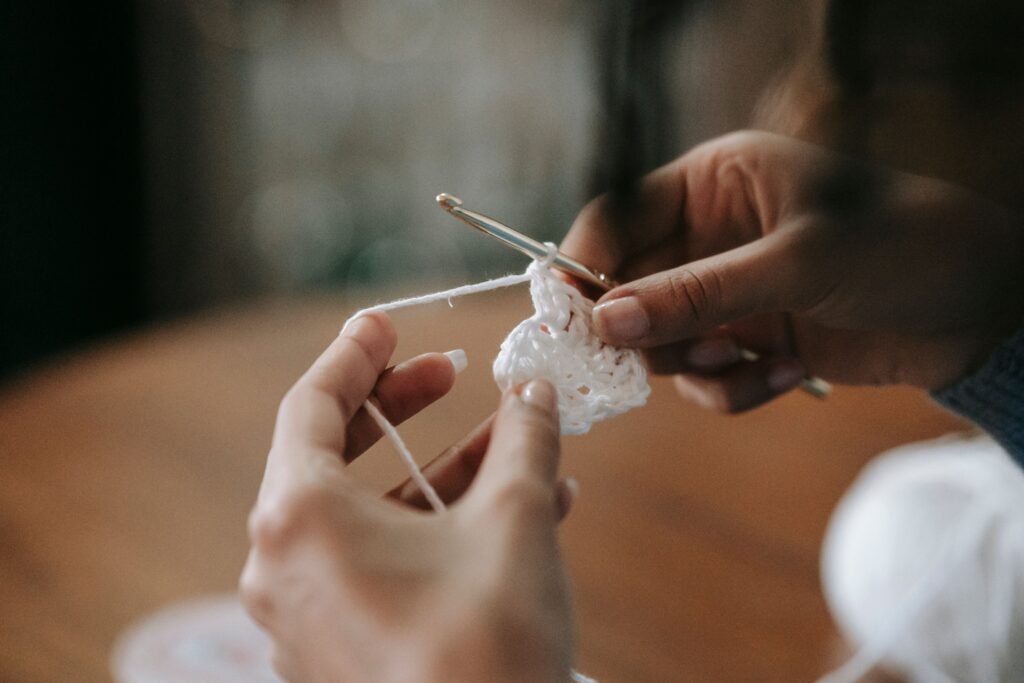
You start the crown by making a small center ring and working a first round of stitches into that ring.
There are several ways to begin a crochet circle. You can use a magic ring, or you can make a short chain and join it into a ring. Choose the method you already understand. The magic ring can create a neat center that closes more tightly, while a chain ring gives you a visible starting opening that can be useful when learning.
Work the first round into the center opening according to the stitch pattern you have chosen. Keep the stitches relaxed enough for your hook to enter easily. It is tempting to pull the center tightly after every stitch, but that can make the next round harder to work.
At the end of the round, decide how you want to continue. You can join with a slip stitch and begin each new round clearly, or you can work continuously in a spiral. Joined rounds make the round boundaries easy to identify. Spiral rounds can reduce a visible seam, but you’ll need to mark the first stitch and keep track of where each round begins.
Place a stitch marker in the first stitch of the round if you are working continuously. If you are joining rounds, mark the round beginning whenever you feel unsure. Markers are not only for advanced patterns; they are simple visual reminders that make counting much easier.
As the crown grows, lay it flat occasionally. A hat crown should usually form a smooth circle or a gentle dome. If the fabric cups sharply, it may need more increases. If the edge ripples, it may have too many increases or your tension may be looser than expected. Check the shape early instead of waiting until the hat is nearly finished.
How do you shape the crown without guessing?
You shape the crown by repeating the increase pattern evenly until the circle reaches the width needed for the person who will wear the hat.
An increase means working more than one stitch into a designated stitch or space. The exact increase placement depends on the stitch and pattern, so follow the instructions for your chosen stitch. The important beginner habit is to distribute increases consistently rather than placing them randomly whenever the edge feels tight.
After each increase round, count your stitches if the pattern gives a count. If your project is an adaptable design without fixed counts, compare the crown with the wearer’s head and with the fabric’s developing shape. Keep notes about where you placed increases so the next round is easier to follow.
Try not to judge the crown by diameter alone. The fabric needs to sit comfortably without creating a hard ridge or an overly loose top. If the crown is too small, the sides may pull inward when you stop increasing. If it is too large, the hat may look floppy or develop waves around the edge.
Your tension can change during the first rounds, especially when you are concentrating on the instructions. That is normal. Pause, relax your hand, and check whether the newest round looks similar to the previous one. A consistent loop height often helps the crown lie more evenly.
Do not be afraid to undo a round when the shape is clearly wrong. Finding the problem near the crown is much easier than trying to disguise it after several inches of fabric. I find that treating unraveling as part of the design process makes fitting a handmade hat far less stressful.
When should you stop increasing and work the hat body?
You should stop increasing when the crown has the width and shape needed for the intended fit, then continue working the sides without adding extra stitches.
This is the most useful fitting checkpoint in the pattern. Place the crown flat and inspect the edge. It should be smooth enough to transition into the sides without obvious ruffles or a tight, cupped shape. If you can safely compare it with the wearer’s head, do so without stretching the fabric aggressively.
Once the crown looks right, repeat the main stitch around the hat without increases. The sides will begin to grow downward. Keep checking the stitch count or the position of your marker because accidentally adding an extra stitch can make the hat widen as you work.
Measure the hat from the center of the crown toward the lower edge. The amount of depth needed depends on the wearer, the desired fit, and whether you want a close-fitting beanie, a folded brim, or a slouchier shape. Rather than relying on a universal number, compare the work with the person or garment you are making it for.
For a close-fitting hat, you may want the lower edge to sit around the forehead and ears. For a relaxed style, you can continue the body farther before adding the brim. If you plan to fold the brim upward, leave enough length for that fold and check that it does not make the hat feel tight.
Texture can change the way the hat fits. A dense stitch may create a warmer, firmer fabric, while an open stitch may stretch or drape differently. If you want to explore stitch options before committing, this guide to interesting crochet stitches can help you think about texture and stitch placement. For the first hat, though, a familiar stitch will make shaping easier to see.
How do you make a simple crochet hat brim?
You make a simple crochet hat brim by working several even rounds around the lower edge, choosing a finish that gives the hat the amount of stretch and structure you want.
The easiest brim is made with the same stitch as the body. This creates a clean, uninterrupted edge and keeps the project focused on basic skills. You can also switch to a shorter stitch for a denser border or use a loop-placement technique that creates visible ridges.
Before beginning the brim, try the hat on or compare it with the intended measurements. A brim that is too narrow may not stay in place, while a brim that is too tight can pull the lower edge inward. Keep your tension relaxed, particularly when working the final rounds.
A ribbed-looking brim can be created by working stitches through a particular loop, but check the instructions for the stitch method you choose. The fabric may behave differently from the main body, so it is wise to practice the edging on a small sample first.
You can add a contrasting color at the brim for a simple design change. Fasten off the main color neatly, join the new color according to your preferred method, and keep the color change at the back of the hat if you want it to be less noticeable. If you prefer a subtle effect, use a shade that is close to the main color.
Finish the last round with care. A loose edge can look unfinished, but an overly tight final round can make the hat uncomfortable. Lay the hat flat, inspect the border, and gently reshape it with your hands before weaving in the end.
How can you customize this easy beginner design?
You can customize this easy beginner design by changing the stitch texture, color arrangement, brim style, and overall depth while keeping the basic crown-and-body construction.
Try a color change
Color changes are an easy way to create stripes without altering the construction. You might use one shade for the crown and body, then add a contrasting edge. You could also alternate colors every few rounds. Write down the sequence if you want both sides of a set to match.
Add a textured band
A textured band can be placed near the lower edge after the main body is complete. Choose a stitch repeat that does not pull the fabric too tightly, and test it before working around the entire hat. A small raised detail can give a plain hat plenty of character.
Adjust the silhouette
For a shorter beanie, stop the body earlier. For a slouchier hat, add more even rounds before the brim. If you want a folded edge, make the brim deep enough to fold comfortably without stretching the hat out of shape.
Use a decorative edge
A scalloped or subtly textured edge can change the look of the hat, but keep the final round comfortable against the skin. Decorative stitches are best added after you understand how the plain version fits.
Small projects are a good place to practice these changes. If you want ideas for using different yarns and stitch details on compact makes, explore these small crochet projects before planning your next variation.
What beginner mistakes should you avoid?
You can avoid the most common beginner mistakes by checking the round beginning, counting consistently, watching the crown shape, and measuring before finishing the hat.
- Losing the first stitch: Mark it at the beginning of each round, especially when working in a spiral.
- Adding accidental increases: Check that you are working the stated number of stitches into each stitch or space.
- Making the crown too tight: A sharply cupped crown usually needs a closer look before you continue.
- Ignoring ripples: Waves around the edge may indicate too many increases or uneven tension.
- Skipping fit checks: Try the hat on or measure it before weaving in the final end.
- Pulling the brim tightly: Keep the final rounds comfortable and flexible.
- Changing materials without testing: A different yarn or hook can alter the size and fabric.
If you are using fine thread or a very small yarn, the stitch details may be harder to see. A guide to size 10 crochet thread offers useful reminders about lighting, tension, hook choice, and careful counting. Those habits apply even when your hat uses a thicker material.
If the hat does not fit, don’t immediately assume the whole project is unusable. Look at whether the crown is too wide, the body is too shallow, or the brim is pulling inward. Identifying the specific problem helps you adjust the next version without changing everything at once.
How should you finish and care for the crochet hat?
You should finish the crochet hat by securing the last loop, weaving in the yarn ends, shaping the fabric gently, and following the care guidance for your chosen yarn.
Use a yarn needle to weave each end through several nearby stitches on the wrong side. Work in more than one direction when the construction allows, but avoid pulling so tightly that the fabric gathers. Trim the excess only after the end feels secure.
Inspect the hat from the outside. Check the crown, side seam or round joins, brim, color changes, and any decorative edge. If a loose loop is visible, correct it before washing or wearing the hat.
Blocking may help the hat settle into a smoother shape, but the appropriate method depends on the yarn and the pattern. Follow the yarn label rather than assuming that every handmade hat should be washed or stretched in the same way. When you are unsure, test the care method on a small sample.
Store the finished hat so it is not crushed under heavy items. If it has a folded brim or decorative edge, reshape it gently after wearing. Careful handling helps the stitches keep their intended form.
If you enjoy making useful accessories, you can also compare the planning involved in a hat with a wearable project such as a pattern sweater. A sweater requires more measuring and construction decisions, but the same habits apply: swatch, track your progress, check the fit, and finish patiently.
What should you try next?
Your next step is to choose a smooth yarn, prepare your hook and markers, and work the crown slowly enough to check its shape before building the sides.
Keep the first version simple. Focus on an even tension, a clearly marked round beginning, and a comfortable fit. Once the basic hat works, you can experiment with stripes, textured bands, folded brims, decorative edges, or a more adventurous stitch pattern.
A handmade hat does not need complicated shaping to feel special. The yarn color, the rhythm of the stitches, and the care you put into the finishing all contribute to the final design. Make notes about what worked, what you would change, and how the hat fits. Those notes will make your next version easier and more personal.
Start with the crown, check the shape, measure the body, finish the brim, and enjoy seeing a useful accessory grow from a single strand of yarn.