
Ribbed Beanie Crochet Pattern: Easy Beginner Design
Make a cozy ribbed beanie with this beginner-friendly crochet guide covering construction, sizing, ribbing, yarn choices, finishing, and helpful tips.

A ribbed beanie crochet pattern is a wonderful first wearable project because it lets us practice consistent stitches, simple shaping, and tidy finishing without juggling a complicated chart. This easy beginner design is built around a straightforward crocheted rectangle that is joined and gathered into a hat, so you can focus on the feel of the fabric and the fit as you work.
I especially like this style of beanie because the ribbing gives the finished hat plenty of visual character while the construction stays approachable. You can make the brim snug, leave the body relaxed, add a folded edge, or personalize the top with a pom-pom or a simple gathered finish. The key is to treat the pattern as a flexible framework and measure your work rather than relying only on a preset size.
Table of Contents
Why this ribbed beanie crochet pattern suits beginners

This ribbed beanie crochet pattern suits beginners because it uses a simple row repeat, a basic rectangle, and minimal shaping. Instead of beginning with a small circle and increasing around it, you work back and forth until the fabric wraps comfortably around the intended head size.
That construction has a few advantages. The rows are easy to inspect, the ribbing becomes visible as you work, and you can adjust the width before joining the hat. If your tension changes slightly, measuring the rectangle gives you an opportunity to correct the fit before you finish the project.
The design also gives us useful practice with working through one loop of a stitch. Working through the back loop is a common way to create horizontal ridges in crochet fabric, but always follow the terminology used in your pattern or tutorial. The exact look can change depending on the stitch chosen, the yarn, and the direction of the rows.
You do not need to make the project complicated to make it personal. A plain beanie in one color can look wonderfully clean, while stripes, a contrasting brim, or a folded cuff can give the same basic construction a completely different mood. If you want more small projects to build confidence before trying a hat, explore these small crochet projects for additional inspiration.
What materials should you prepare?
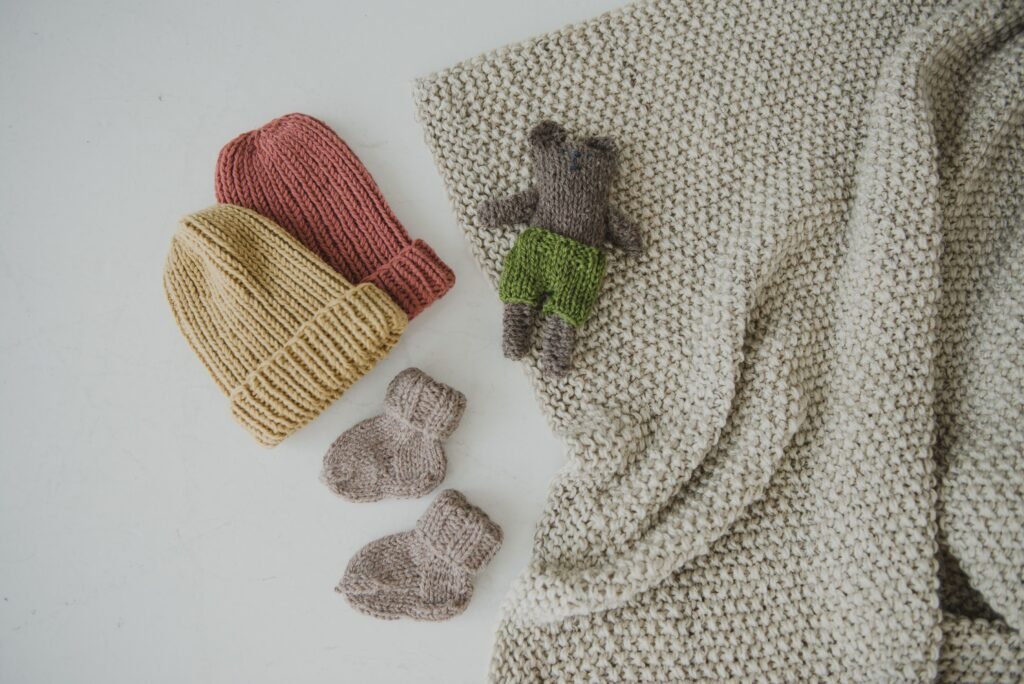
You should prepare a yarn suitable for a comfortable hat, the hook recommended by your yarn label or chosen pattern, a yarn needle, scissors, measuring tape, and a stitch marker if you find it helpful. Because this design is based on measurement, you do not need to rely on an unverified fixed amount of yarn or a single hook size.
- Yarn: Choose a smooth yarn that makes the stitches easy to see while you learn. A yarn with some softness and flexibility is generally more comfortable for a wearable hat, but check the label and project instructions before substituting.
- Crochet hook: Start with the hook recommended for your yarn or pattern. Your tension may require an adjustment, so make a small sample before beginning the full rectangle.
- Measuring tape: Use it to compare the fabric with the intended head measurement and desired hat length.
- Yarn needle: You will need it for joining the short edges and closing the crown.
- Scissors: Keep a sharp pair nearby for cleanly cutting the working yarn and finishing tails.
- Optional stitch marker: A marker can identify the right side, the first stitch of a row, or the point where you pause.
Color choice matters more than many new crocheters expect. A light or medium shade can make the ribbing easier to see, while a very dark shade may hide the ridges until you become familiar with the stitch movement. If you want to use a textured or fuzzy yarn, make a practice swatch first so you can check whether the ribbing remains clear.
For a more delicate project later, you can compare your yarn choices with this guide to mercerized cotton crochet thread. Fine thread can create lovely detail, but it is usually a very different experience from making a warm, stretchy beanie.
How do you measure a beginner beanie?
You measure a beginner beanie by checking both the circumference and the height, then allowing the fabric to fit comfortably rather than copying a number without considering stretch.
Start by measuring the head the hat is intended to fit. Place the tape around the fullest part of the head, keeping it comfortably snug without pulling it tight. Then decide how you want the finished beanie to sit. A close-fitting hat needs a different feel from a slouchier design, and the yarn’s stretch and the ribbing’s flexibility also influence the result.
For a rectangle-based beanie, the row length generally determines the hat’s height, while the number of rows determines how far the fabric wraps around the head. This makes the construction easy to understand:
- The short edge becomes the top-to-bottom height of the hat.
- The long edge wraps around the head.
- The joined side seam runs vertically from the brim toward the crown.
- One open edge is gathered to close the top.
Measure the rectangle as it rests naturally. Do not stretch the ribbing aggressively while deciding whether it is large enough. A fabric that only reaches the measurement when pulled tightly may create an uncomfortable hat. On the other hand, a very loose rectangle may produce a beanie that slips instead of hugging the head.
Height is just as important as circumference. Hold the rectangle against the head or compare it with a beanie that fits well. Leave room for the brim style you want, especially if you plan to fold the lower edge upward. It is much easier to add rows before joining than to change the hat after the crown has been gathered.
How do you crochet the ribbed beanie rectangle?
You crochet the ribbed beanie rectangle by making a foundation chain for the desired hat height, working repeated rows of your chosen ribbing stitch, and checking the dimensions as the fabric grows.
Begin with a foundation chain that represents the vertical height of the hat. The pattern you are following should tell you the appropriate starting length and whether the turning chain counts as a stitch. Since yarn thickness, hook size, and tension vary, use the written pattern’s instructions as your starting point and then measure the fabric against the person who will wear it.
Work the first row in the indicated stitch. After turning, continue the ribbing by working into the specified loop of each stitch across the row. Many ribbed designs use the back loop only, but the exact stitch can vary. Follow the pattern’s abbreviation key and look closely at where the hook enters.
At the end of each row, pay special attention to the final stitch. Ribbing can make the edge look narrower than the center, and it is easy to miss the last loop. Count the stitches regularly and keep the side edges as even as possible. If the row count changes unexpectedly, the rectangle may become wider or narrower as it grows.
After several rows, pause and inspect the texture. You should see the ridges running across the fabric. If the ribbing appears uneven, check whether you are entering the same part of each stitch and whether your loop height changes when you turn. A relaxed grip usually makes the repeated movement easier.
Continue until the rectangle reaches the required wraparound measurement. The exact number of rows will depend on your yarn, hook, tension, and desired fit, so measure rather than assuming every version needs the same count. This is one of the reasons a rectangle-based beanie is friendly for beginners: you can make an informed adjustment while the project is still flat.
How do you join the hat and close the crown?
You join the hat by bringing the short edges together, securing the side seam, and gathering one open edge to form the crown.
Before sewing, lay the rectangle flat and decide which side should face outward. Match the rows along the short edges carefully. You can use the joining method described by your pattern, such as a slip-stitch seam, single crochet seam, or sewn seam. Each method creates a slightly different ridge, so choose the one that suits the look you want and the instructions you are following.
Keep the seam relaxed while joining. Pulling too firmly can make the hat twist or create a stiff vertical line. Check the alignment after a few stitches and make sure the brim edge remains straight. If the ribbing is directional, take a moment to identify the outside before completing the seam.
Once the side seam is secure, fasten off according to the pattern and prepare the crown edge for gathering. A yarn needle and a long yarn tail can be used to run through the stitches around the open top. Work evenly around the edge rather than placing all the tension in one small area.
Gently pull the tail to draw the crown closed. Stop and arrange the gathers so they are distributed around the top. If you pull sharply, the fabric can bunch unevenly or the yarn may strain. Secure the opening with several careful passes, then weave in the end on the inside of the hat.
The crown does not have to look perfectly flat from the inside. What matters is that the opening is secure and the outside has a comfortable shape. If you are adding a pom-pom, make sure it is attached firmly and consider how the hat will be washed and stored.
How can you improve the fit and ribbing?
You can improve the fit and ribbing by controlling tension, measuring the rectangle frequently, and adjusting one feature at a time.
Ribbing often benefits from a steady, relaxed rhythm. If you pull every stitch tightly, the hook may become difficult to insert and the fabric may lose the flexibility you want in a hat. If your stitches are very loose, the ridges may look less defined and the finished fabric may not hold its shape as expected.
Try holding the work close to the active stitch without pinching it. Keep the yarn hand comfortable and let the hook move through the loop rather than forcing it. If your hands feel tired, take a break. Fatigue can gradually change your tension and make the rows less consistent.
When the hat seems too narrow, first check whether the fabric is being measured while stretched or relaxed. If the circumference is still not suitable, add rows to the rectangle before joining. When the hat seems too tall, remove rows or adjust the foundation chain for the next attempt, depending on where the problem occurs.
If the fabric is too stiff, review your grip, hook choice, and yarn substitution. If it is too loose, check your tension and the pattern’s recommended materials. Change one variable at a time so you can understand the effect. A notebook can be useful here; record the yarn, hook, measurements, and any changes you make.
For more stitch inspiration, browse these interesting crochet stitches. Ribbing is only one way to create texture, and you may find a related stitch that works well for a cuff, hat band, or decorative panel. Just remember that a stitch substitution can change the fabric’s stretch and dimensions, so swatch before using it in a fitted hat.
What beginner mistakes should you avoid?
You can avoid the most common beginner mistakes by reading the pattern first, counting the row edges, measuring the fabric, and correcting errors before joining the hat.
- Skipping the test swatch: A small sample helps you see whether the yarn and hook create ribbing with the stretch and density you need.
- Choosing a size from the label alone: Finished measurements and the intended wearer’s head measurement are more useful than a general small, medium, or large label.
- Missing the final stitch: The edges of ribbed rows can be easy to overlook, so count regularly.
- Working into the wrong loop: One misplaced stitch can interrupt the direction of the ridges.
- Joining before checking the fit: Wrap the rectangle around the intended head before sewing the seam.
- Pulling the crown too tightly: Gather the top gradually and distribute the fullness around the opening.
- Leaving loose ends unsecured: Weave in the tails carefully on the inside before wearing or washing the hat.
If you discover a mistake several rows back, do not automatically unravel the entire project. Compare the fabric with the pattern and decide whether the error affects the fit, appearance, or structural security. For a visible ridge, correcting the mistake may be worthwhile. For a tiny irregularity that will sit inside the seam, you may decide to continue.
When you do unravel, take note of where the hook enters and identify the last correct row. Ribbing can look unfamiliar from the wrong side, so use the texture and stitch tops together rather than relying on one view alone.
How can you personalize this easy beanie design?
You can personalize this easy beanie design with color changes, brim choices, texture placement, crown details, and small finishing touches.
A folded brim gives the lower edge a more substantial appearance and can add extra warmth, but remember to include the fold when planning the hat’s height. A simple single-layer brim creates a lighter profile. You can also use a contrasting color for the brim, although changing yarn may alter the thickness or stretch.
Stripes are easiest to plan when you decide their order before beginning. Write down the color sequence and note where each change occurs. If you want the seam to look discreet, consider placing it at the back and carrying out the color changes neatly according to the pattern instructions.
A pom-pom is an obvious finishing choice, but it is not the only one. You could add a small crocheted flower, a contrasting gathered top, a simple surface detail, or a neat band around the lower edge. Keep the decoration comfortable and secure, especially if the hat is intended for frequent wear.
If you are ready to explore another beginner-friendly wearable, take a look at these free crochet hat patterns for beginners. Comparing different constructions can help you notice how top-down hats, flat-panel hats, and brim-first designs handle shaping and fit.
You can also use the ribbed rectangle idea as a starting point for other accessories. Adjust the height and circumference thoughtfully and you may be able to create a headband, ear warmer, cowl, or sleeve-like accessory. Treat each new idea as a separate swatch and check the finished measurements rather than assuming the same row count will transfer directly.
What should you do after finishing the hat?
After finishing the hat, you should inspect the seam and crown, weave in every end securely, gently shape the beanie, and follow the yarn label’s care instructions.
Lay the hat flat and look at the ribbing from the outside. Check whether the side seam pulls, whether the crown gathers evenly, and whether the brim sits straight. Try it on before trimming the final tails if you need to make a small adjustment.
Carefully weave in the ends on the inside, following the direction of the fabric where possible. Avoid pulling the tails so tightly that they create puckers. Trim them only when they feel secure. If the hat will be washed, remember that movement and moisture can expose a loosely woven end.
Do not assume that every yarn should be washed or blocked in the same way. Read the yarn label and the pattern’s finishing guidance. If you want to reshape the hat, use a gentle method appropriate for the fiber and test your approach on a swatch when possible.
Once the hat is complete, write down what you used: the yarn, hook, measurements, row count, color changes, and any fit adjustments. Those notes will make your next version much easier, especially if you want to make a matching hat or repeat a favorite combination.
If you enjoy wearable crochet and want to move beyond hats, you can explore free crochet sweater pattern designs for ideas about measuring, ease, construction, and finishing. A beanie is a much smaller commitment, but the same habits—swatching, checking measurements, and keeping notes—will serve you well in larger projects.
Your next step is simple: choose a comfortable yarn, make a small ribbing sample, and measure as you go. This beginner beanie does not need to be rushed. Let the ridges develop row by row, adjust the rectangle to suit the wearer, and finish the crown patiently. Once you understand this construction, you’ll have a reliable foundation for experimenting with color, texture, and plenty of other handmade accessories.