
How to Do a Decrease Stitch in Crochet: Easy Guide
Learn how to do a decrease stitch in crochet with clear steps for single, half double, and double crochet decreases, plus shaping tips and fixes.
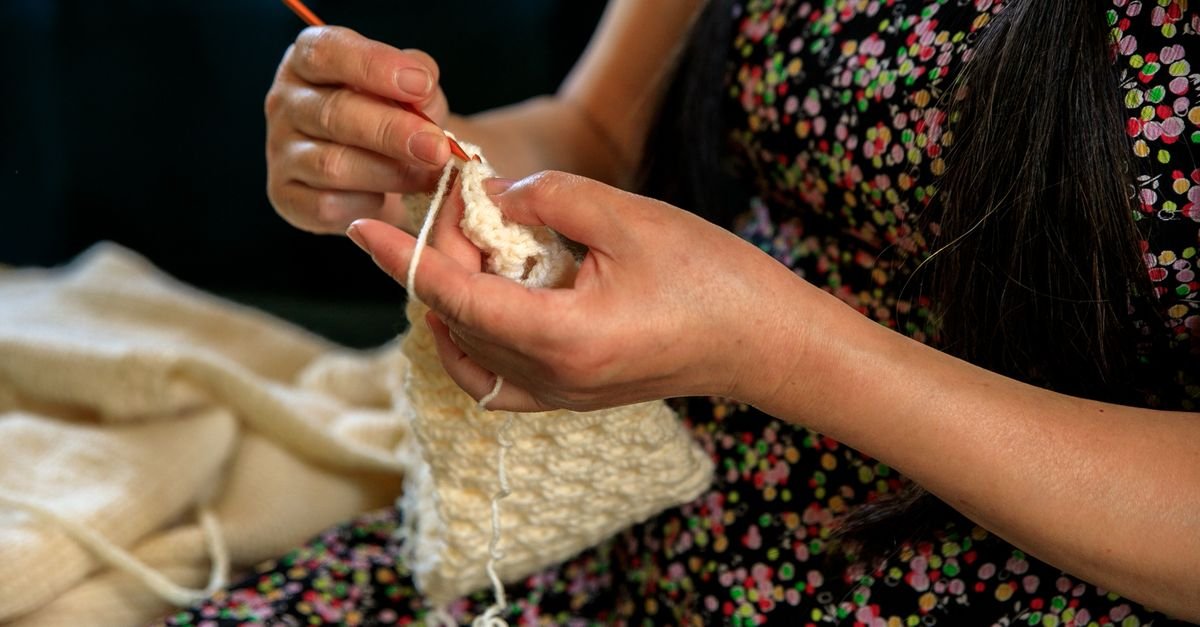
Learning how to do a decrease stitch in crochet gives you much more control over the shape of your projects. A decrease joins two neighboring stitches so they become one stitch, allowing your work to narrow gradually. You’ll find decreases in hats, amigurumi, sleeves, socks, baskets, bags, and shaped blankets.
At first, decreases can feel a little fiddly because you’re working part of one stitch and part of the next before finishing them together. Once you understand that rhythm, though, the technique becomes much easier to recognize in a pattern. I’ll walk you through the most common crochet decreases, explain where to place them, and share practical ways to keep your edges and stitch counts neat.
Table of Contents
What is a decrease stitch in crochet?
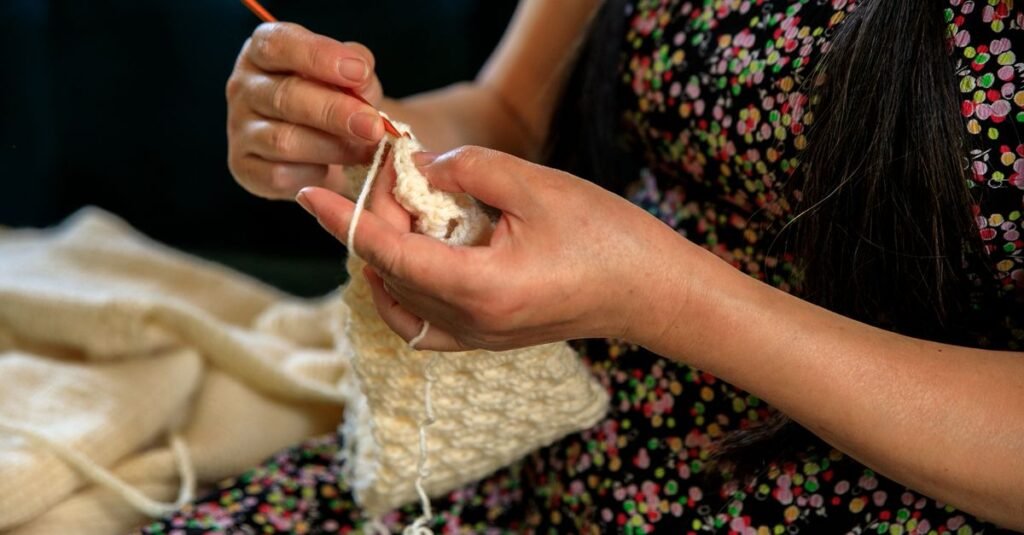
A decrease stitch in crochet combines two stitches into one, reducing the total number of stitches in a row or round.
In a regular stitch, you usually complete one stitch before moving to the next. In a decrease, you begin one stitch, leave it unfinished, begin the following stitch, and then complete both together. The unfinished stitches share one final pull-through, which creates one stitch at the top.
Patterns may describe this technique in several ways. You might see “decrease,” “dec,” “sc2tog,” “hdc2tog,” or “dc2tog.” The abbreviation usually tells you which stitch is being decreased and that “2tog” means “two together.” Always check the pattern’s abbreviation key, particularly if you’re working with a designer whose terminology is unfamiliar. This crochet abbreviations guide can also be a useful reference while you learn.
Decreases can be placed at the ends of rows, at both sides of a project, around the top of a hat, or at specific points in a motif. Their position matters just as much as the technique. A decrease at one edge creates a different shape from decreases evenly spaced across a round.
How to do a decrease stitch in crochet step by step
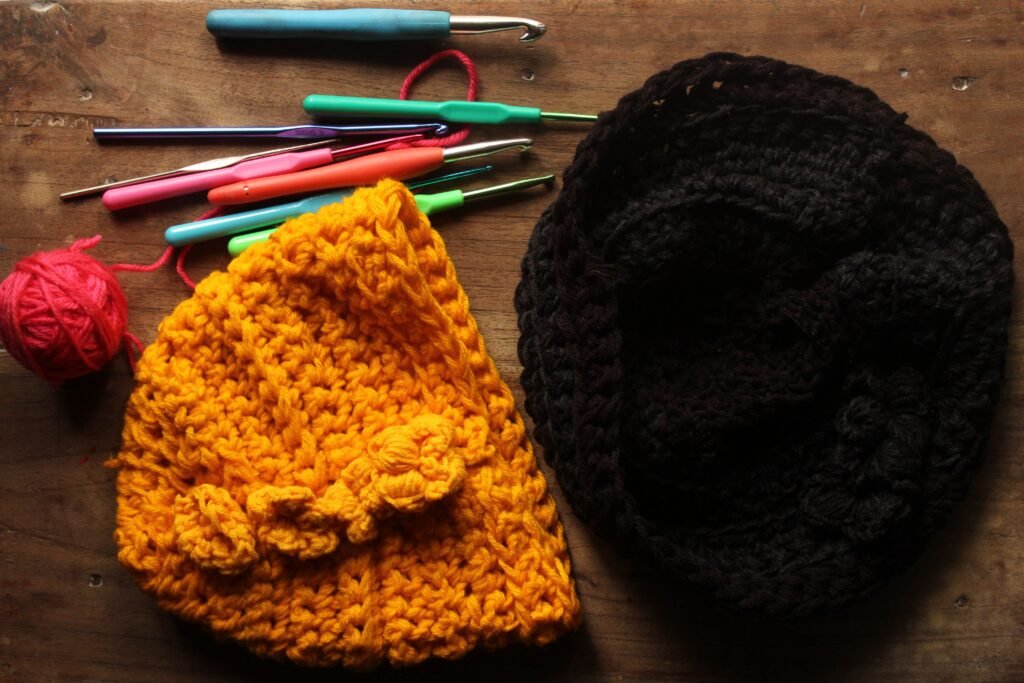
To do a basic crochet decrease, insert your hook into the first stitch, begin that stitch without completing it, begin the next stitch, and finish both stitches together.
- Insert your hook into the stitch indicated by the pattern.
- Make the first part of the stitch, but stop before its final pull-through.
- Insert your hook into the next stitch.
- Begin the same type of stitch in that second stitch, again leaving it unfinished.
- Complete the decrease by pulling the yarn through all the loops required by that stitch.
The exact number of loops on your hook will depend on the stitch you’re making. The important idea is consistent: start two stitches, keep them unfinished, then use one final movement to turn them into one completed stitch.
Before you begin, identify the two stitches that belong to the decrease. In a busy texture, it’s easy to accidentally skip a stitch or work into the wrong space. I like to pause, locate both stitch tops, and only then insert the hook. That small moment of preparation can prevent a surprisingly frustrating unravel.
After completing the decrease, look at the top of the new stitch. It should have one clear stitch top, just like the other stitches in the row or round. If you can’t find that top, the decrease may not have been completed correctly or the surrounding stitches may be difficult to see because of the yarn texture.
How do you make common crochet decreases?
You make common crochet decreases by working two single, half double, or double crochet stitches together using the same unfinished-stitch principle.
Single crochet decrease: sc2tog
For a single crochet decrease, insert your hook into the first stitch and pull up a loop. Insert your hook into the next stitch and pull up another loop. You should now have three loops on your hook. Yarn over and pull through all three loops.
This is often written as “sc2tog,” meaning single crochet two together. The finished decrease counts as one single crochet, not two. That distinction is important when checking your stitch count at the end of a row or round.
Half double crochet decrease: hdc2tog
For a half double crochet decrease, yarn over before inserting your hook into the first stitch. Pull up a loop, then yarn over and insert your hook into the next stitch. Pull up another loop. Yarn over once more and pull through all the loops on your hook.
Half double crochet decreases can feel different from single crochet decreases because the initial yarn over adds another loop to the movement. Keep the loops at a similar height so the finished decrease doesn’t pull tighter than the surrounding stitches.
Double crochet decrease: dc2tog
To make a double crochet decrease, yarn over and insert your hook into the first stitch. Pull up a loop, yarn over, and pull through two loops, leaving the double crochet unfinished. Yarn over again and insert your hook into the next stitch. Pull up a loop, yarn over, and pull through two loops. You’ll have the unfinished portions of both stitches on your hook. Yarn over and pull through all remaining loops.
Patterns sometimes use “dc2tog” for this decrease. As with the other versions, two started double crochets become one completed stitch.
If you’re practicing several stitch heights, a guide to interesting crochet stitches can give you ideas for swatches where you compare texture, stitch placement, and shaping. I recommend learning the decrease in a plain swatch first, then trying it inside a more decorative stitch pattern.
Where should you place crochet decreases?
You should place crochet decreases exactly where the pattern indicates, because their position determines how the fabric narrows and whether the shaping looks symmetrical.
For shaping at the edge of a flat piece, a pattern may tell you to decrease near the beginning and end of a row. This creates a gradual slope. When you decrease on both sides, try to mirror the placement so one edge doesn’t angle more sharply than the other.
For shaping in the middle of a row, decreases can create darts, points, necklines, or decorative lines. Count the stitches between the decreases carefully. If the pattern spaces them evenly, keep that spacing consistent from one row or round to the next.
In joined rounds, the beginning of the round can be easy to lose. Use a stitch marker if the pattern allows it, and check whether the turning chain counts as a stitch. In continuous rounds, mark the first stitch and move the marker as you work. This is especially helpful for amigurumi and rounded shapes, where a misplaced decrease can make the fabric twist.
When a pattern says to decrease across a section, read the whole instruction before starting. Some instructions mean you should work a decrease every few stitches, while others tell you to repeat a decrease sequence. Don’t guess from the finished shape alone; follow the written repeat and count the completed stitches.
How can you make a neat and nearly invisible decrease?
You can make a neat decrease by keeping your tension even, choosing the correct insertion points, and avoiding a tight final pull-through.
For amigurumi and other projects worked in single crochet, many crocheters use an invisible decrease. Instead of inserting the hook under both loops of the first stitch, insert it under the front loop only of the first stitch and then the front loop only of the next stitch. Pull up a loop through both front loops, then yarn over and pull through the loops on your hook to complete the decrease.
The exact appearance can vary with your yarn, tension, and pattern, so check whether the designer recommends a particular decrease. An invisible decrease is often chosen when you want the shaping to blend into the fabric, but it isn’t automatically the best option for every stitch pattern.
For a standard decrease, avoid yanking the final loop tight. A decrease that is much smaller than the neighboring stitches can pucker the fabric. Try to lift the loops to the same height you use for the surrounding stitches, then complete the pull-through with steady tension.
Look at the wrong side as well as the right side. Some decreases are designed to be visible and can create a useful ridge or line. Others are meant to disappear into the fabric. Understanding which side will be seen helps you decide whether neatness means “barely visible” or “evenly decorative.”
How do decreases shape crochet projects?
Decreases shape crochet projects by gradually narrowing the fabric, closing openings, creating curves, and forming pointed or rounded sections.
In hats and beanies, decreases can draw the fabric toward the crown. In amigurumi, they help close the top of a stuffed shape or narrow a body, limb, or snout. In garments, decreases may shape armholes, necklines, sleeves, or waist areas. In flat motifs, they can create petals, corners, triangles, and decorative points.
Think of the decrease as one part of a larger shaping plan. Increases make a fabric wider, while decreases make it narrower. If a pattern uses both, count carefully at the transition between them. A single missed decrease can change the curve, especially in a small project.
When you’re designing your own project, make a test swatch before committing to the final shape. Try decreases at different intervals and observe how quickly the fabric narrows. You can then choose the spacing that matches the curve you want rather than adding decreases randomly.
Small projects are a practical place to practice shaping because you can see the result quickly. You might begin with a small accessory from these small crochet project ideas, then use the same counting habits in a larger item. A flower is another useful practice shape; this five-petal crochet flower pattern can inspire you to notice how increases and decreases work together to form petals.
What common decrease mistakes should you avoid?
You can avoid common decrease mistakes by counting the stitches before and after each shaping section and checking that both parts of the decrease use the correct stitches.
- Skipping the second stitch: If you begin a decrease in one stitch but don’t insert your hook into the next stitch, the stitch count may not reduce as intended.
- Completing the first stitch too early: A decrease requires both stitches to remain unfinished until the final pull-through.
- Working into the wrong loop: Check whether the pattern says to use both loops, the front loop, the back loop, or a chain space.
- Pulling too tightly: A tight decrease can pucker the fabric or make the next stitch difficult to work.
- Forgetting the decrease counts as one stitch: Include the completed decrease once when checking your total.
- Placing decreases on the wrong round: Mark the pattern’s shaping rows or rounds before you begin.
If your stitch count is wrong, don’t immediately undo the entire project. Look at the last section you worked and identify the first point where the count changed. Check whether you accidentally skipped a stitch, worked twice into one stitch, or completed a decrease as two separate stitches.
If the fabric puckers, compare the height and tension of the decrease with the nearby stitches. You may be pulling the final loop too firmly, or your hook may be entering only part of a stitch when the pattern requires both loops. Make a small practice row and slow down the movement until it feels controlled.
What should you do next to practice crochet decreases?
Your next step is to make a small swatch, practice one decrease type at a time, and count the stitches before and after every shaping row.
Start with single crochet decreases because the movements are easy to isolate. Once that feels comfortable, try half double crochet and double crochet decreases. Write the abbreviation beside each practice section so you can connect the written instruction with the movement of your hands.
Use a smooth, easy-to-see yarn for practice if possible, and avoid changing several variables at once. Keep the same yarn and hook while comparing the decrease types so you can focus on the technique. Later, you can explore how decreases look in textured stitches, stripes, or openwork.
When you begin a real project, read the shaping instructions ahead of time, place markers where they will help, and check your work regularly. A decrease is a small technique, but it opens the door to rounded hats, shaped toys, fitted garments, pointed motifs, and many other designs. Once your hands understand the rhythm of starting two stitches and finishing them together, you’ll be ready to use decreases with much more confidence.