
Crochet Jersey Patterns: Easy & Stylish Ideas
Explore crochet jersey patterns with wearable ideas, yarn guidance, stitch options, sizing tips, customization advice, and beginner-friendly ways to design your own.
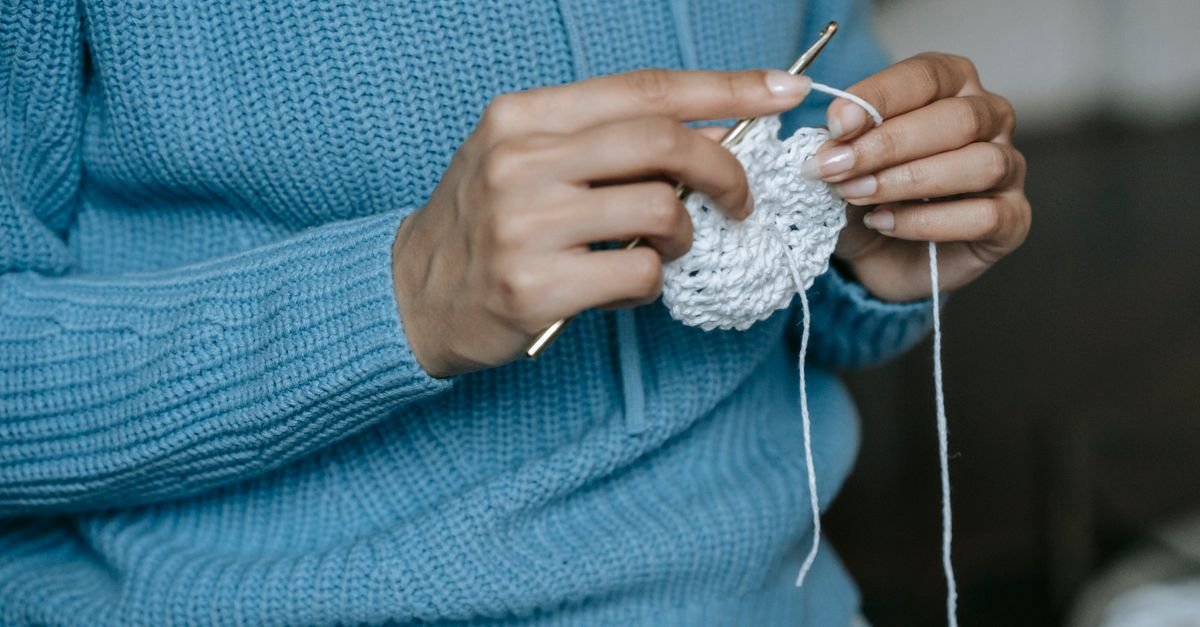
There’s something wonderfully playful about crochet jersey patterns. They let us borrow the bold shape and sporty attitude of a classic jersey while still making room for handmade texture, color, and personality. Whether you’re imagining a relaxed pullover, a cropped top, a child’s team-inspired sweater, or a comfortable layering piece, the right approach can turn a familiar idea into something completely your own.
In this guide, I’ll share ways to choose a construction, plan your colors, select stitches, shape a wearable fit, and add the details that make a crochet jersey feel intentional rather than costume-like. You won’t need to copy a professional sports uniform. The most interesting designs often take just one or two jersey details—striping, numbers, contrast edging, or a roomy silhouette—and reinterpret them in crochet.
Table of Contents
What makes crochet jersey patterns so appealing?
Crochet jersey patterns are appealing because they combine a relaxed wearable shape with graphic color and customizable details. A jersey-inspired garment can be as simple or as expressive as you like, which makes it a welcoming project for different skill levels.
The word “jersey” can describe several different design directions. You might create a loose top with a straight body and dropped shoulder, a fitted sleeveless piece, or a cozy sweater with bold bands across the chest. You can also borrow the visual language of jerseys without recreating one exactly. Think contrast panels, a large motif, a number-inspired appliqué, or a strong border at the cuffs and hem.
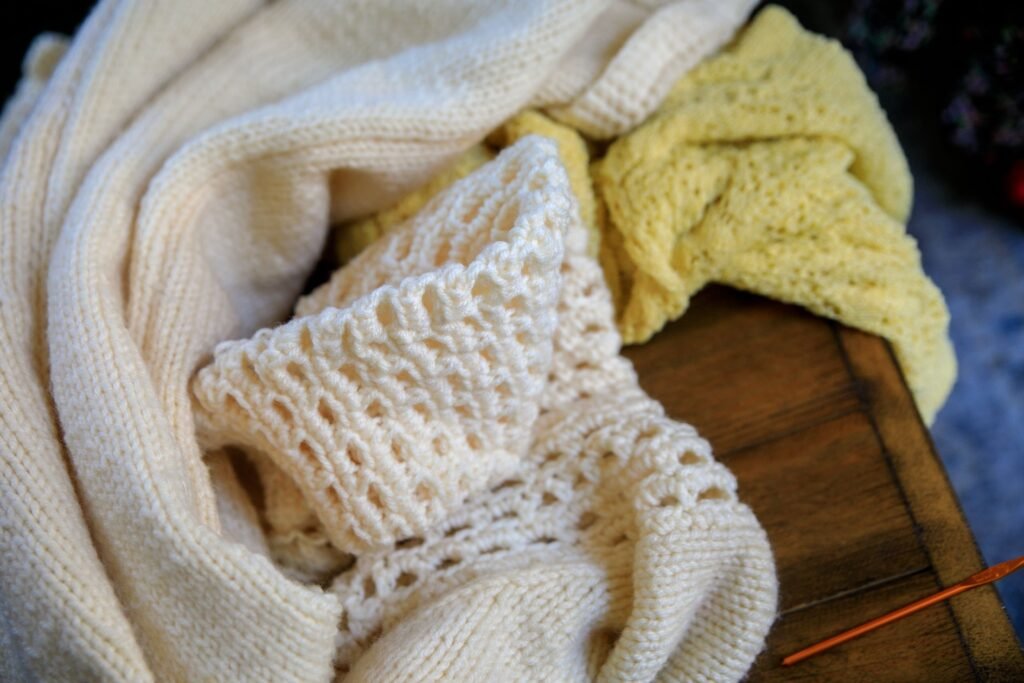
That flexibility is one of the best reasons to explore this theme. A beginner can work with simple rows and color changes, while an experienced crocheter can experiment with shaping, intarsia-style sections, surface crochet, or carefully planned motifs. Even a small accessory can carry the same idea. A beanie, tote, scarf, or cushion cover can use jersey colors and lettering without requiring a full garment.
Before starting, decide what matters most to you:
- The silhouette: Do you want something oversized, fitted, cropped, sleeveless, or long-sleeved?
- The visual reference: Are you inspired by sports colors, vintage athleticwear, school sweaters, or simply bold stripes?
- The level of detail: Will the design rely on color blocks, or do you want numbers, letters, patches, and surface decoration?
- The wearing season: A lighter open fabric works differently from a dense, warm fabric, so choose the stitch structure with use in mind.
How should you choose a crochet jersey construction?
You should choose a crochet jersey construction according to your comfort level, the fit you want, and how much shaping you’re ready to manage. Simple construction is usually the best place to begin because it lets you concentrate on consistent fabric and clean color changes.
Try a panel-based jersey
A panel-based design is made from separate front, back, and possibly sleeve pieces. This approach is useful when you want clear control over the width and length of each section. It also makes color planning straightforward: you can map the stripes or central motif onto a paper sketch before crocheting.
Panel construction does require joining, and the seams become part of the finished garment. That isn’t necessarily a disadvantage. A neat shoulder or side seam can reinforce the sporty, structured character of a jersey. If you want the seams to stand out, use a contrasting whip stitch or a tidy slip-stitch join. If you prefer a quieter finish, match the joining yarn to the main color.
Explore top-down or yoke construction
A top-down jersey can be convenient when you want to adjust the length as you go. Starting near the neckline allows you to check the fit of the upper body before committing to the full body. This type of design can also reduce the number of seams, although shaping around the shoulders and armholes needs attention.
A yoke can become an especially interesting canvas for color. You might place a contrast band around the upper chest, then keep the body a single shade. Alternatively, a geometric yoke can suggest athleticwear while remaining distinctly handmade. Try to keep the color changes organized and mark your rounds or rows carefully so the design remains balanced.
Keep the shape simple with a rectangle-based design
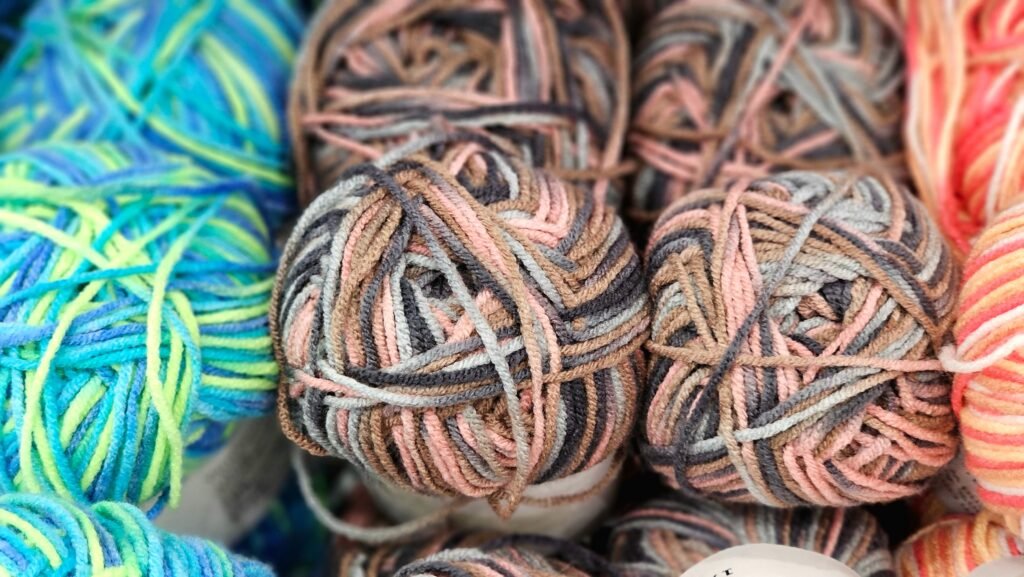
For an accessible first wearable, two rectangles joined at the shoulders and sides can create a relaxed jersey-inspired top. This shape is forgiving and gives you plenty of room to focus on stripes, motifs, and finishing. It won’t create a closely fitted garment without additional shaping, but an intentionally loose silhouette can be comfortable and stylish.
If you’re still learning how to manage tension, turning, and row edges, it may help to revisit this beginner’s crochet guide before starting a wearable. A little practice with even rows can make assembly much less frustrating.
Which yarn and stitches work well for a crochet jersey?
The best yarn and stitch combination for a crochet jersey is one that creates a fabric you’ll genuinely want to wear. Choose yarn based on softness, drape, care needs, and the season you have in mind rather than color alone.
For a garment, I’d begin by making a small fabric sample in the stitch you plan to use. This gives you a chance to assess how the fabric bends, stretches, and hangs. A stitch that looks crisp in a swatch may feel too firm across a whole sweater, while a very open stitch may need a lining or a thoughtful layering plan.
Simple stitches can be remarkably effective. Single crochet creates a firm fabric with strong visual definition, while half double crochet can offer a comfortable balance between height and texture. Double crochet works more quickly and can produce a lighter fabric, but the resulting holes may be more noticeable. Alternating stitch heights or using a ribbed texture can add interest without making the colorwork complicated.
Here are a few stitch directions worth considering:
- Half double crochet rows: A practical choice for a straightforward fabric with visible rows.
- Linked or compact stitches: Useful when you want a denser surface for a bold graphic design.
- Ribbing: Helpful at cuffs, hems, or necklines when you want a change in texture.
- Mesh or openwork: A lighter option for a summer-inspired jersey, provided the final fabric suits your intended layering.
- Surface crochet: A way to add stripes, outlines, letters, or numbers after the base fabric is complete.
Don’t feel obligated to use one stitch throughout. A plain body with ribbed edges and a textured chest panel can look more considered than a fabric filled with competing details. The goal is to give each design feature enough room to be noticed.
How can you plan colors and jersey-inspired details?
You can plan colors and jersey-inspired details by choosing a clear main shade first, then limiting the supporting colors so the design stays readable. A strong palette doesn’t need many colors to make an impact.
Start by placing your main color in the largest area of the garment. Then decide where the contrast will appear. A narrow stripe at the hem gives a subtle reference to athleticwear, while wide horizontal bands create a much stronger statement. A contrasting neckline and cuffs can frame the garment without interrupting the body.
If you’re adding a number or letter, sketch it on squared paper before crocheting. Each square can represent a stitch or a small group of stitches, depending on the scale of your design. Keep the motif large enough to read clearly, and consider its position in relation to seams, shaping, and the natural curve of the body.
Surface crochet is another flexible option. You can finish the main garment first, then trace lines over the fabric with a contrasting yarn. This makes it easier to adjust the placement than carrying several colors through every row. It also creates a slightly raised detail that feels graphic and tactile.
For floral or decorative inspiration beyond sporty motifs, a small appliqué can add an unexpected twist. The crochet poppy flower guide offers ideas for building a layered flower that could be adapted into a removable patch, pocket decoration, or playful accent. Mixing a soft botanical motif with a structured jersey shape can create a design that feels personal rather than overly literal.
How do you adapt crochet jersey patterns for a comfortable fit?
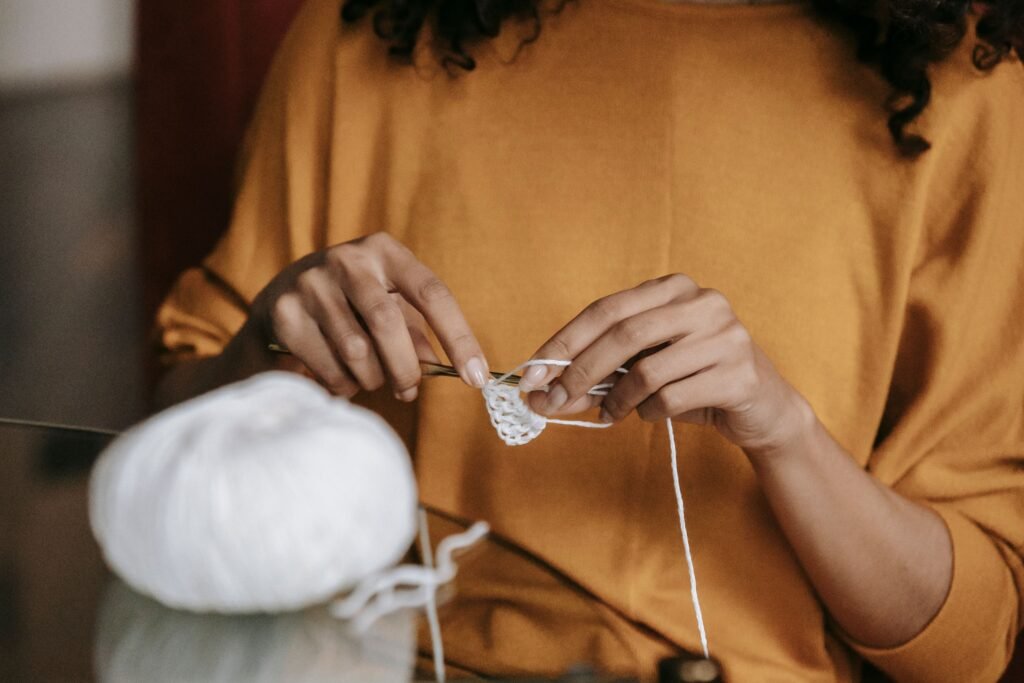
You adapt crochet jersey patterns for a comfortable fit by measuring the intended wearer, checking the fabric sample, and planning ease before you crochet the full garment. The measurements matter more than a generic size label because crochet fabric can behave differently from one project to another.
Measure the chest or upper body, the desired length, and the sleeve opening or arm circumference if your design includes sleeves. Compare those measurements with the finished dimensions in your pattern or sketch. If you’re designing from scratch, write the measurements down before beginning and keep them beside your work.
Ease is the extra room added beyond the body measurement. A relaxed jersey usually needs more room than a close-fitting top, but the amount depends on the silhouette and the stretch of the fabric. Don’t assume that a loose fit automatically feels comfortable. Excess fabric can become heavy, especially in a dense stitch, and may pull at the shoulders.
Pay particular attention to the shoulder width and armhole. A dropped shoulder can make construction easier and give the garment a casual look, but the sleeve opening still needs to allow natural movement. If you’re making a sleeveless version, try the upper section on before finishing the armhole edging. A few rows of edging can change the opening noticeably.
Try on or measure your progress at useful checkpoints rather than waiting until the end. Check the body after the main width is established, examine the neckline before adding a final border, and compare the sleeve length as you go. If the design is made from panels, lay those panels together to confirm that the stripes and motifs line up where you expect them to.
What finishing details make a handmade jersey look polished?
Finishing details make a handmade jersey look polished by defining the edges, stabilizing the shape, and giving the colorwork a deliberate frame. Small adjustments at the end can make a big difference to how wearable the piece feels.
Start with the neckline. A simple round of compact stitches may be enough for a clean finish, while ribbing can create a more traditional sweater edge. Keep the edging comfortable rather than pulling it tightly. If the neckline stretches more than expected, a second round or a discreet stabilizing strand may help, depending on the pattern’s instructions.
Cuffs and hems are excellent places to repeat a contrast color. Matching the hem and sleeve cuffs can visually tie the whole design together. If you’re working with a striped body, consider making the edging a single shade so it provides a calm boundary around the busier fabric.
Blocking may help even out the fabric and improve the appearance of seams, but the method should match the yarn and the pattern’s guidance. Avoid treating every fiber and stitch structure in exactly the same way. Always handle a sample first if you’re unsure how the fabric will respond.
Weave in ends carefully, especially around color-change areas. Loose tails can create bumps or show through an open fabric. If you have many ends, secure them in different directions on the wrong side rather than bundling them into one thick spot. Before trimming, gently tug the fabric in several directions to make sure the ends stay hidden.
For an extra structured floral embellishment, you could also look at the shaping ideas in this crochet calla lily pattern guide. You wouldn’t need to copy the flower itself; the wired, sculptural approach can inspire removable details or dimensional decorations for a fashion-forward jersey.
Which crochet jersey projects should you try first?
The best first crochet jersey project is one that matches your current skills and gives you a manageable way to practice color, shaping, and finishing. You don’t have to begin with a full-size sweater.
- Jersey-inspired scarf: Use stripes, a bold border, or a simple number motif to practice graphic design without garment shaping.
- Relaxed sleeveless top: This reduces sleeve construction while still letting you explore fit and neckline finishing.
- Child-sized pullover: A smaller garment can be a useful way to learn panel assembly, provided you still measure carefully.
- Color-blocked vest: A vest offers a wearable silhouette with fewer edges and seams to manage.
- Sporty tote bag: This is a practical choice for testing a palette and surface details before committing to clothing.
- Removable jersey patch: Crochet a number, initial, flower, or emblem and attach it with careful stitching or a removable fastening.
When choosing among crochet jersey patterns, read the instructions all the way through before beginning. Look for the construction method, the way sizes are measured, the location of color changes, and the finishing steps. If the pattern includes charts, check whether the chart represents the right side only or both sides of the work. A few minutes of preparation can save a lot of unpicking later.
If you’re designing your own version, keep notes as you go. Record your yarn choice, hook, stitch pattern, measurements, row counts, and any changes you make. Even if you don’t plan to repeat the project, these notes can help you understand what worked and make the next garment easier to plan.
How can you make crochet jersey patterns your own?
You can make crochet jersey patterns your own by changing one design feature at a time and treating the garment as a starting point rather than a strict limit. A small change in proportion, color, or texture can shift the entire personality of the piece.
Try replacing traditional team colors with a muted palette, unexpected pastels, or a combination of neutrals and one vivid accent. Swap a large number for an initial, a simple symbol, or a small repeating motif. You could also move the main design from the center chest to a sleeve, pocket, or back panel.
Texture gives you another route. A raised border around a motif can make it feel like an appliqué, while a smooth surface with ribbed edges creates a quieter, more refined look. If you enjoy experimenting, make small swatches in several stitch patterns and arrange them beside one another. This helps you see whether the textures support each other before they become part of the garment.
Finally, think about how the jersey fits into your existing wardrobe. A dramatic statement piece may be exciting, but a simple design in colors you already wear could become much more useful. Handmade clothing deserves to be worn, adapted, and enjoyed, so choose details that feel like you.
My favorite way to approach crochet jersey patterns is to begin with a clear idea, then leave room for discovery. Make a swatch, sketch the stripes, test the motif, and adjust the shape as you learn how the fabric behaves. Your next step could be a small accessory, a sleeveless top, or a full pullover with bold contrast bands—the important part is choosing a project that makes you curious enough to keep crocheting.